

Opportunity
💡 Opportunities
We can create a new opportunity by clicking on the 'New' button from the main menu
from a qualified lead. Clicking on the 'Qualified' button on the lead will create a new opportunity and copy the contact and account data automatically.
1. Opportunity Details
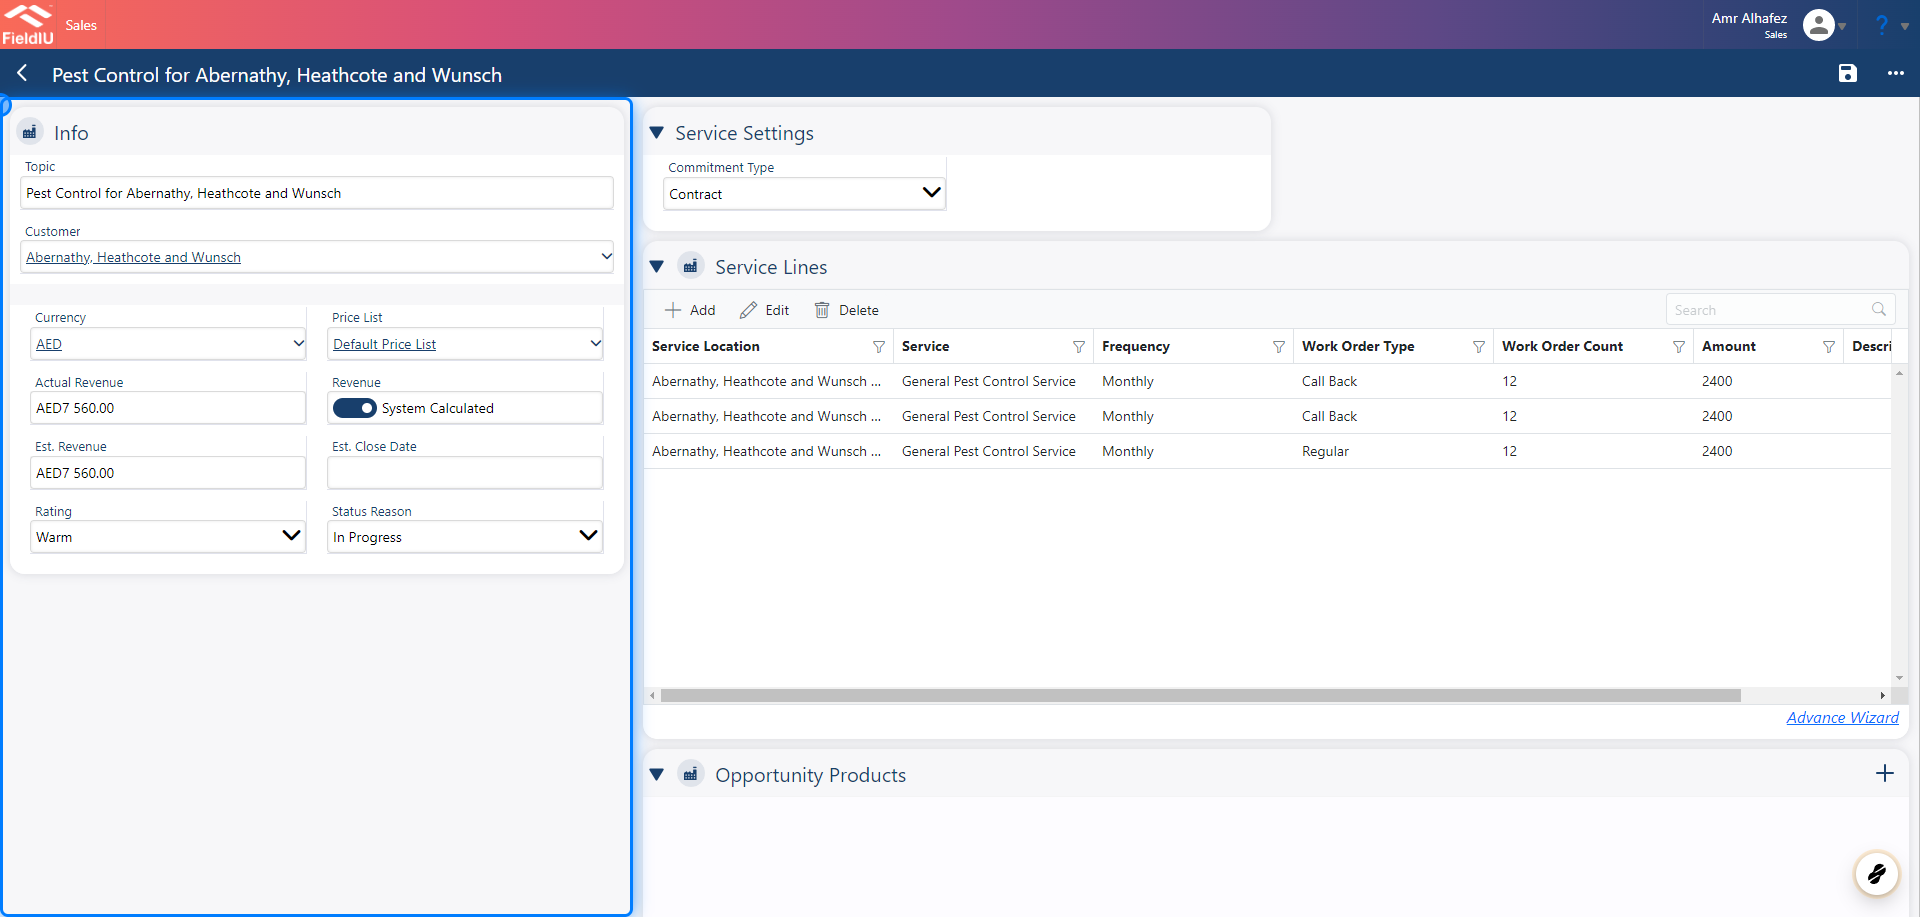
The Opportunity Details section consists of two parts:
-
Main Information
-
Service Information
2. Main Information
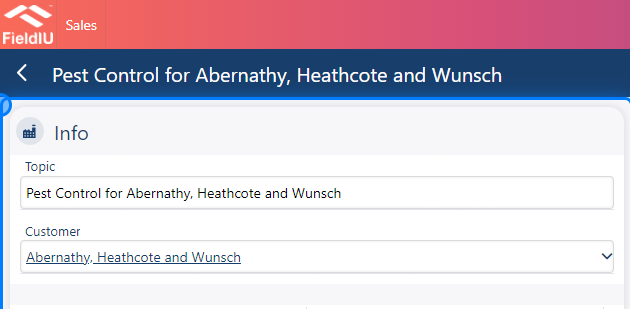
The Main Information section includes the following details:
-
Topic Name: This is the opportunity's topic name.
-
Customer Name: The name of the customer associated with the opportunity.
💡 Lead Data
If the lead is qualified, the entered data will be copied from the qualified lead.
3. Financial Information
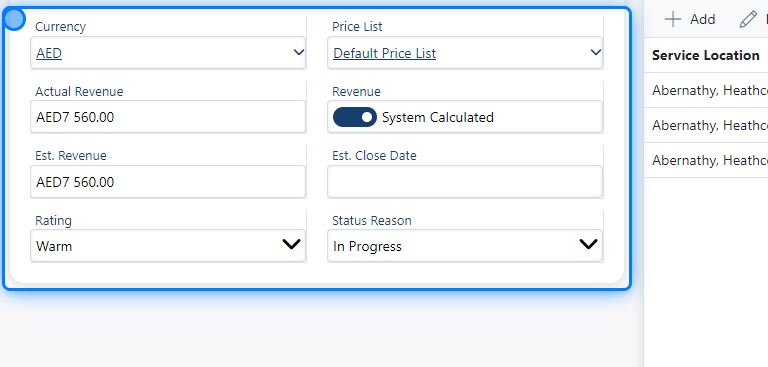
In the Financial Information section, you need to add the following financial details:
Currency: Fieldiu allows you to add multiple currencies for your organization so you can select one.
Price List: Fieldiu enables you to create different price lists so you can select one.
Revenue: You can choose whether to add the revenue manually or have it calculated by the system.
Estimated Revenue: If you choose to have the revenue calculated by the system, this field will be disabled, and the system will automatically calculate the revenue for the services provided in this opportunity. Otherwise, you can enter it manually.
Estimated Close Date: The anticipated date for closing the opportunity.
Rating: Choose the status of the opportunity, such as Warm, Cold, or Hot.
Status Reason: This field is used to set the status for the opportunity.
4. Service Information
Now we need to insert the services for the opportunity we added.
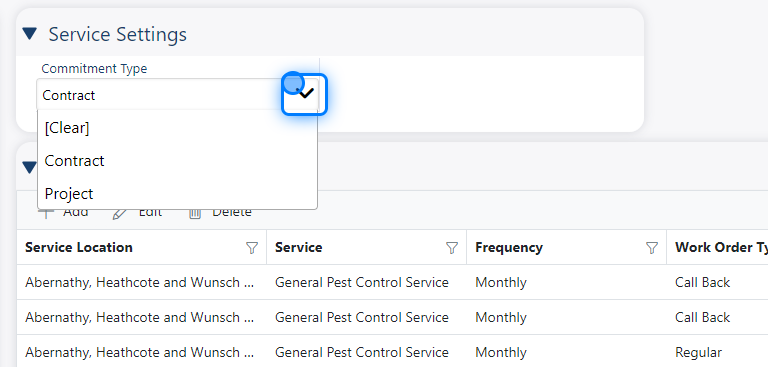
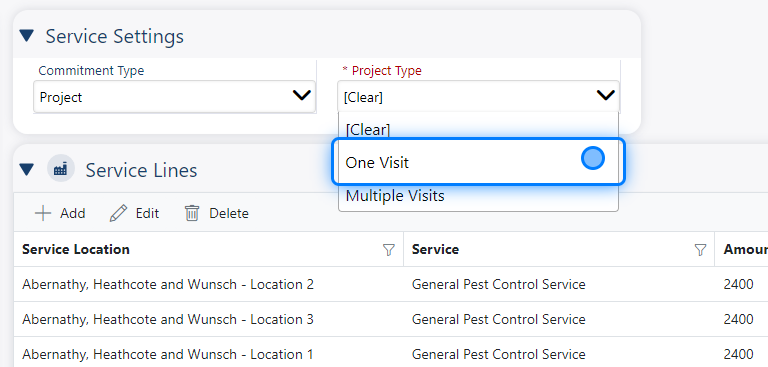
First, in the Service Settings section, select the Commitment Type , which can be either Contract or One-Time Project .
5. Project Type
If we select One-Time Project , a new field will appear that allows us to specify whether the project is for One Visit or Multiple Visits .
6. Service Line
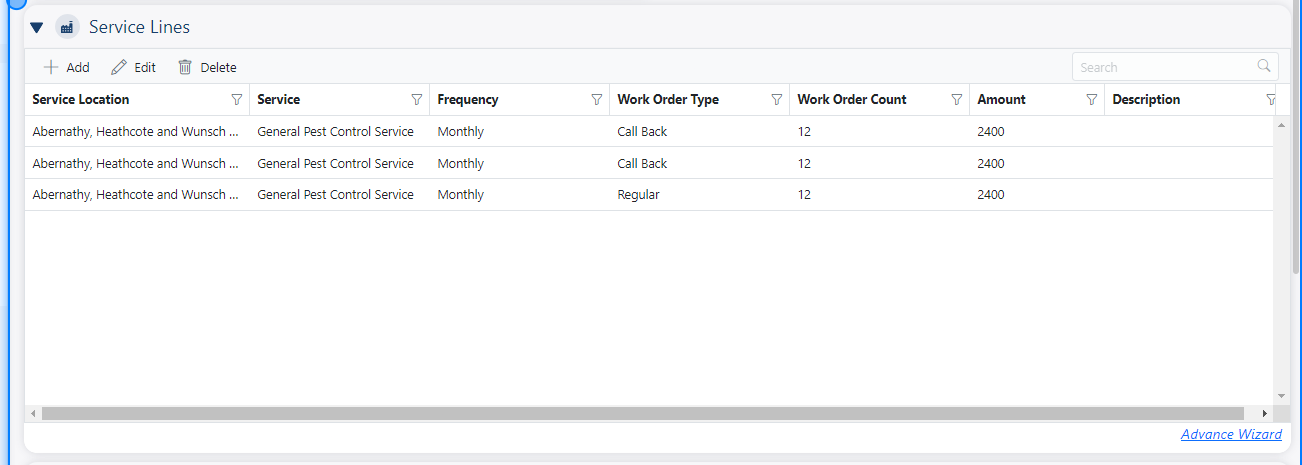
The Service Line section is for adding the locations where the service will be provided. Please insert the following details:
Service Location: The location where the service will be provided.
Service: The type of service being offered.
Frequency: If it involves multiple visits, specify the visit frequency (e.g., Daily, Monthly, Yearly, etc.).
Work Order Type: Indicate whether the work order is Regular, Follow-Up, or Incident Call (essentially, the type of visit).
Work Order Count: Enter the number of work orders created for this location.
Amount: The total amount the customer will pay for this location.
Description: Any additional description related to the service line.
💡 Advanced Wizard
You can use the advanced wizard to add items in bulk, edit, and control everything, including the smallest details. For more information, you can refer to the advanced wizard documentation.
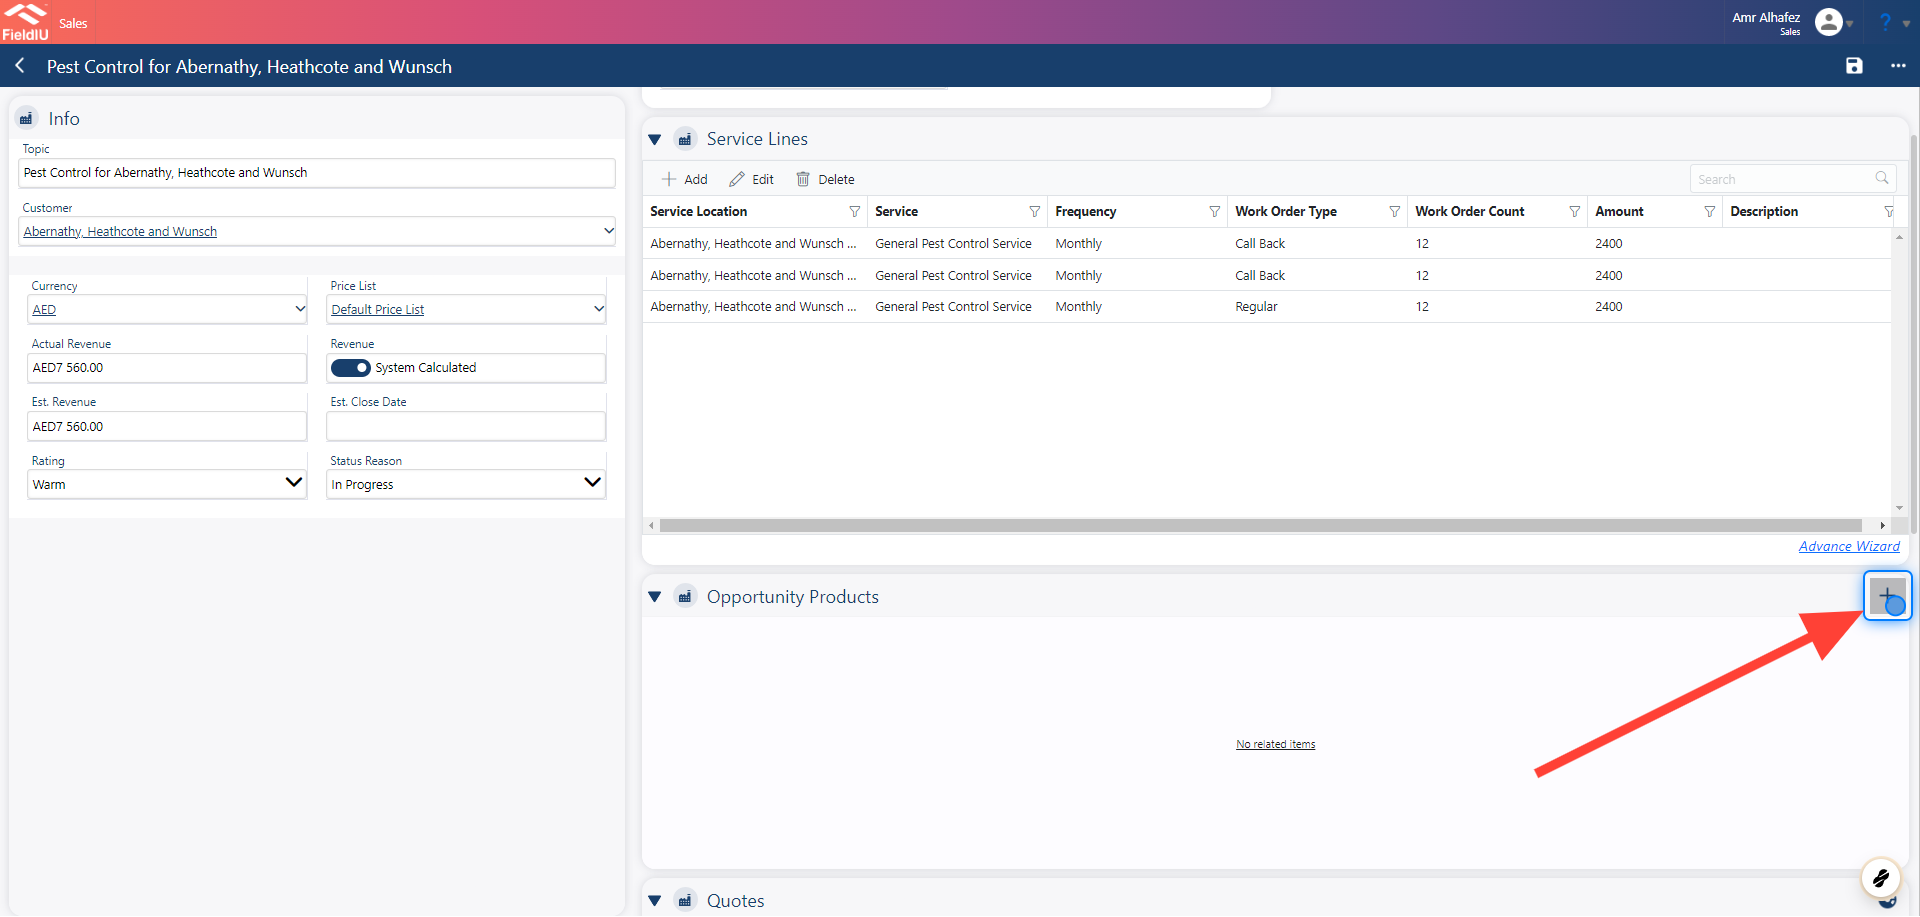
7. Product Opportunity
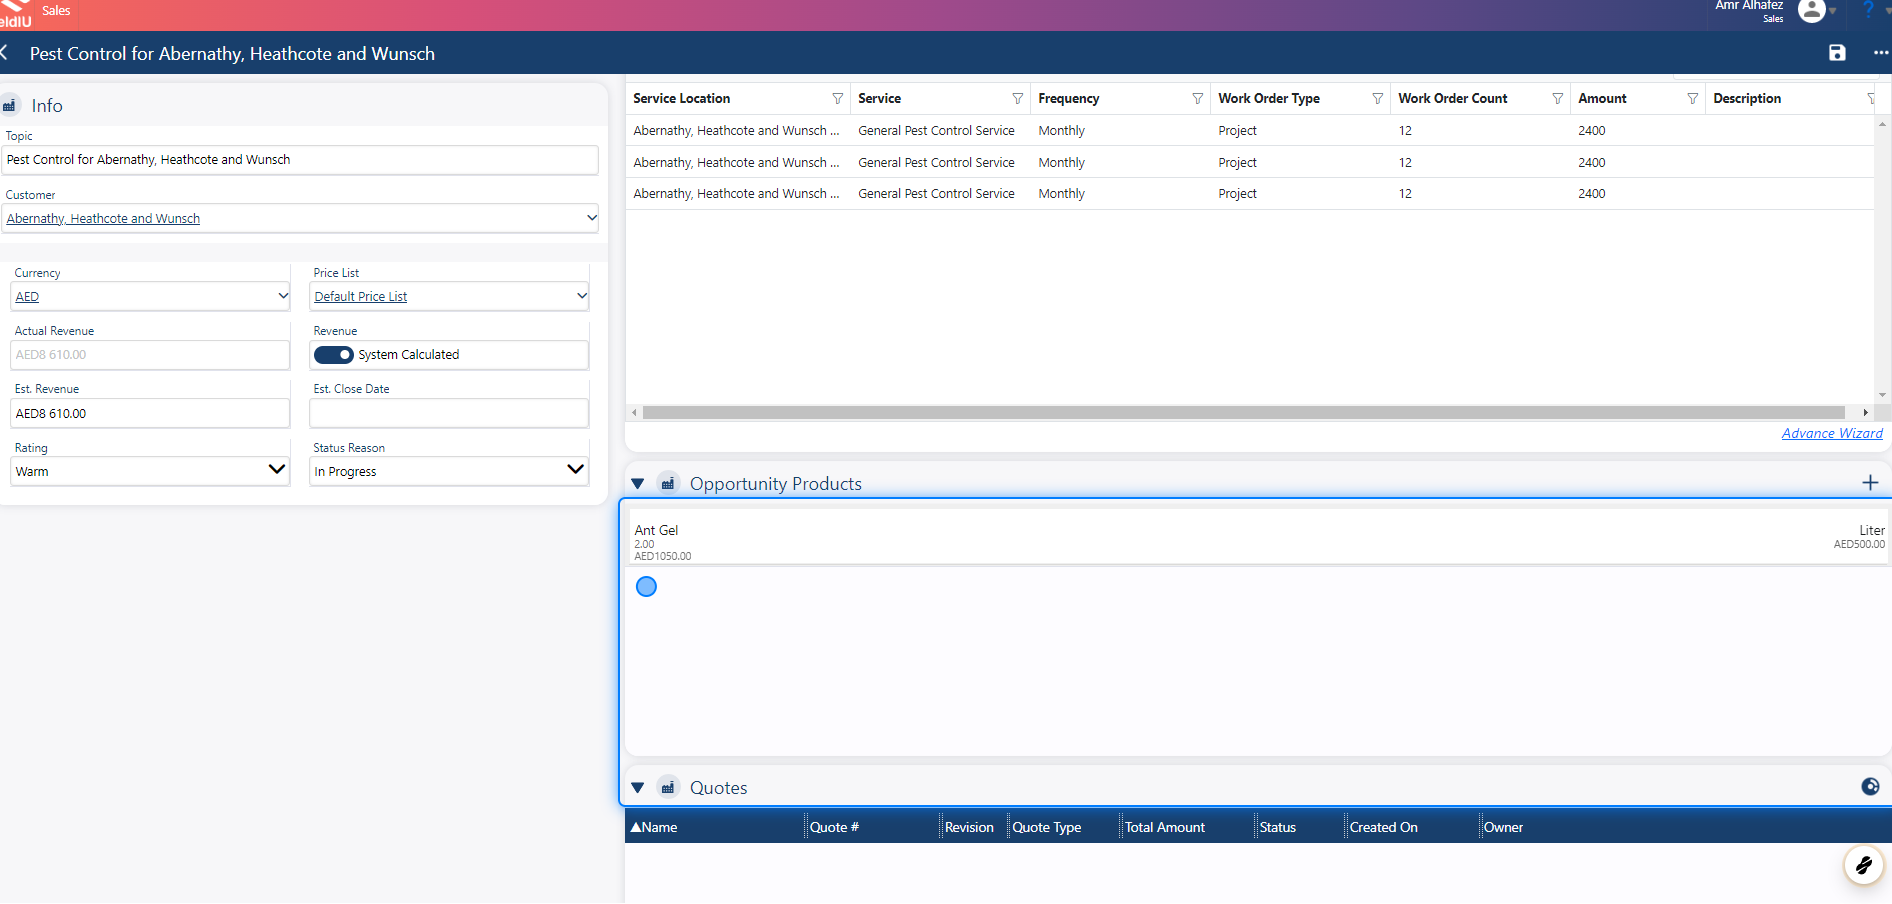
The product opportunity allows you to add products if you want to sell them in addition to the service or if you want to sell only the product. You can add a new item in the product opportunity section.
8. Product Details
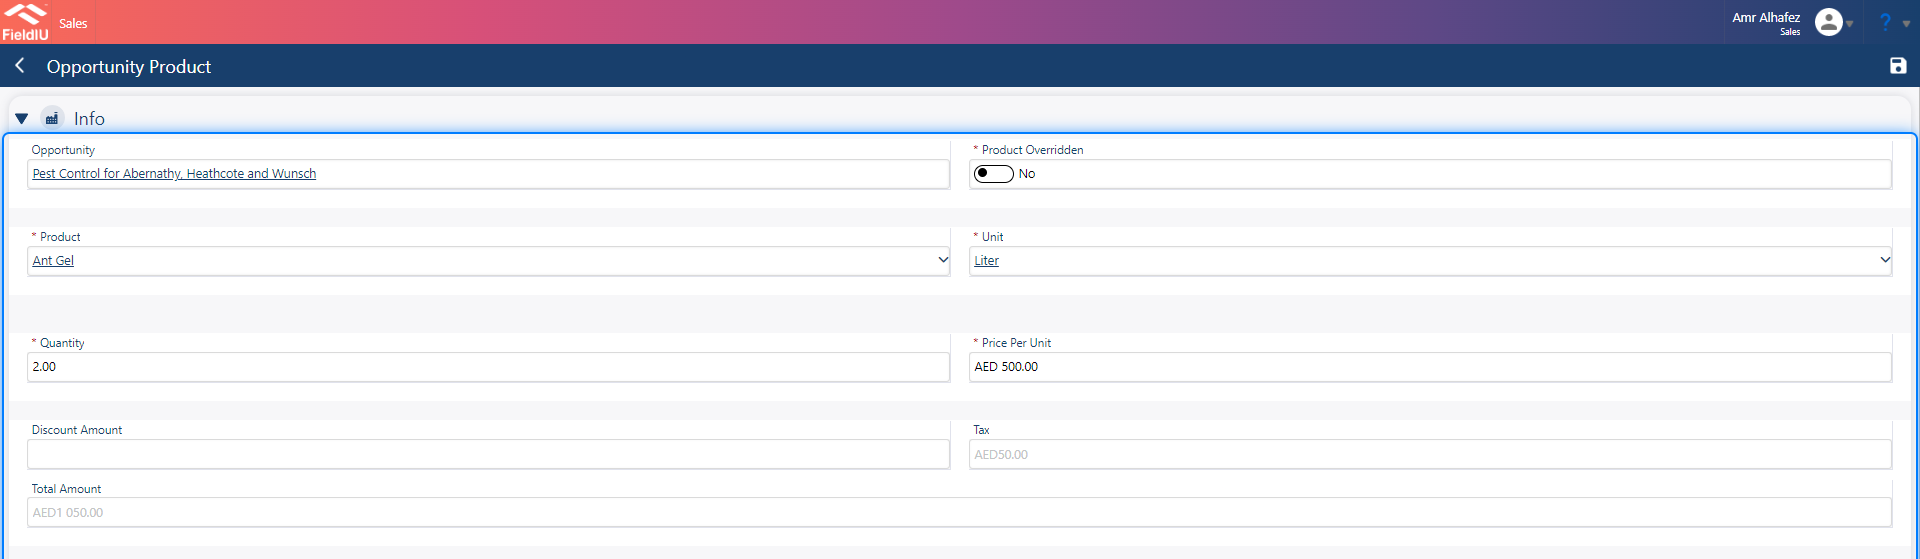
Here, you can insert the product details, including the product itself, unit, quantity, price per unit, discount amount, and tax. The tax will be calculated automatically by the system. Finally, the total amount will also be auto-calculated.
9. Product Overriding
If you want to sell a product or something that's not typically included in the system, like wires or a spray bottle, you can easily add it to the opportunity without officially inserting it into the system. To do this, simply click on the "Product Override" option. This allows you to add the product without adding it to your system list.
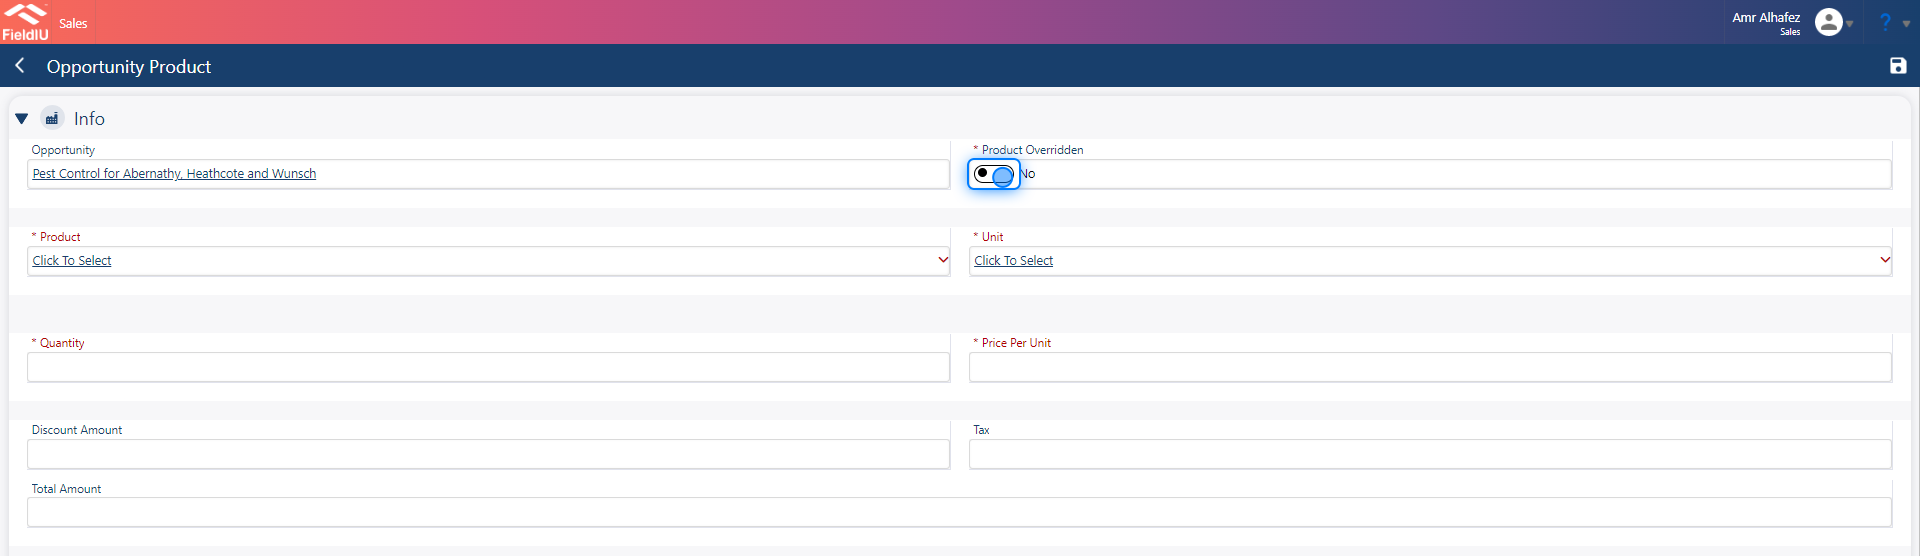
10. Don't forget to save!
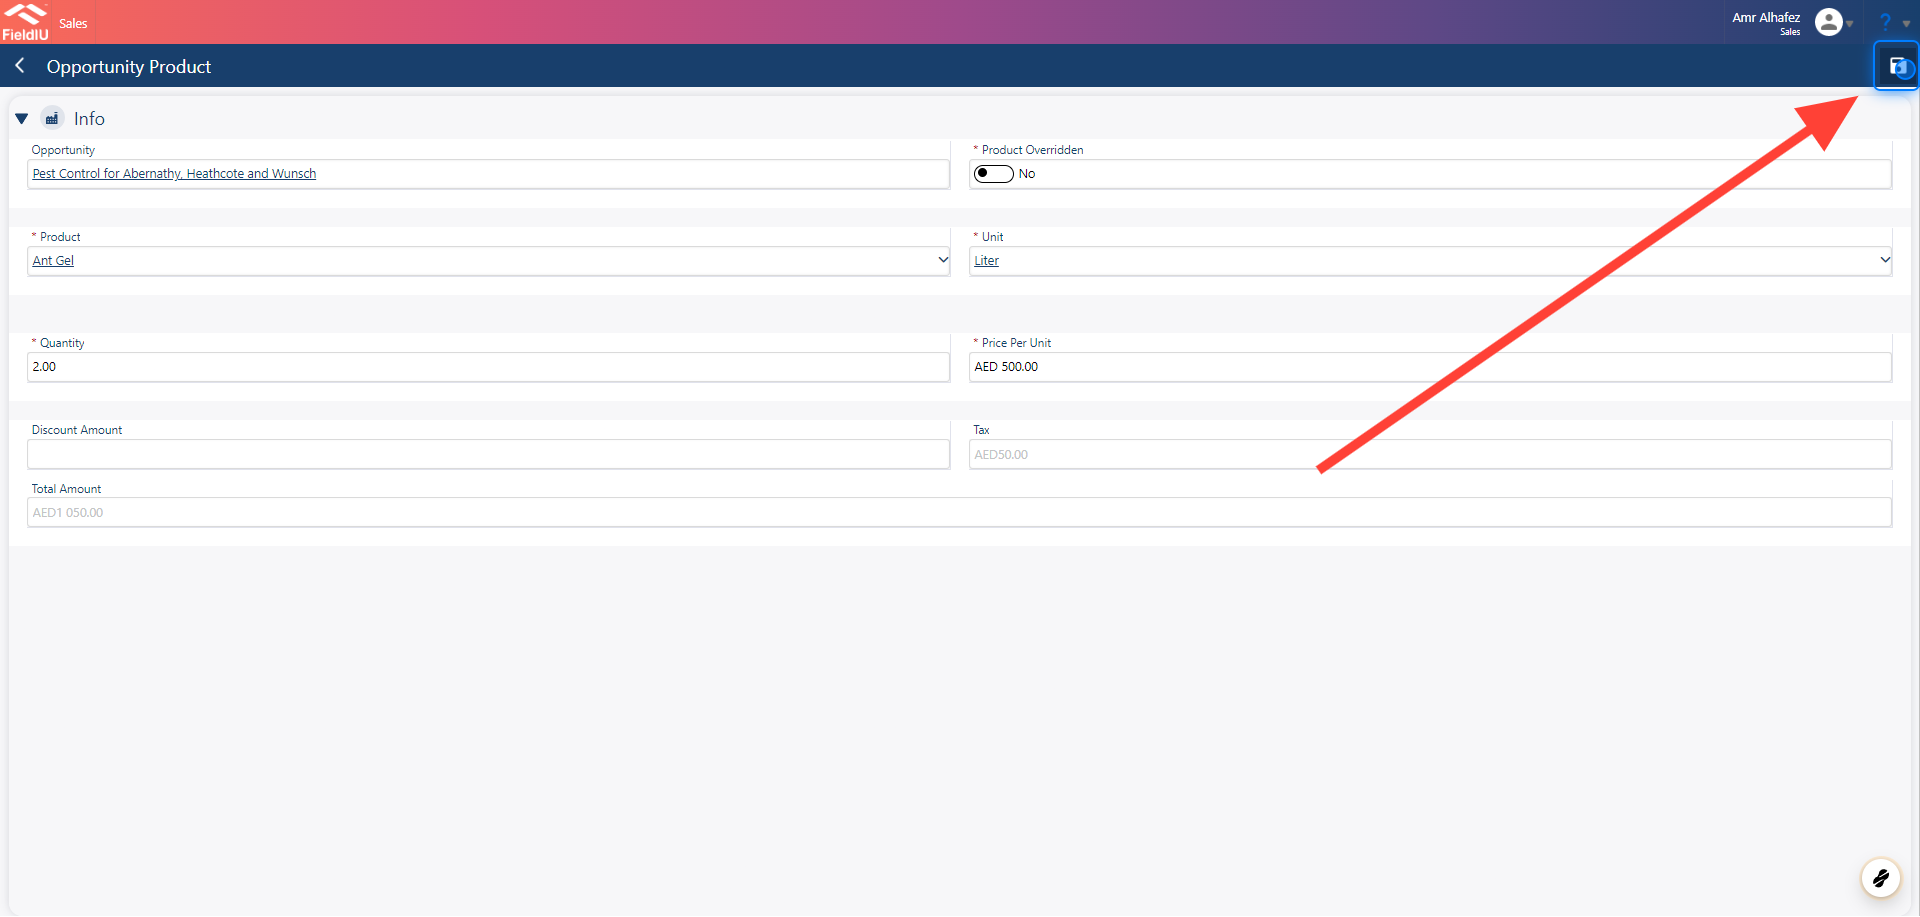
💡 Back Button
You can return to the previous screen, "Project," by using the system back button in the top left corner.
11. Click on Ant Gel
12. Quotes
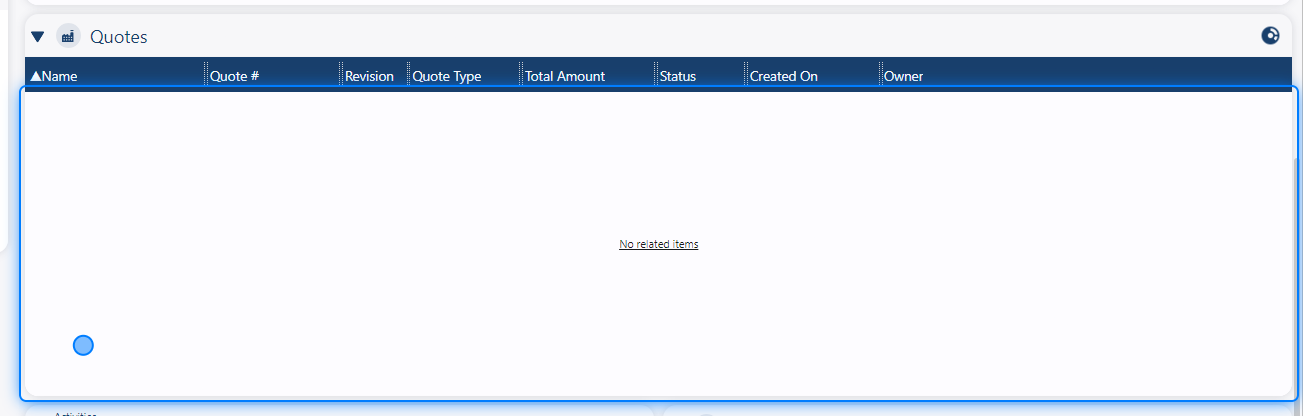
The Quotes section will show you if any quotations have been created from this opportunity. Next, we will discuss how to create quotes.
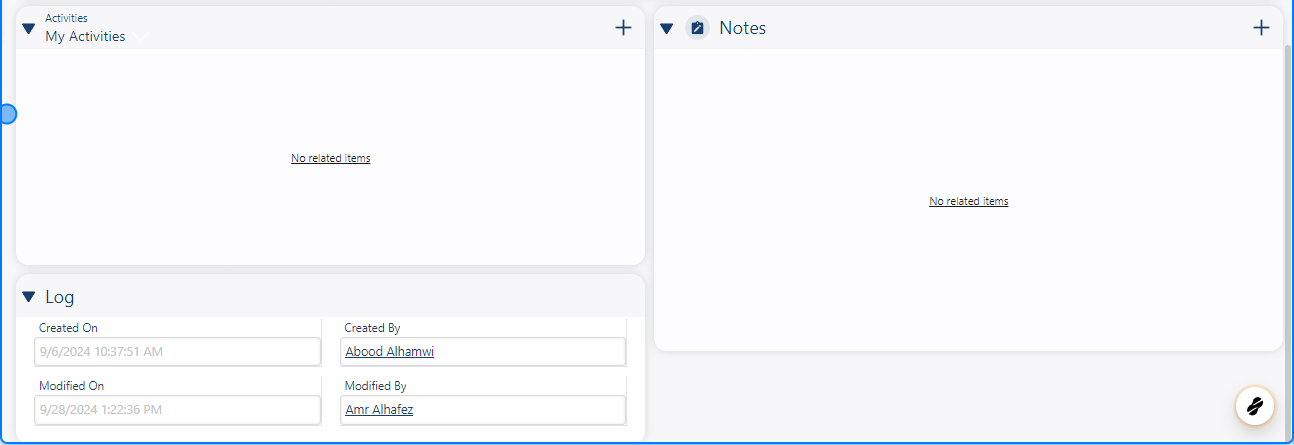
13. Notes And Activities
You can also add notes and activities to the opportunity. For more information, refer to the notes and activities documentation.
14. Finalizing
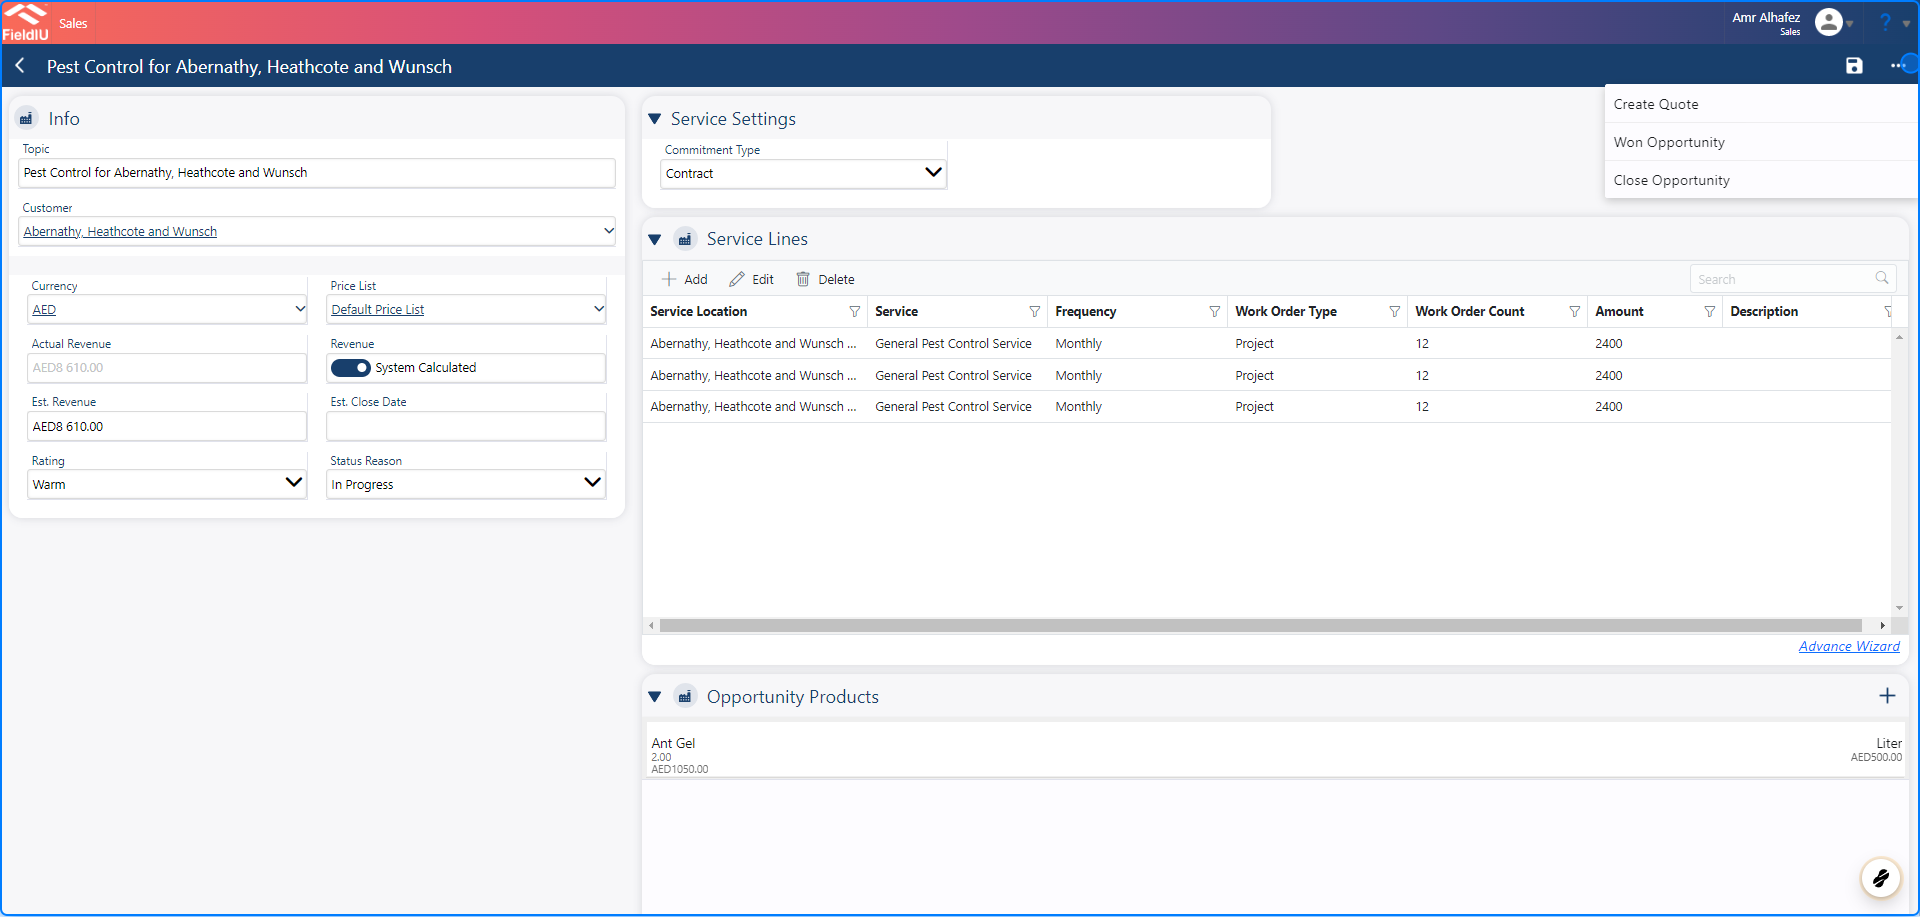
Finally, you can either win or close this opportunity by clicking on the three dots in the top right corner, which will display a list of actions:
Finally, you can either win or close this opportunity by clicking on the three dots in the top right corner, which will display a list of actions:
-
Create Quote : Create a quotation from this opportunity without closing it.
-
Won Opportunity : Mark this opportunity as won and create a quotation for the details included.
-
Close Opportunity : Close the opportunity if you've lost it to competitors or if you simply want to close it.
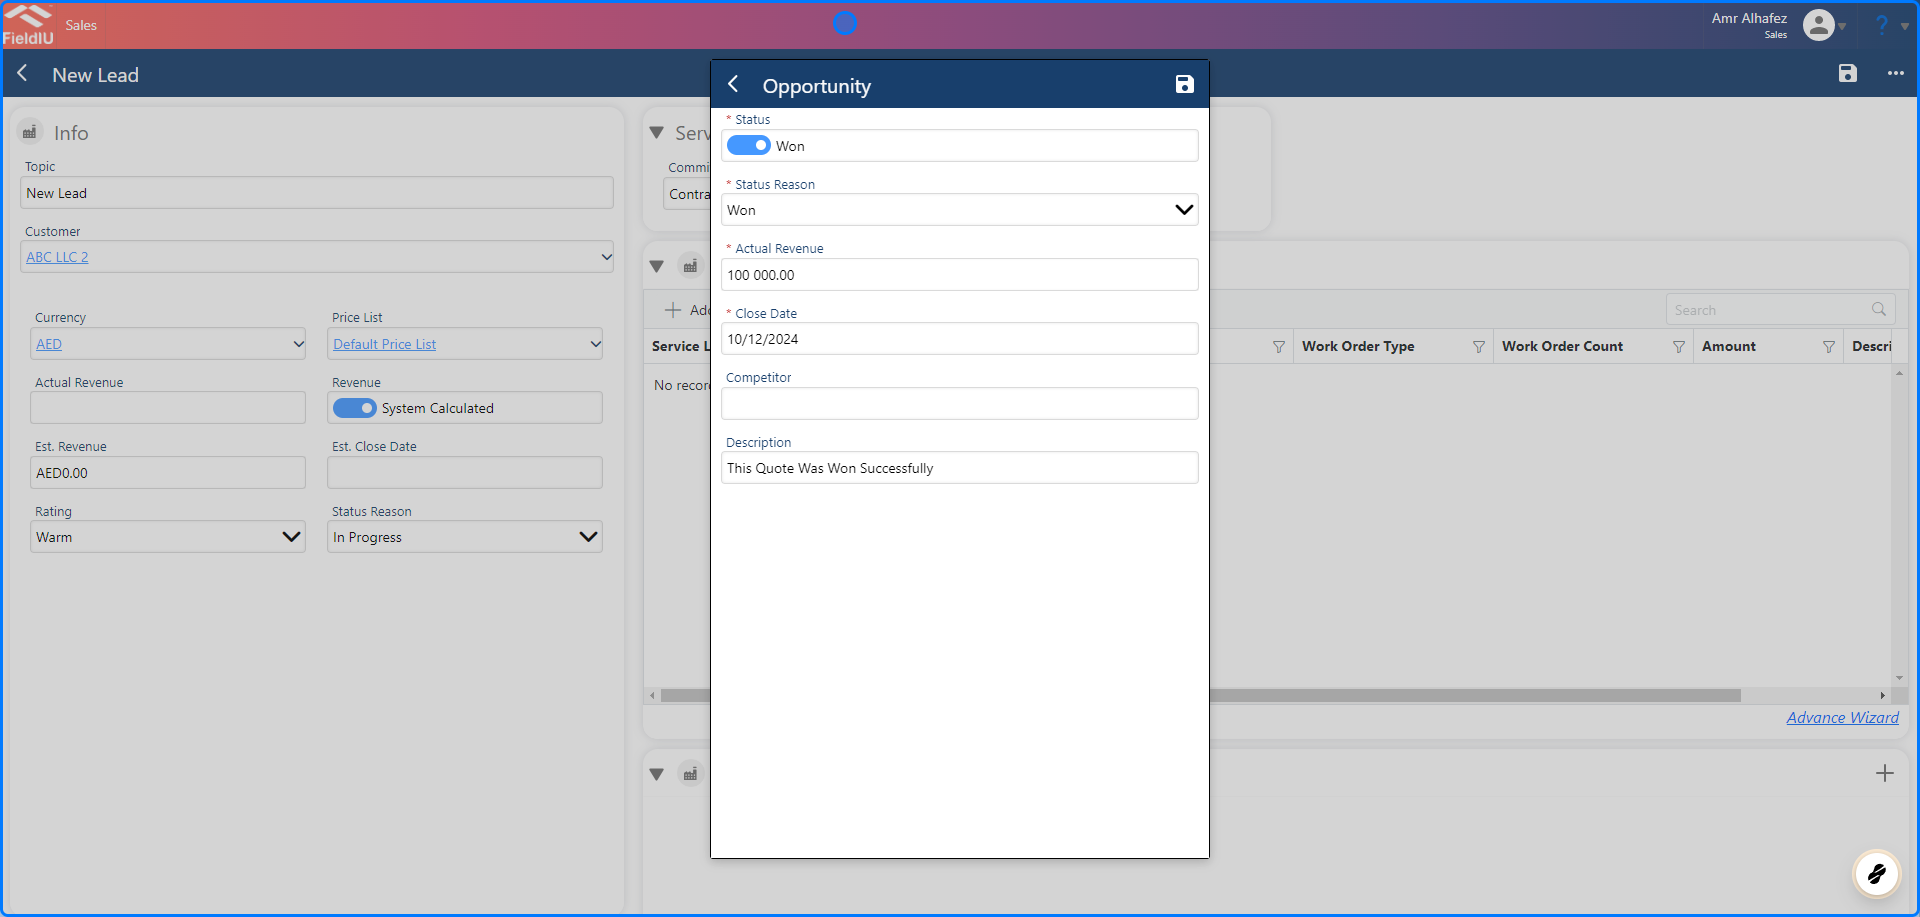
15. Won Quote
Mark this opportunity as won and create a quotation for the details included and Closing it.
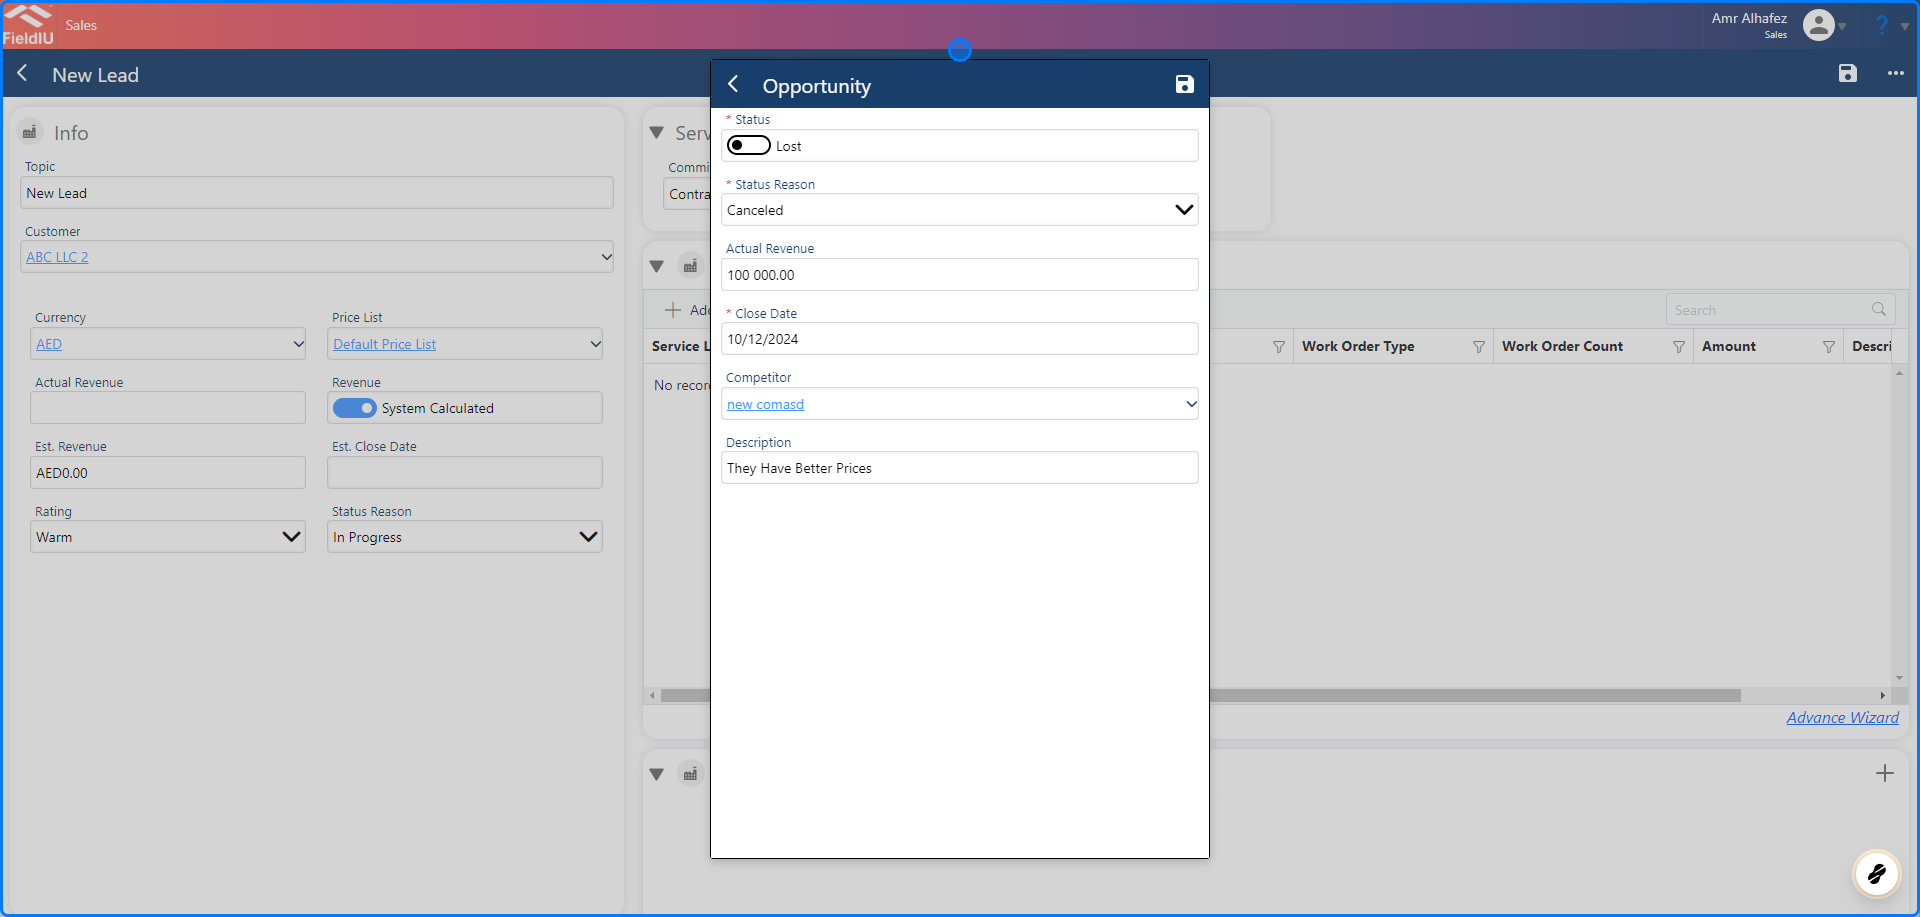
16. Lose Quote
Close the opportunity if you've lost it to competitors or if you simply want to close it.
 �����������������������