

Contract
💡 Creating Contracts
There are three ways to create a contract:
Opportunity
Quotation
Create New Contract
The contract created from Opportunity or Quotation will automatically copy all the necessary data from them.
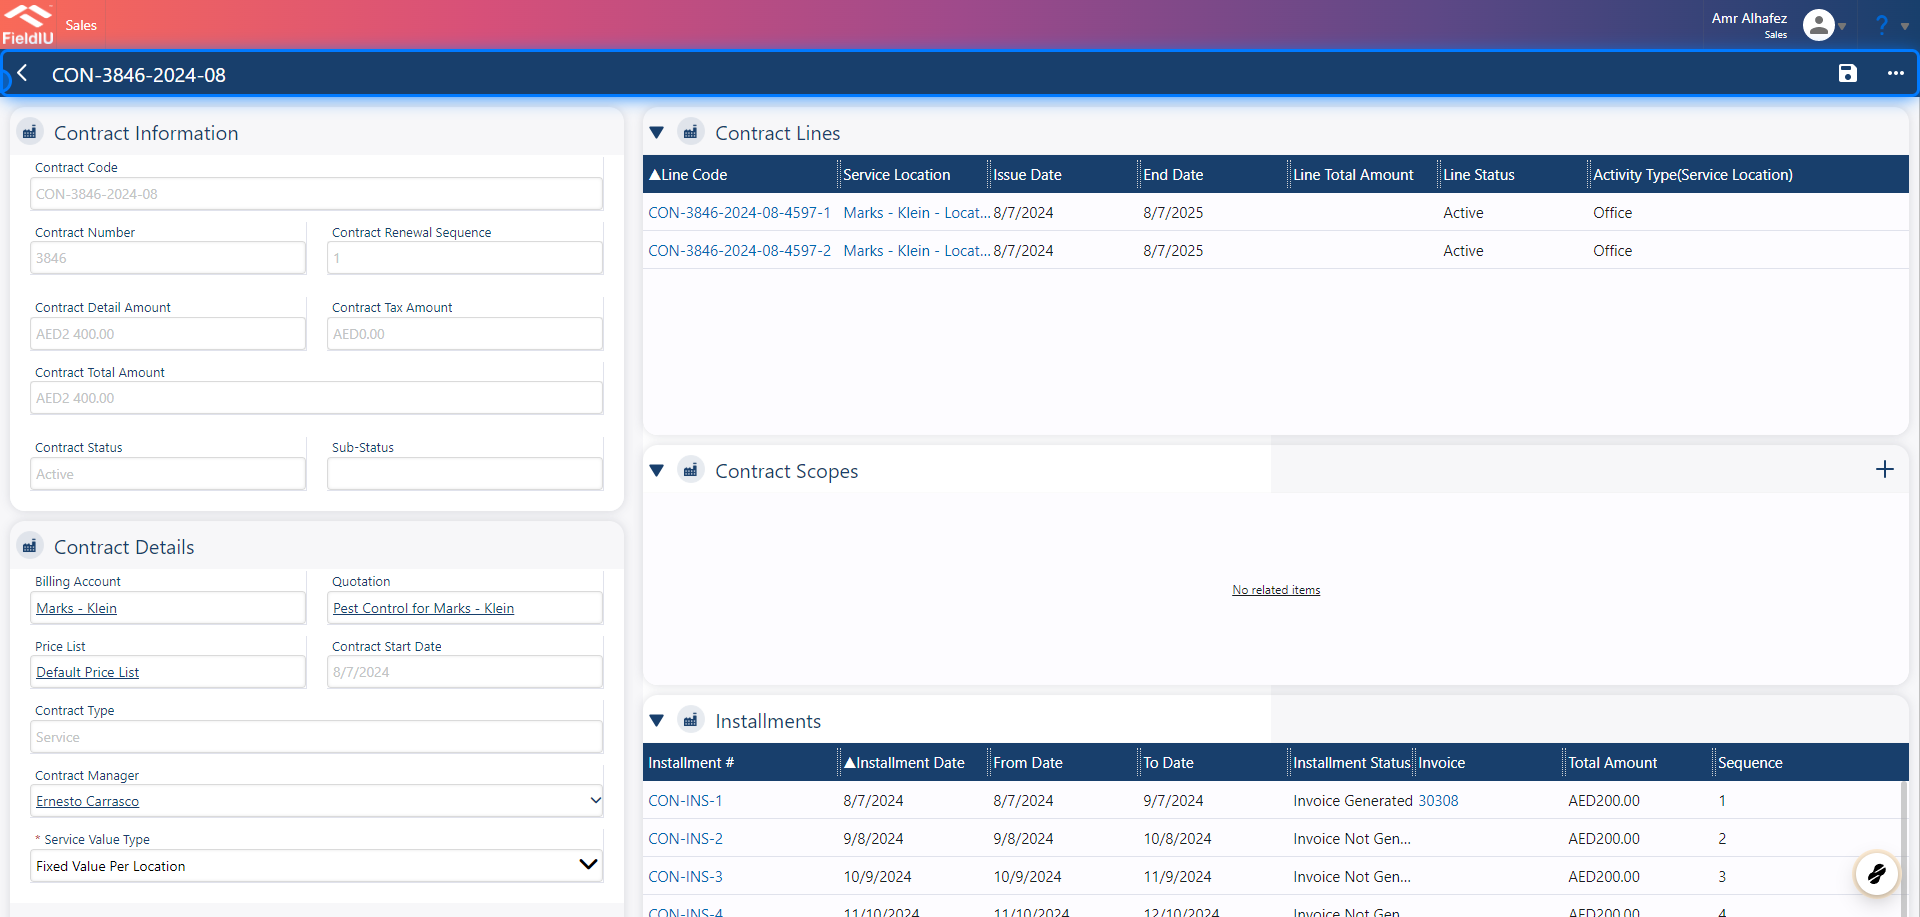
1. Main Screen
In the contract window, there are several sections that will help you manage the contract easily, including:
-
Contract Lines
-
Contract Details
-
Contract Scopes
-
Work Orders
-
Contract Consumables
-
Settlement
-
ETC..
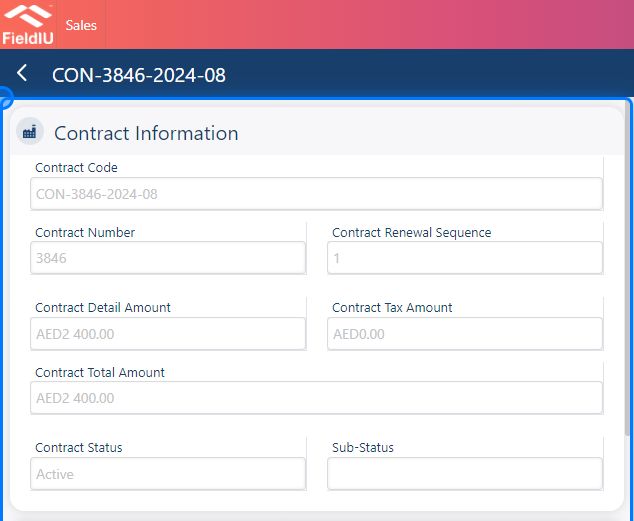
2. Contract Information
In the Contract Information section, you will find the main details for the contract:
-
Contract Code
-
Contract Number
-
Contract Renewal Sequence
-
Contract Details Amount
-
Contract Tax Amount
-
Contract Total Amount
-
Contract Status
-
Sub-Status
All this information is automatically computed.
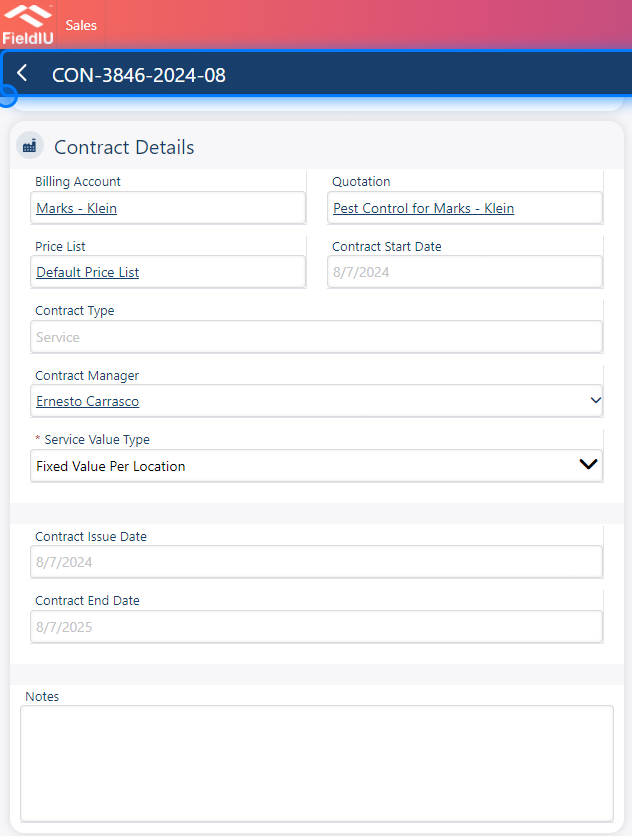
3. Contract Details
In the Contract Details section, you can find:
-
Billing Account (Customer)
-
Quotation
-
Price List : You can check the price list documentation for more information.
-
Contract Type : There are 3 types of contracts: Service , Product , or Mix .
-
Contract Manager
-
Service Value Type
-
Contract Issue Date
-
Contract End Date
-
Notes
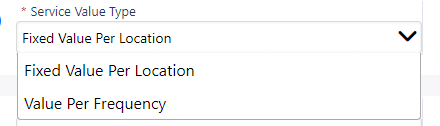
4. Service Value Type
This refers to whether the value is Fixed per Location or Value per Frequency .
It will be automatically selected from the previous sequence (Quote/Opportunity).
If you are creating a new contract, you will need to manually select the appropriate service value type.
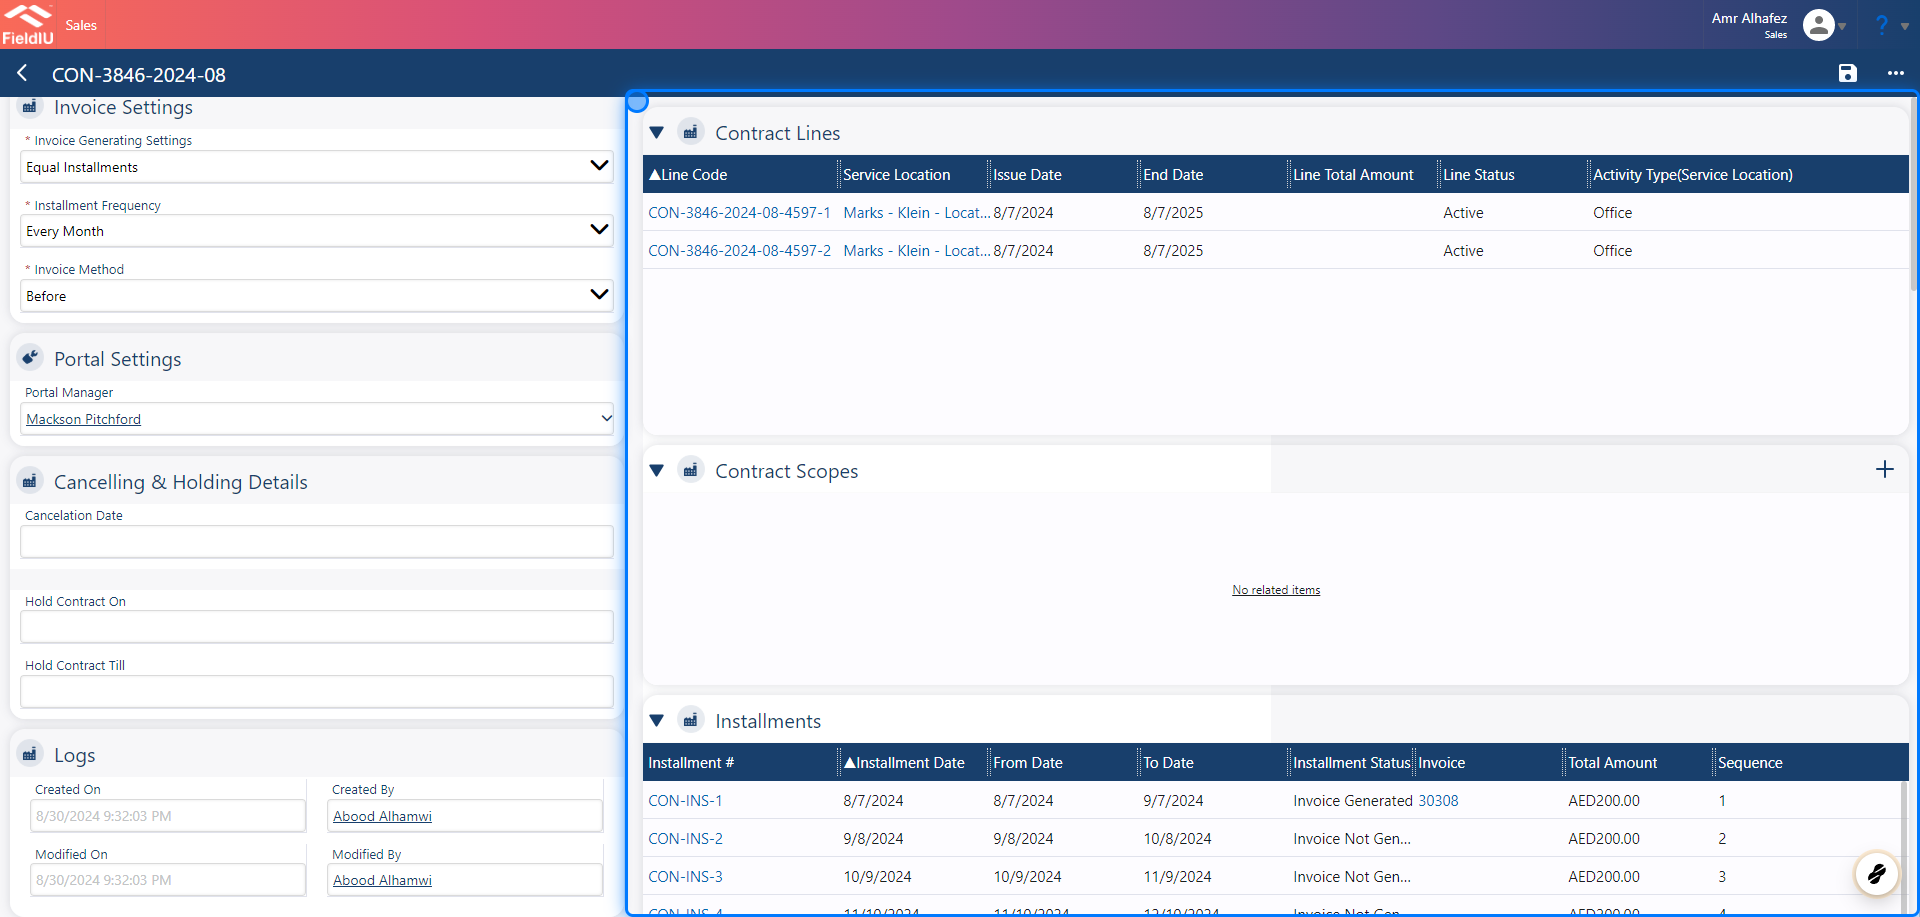
5. Installments Settings
In the Installments Settings section, there are three settings to configure
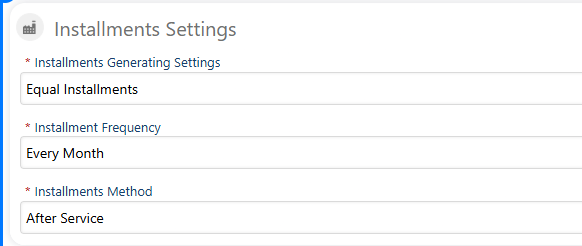
6. Installment Generating Settings
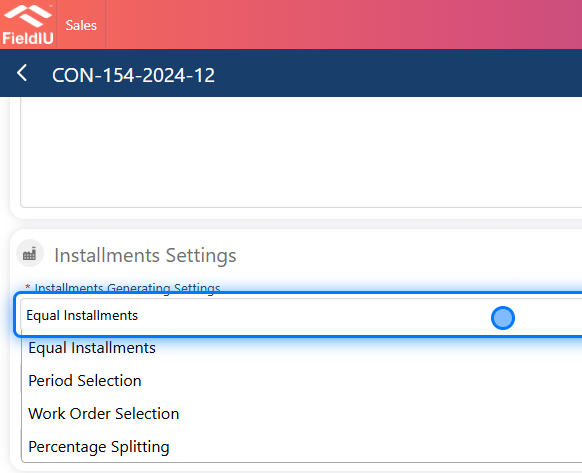
Installment Generating Settings have 4 options:
-
Equal Installment : This follows the installment frequency. For example, if it's set to 12, there will be 12 equal installments.
-
Period Selection : Allows us to select a date range for generating the installments.
-
Work Order Selection : If we want to divide the installment across selected work orders, this option can be used.
-
Percentage Splitting : This splits the installment by percentage value, e.g., 25%.
7. Installment Frequency
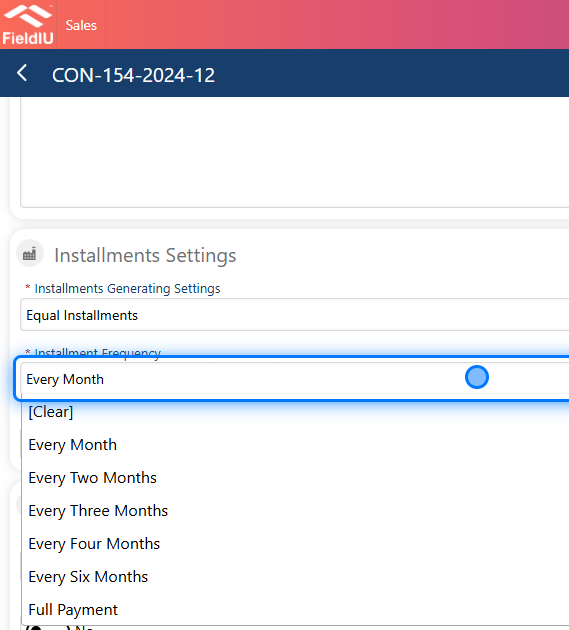
Installment frequency is used to select how often the installment will be made, whether it's monthly, every 2 months, yearly, or as a full payment.
8. Installment Method
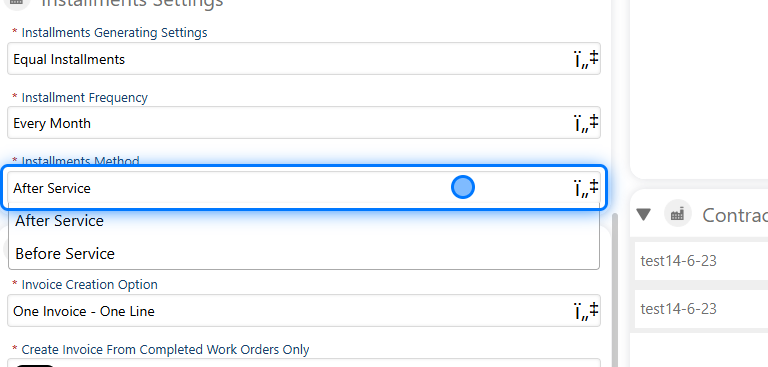
The installment method determines whether the installment should be made before or after the service.
For example, if we have a monthly service and select "Before Service," the installment should be paid at the start of the month, before any service is provided to the contractor. The same applies for the "After Service" option, where the installment would be paid after the service is completed.
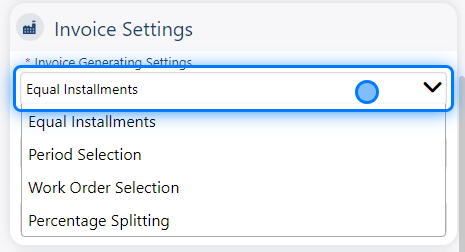
9. Invoice Generating Setting
In the invoice generation settings, you can choose how you want the invoice to be generated:
-
Equal Installments
-
Period Selection
-
Work Order Selection
-
Percentage Splitting
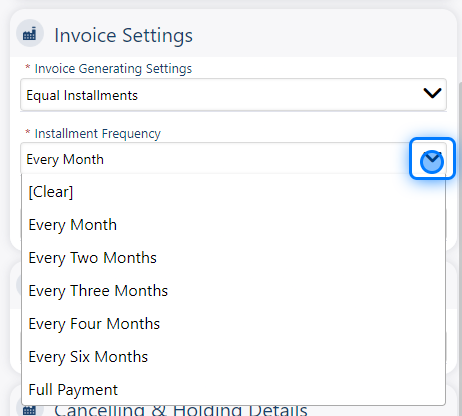
10. Installment Frequency
For installment frequency, you have the following options:
-
Every Month
-
Every Two Months
-
Every Three Months
-
Every Four Months
-
Every Six Months
-
Full Payment
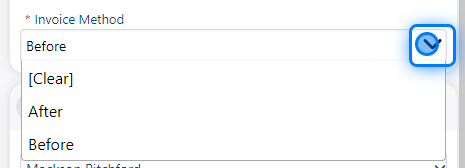
11. Invoice Method
You can select the method you prefer, either before or after.
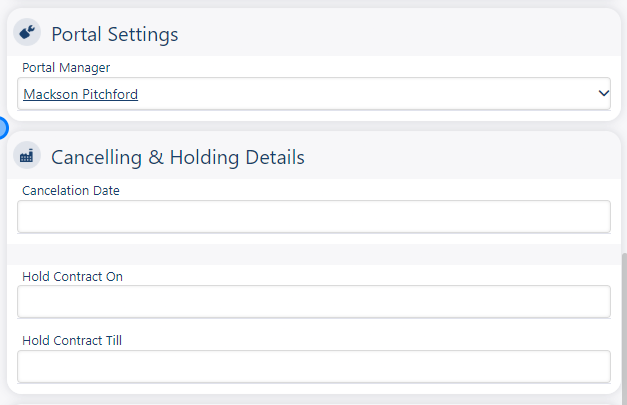
12. Cancelling & Holding Section
Cancelling & Holding Section:
Here, you can enter the contract cancellation date or specify the contract holding dates.
💡 Portal Settings
This will be explained in a separate document.
Contract Section
💡 Sections
There are several sections within the contract to manage and review all the details.
13.
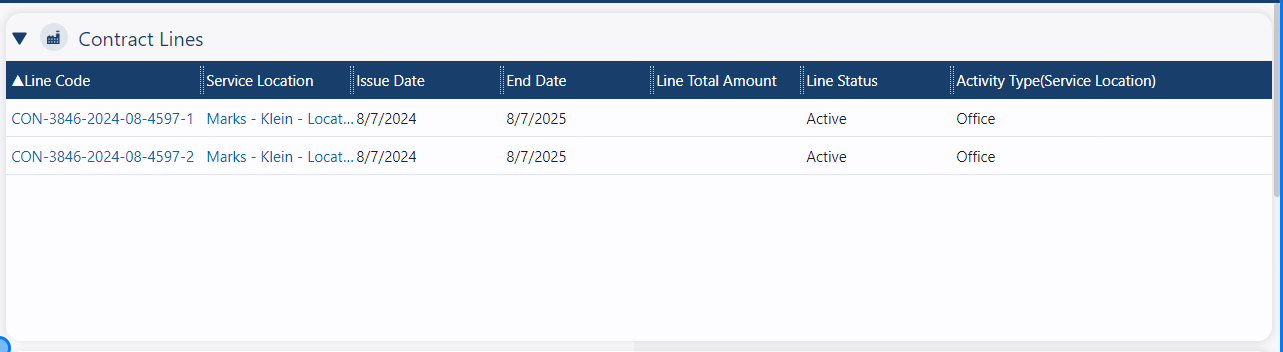
14. Contract Lines
This is where you can find all the service lines for the contract. You can also view, edit, and manage each of them as needed.
15. Contract Scopes
This section allows you to assign and manage the scopes of the contract.

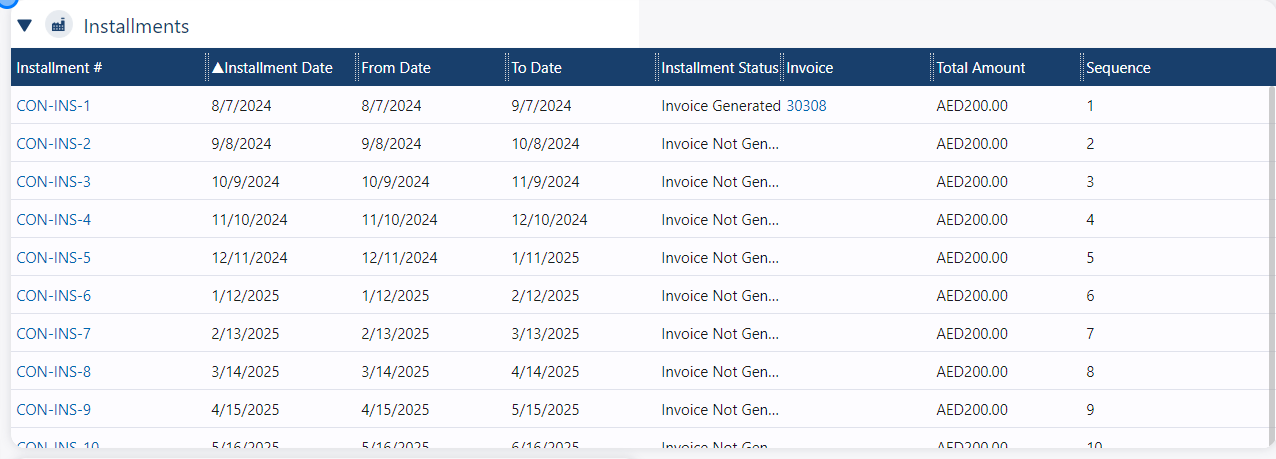
16. Installments Section
This is where you can view all the installments and their details.
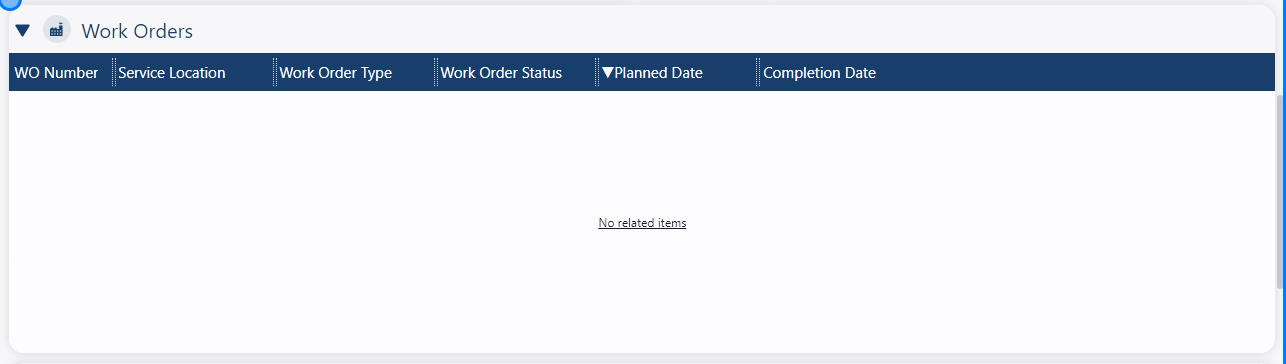
17. Work Orders Section
Also, in the Work Order section, you can view all the work orders associated with this contract.
18. Consumable tracker Section
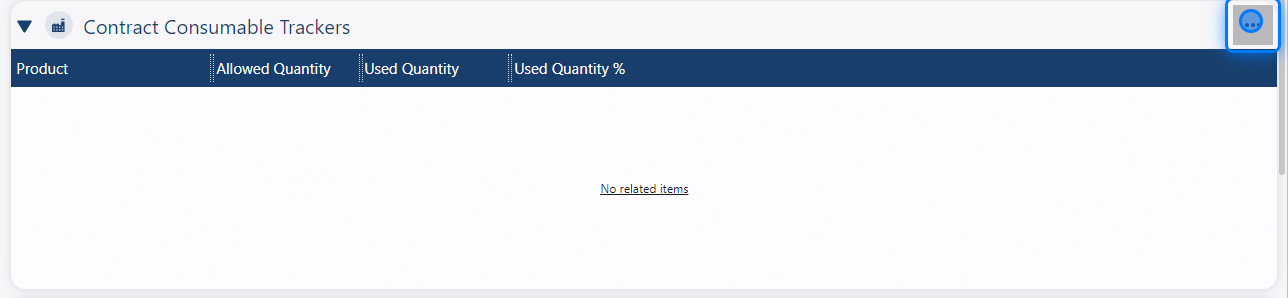
The Consumable Tracker section displays the consumed products for this contract. You can use the notification feature to alert the operations manager once the consumed product reaches any specified level you want to be notified about.
19. Contract Questionnaire
The Contract Questionnaire section allows you to set up questionnaires for the contract. Some companies and factories require inspection forms for each visit, such as a "Checklist." Once you add the questionnaire, it will be displayed for the technician in the app every time they visit the location.

Actions
20. Contract Actions
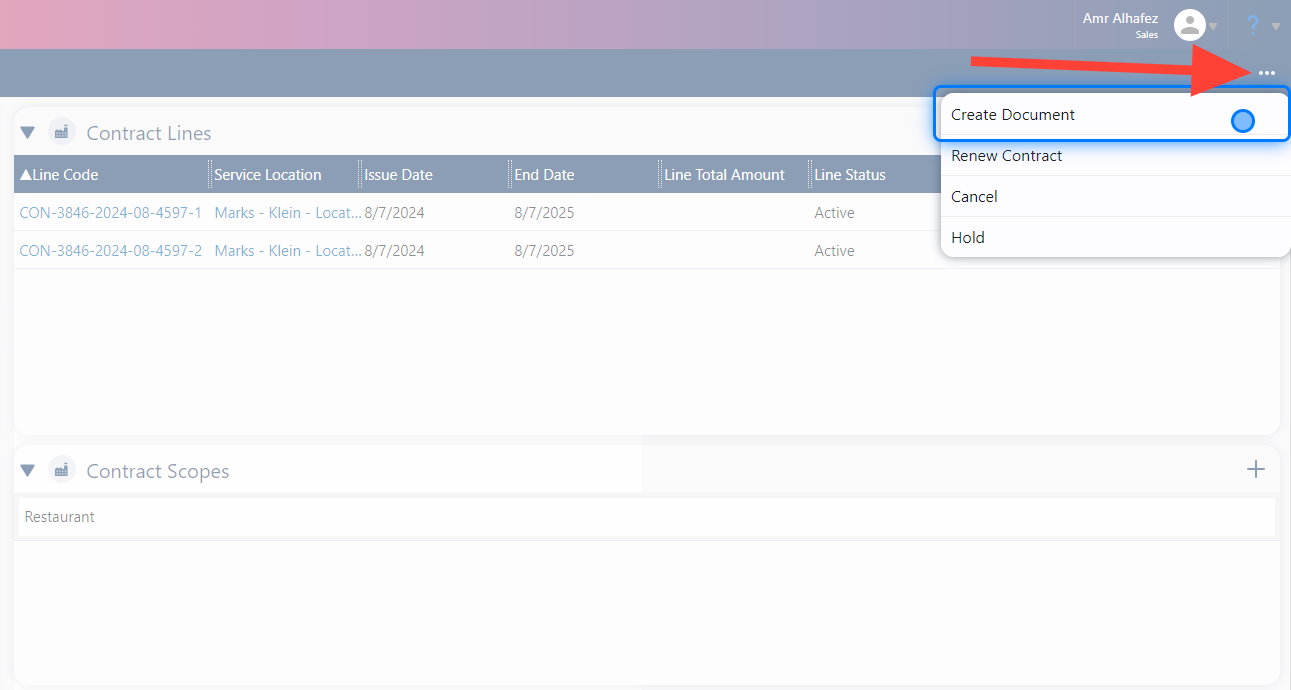
You have several actions you can take for the contract:
-
Create Documents : This generates the contract document with all the details and information.
-
Renew Contract : This feature allows you to renew the contract without having to set up all the information again. It will automatically create a new quotation for you.
-
Cancel : Use this action if you want to cancel the contract.
-
Hold : Use this action if you want to place the contract on hold."
 �����������������������