

Invoices & Installment
1. Creating Installment
To create the installment, click on the three dots and select 'Create Installment.'
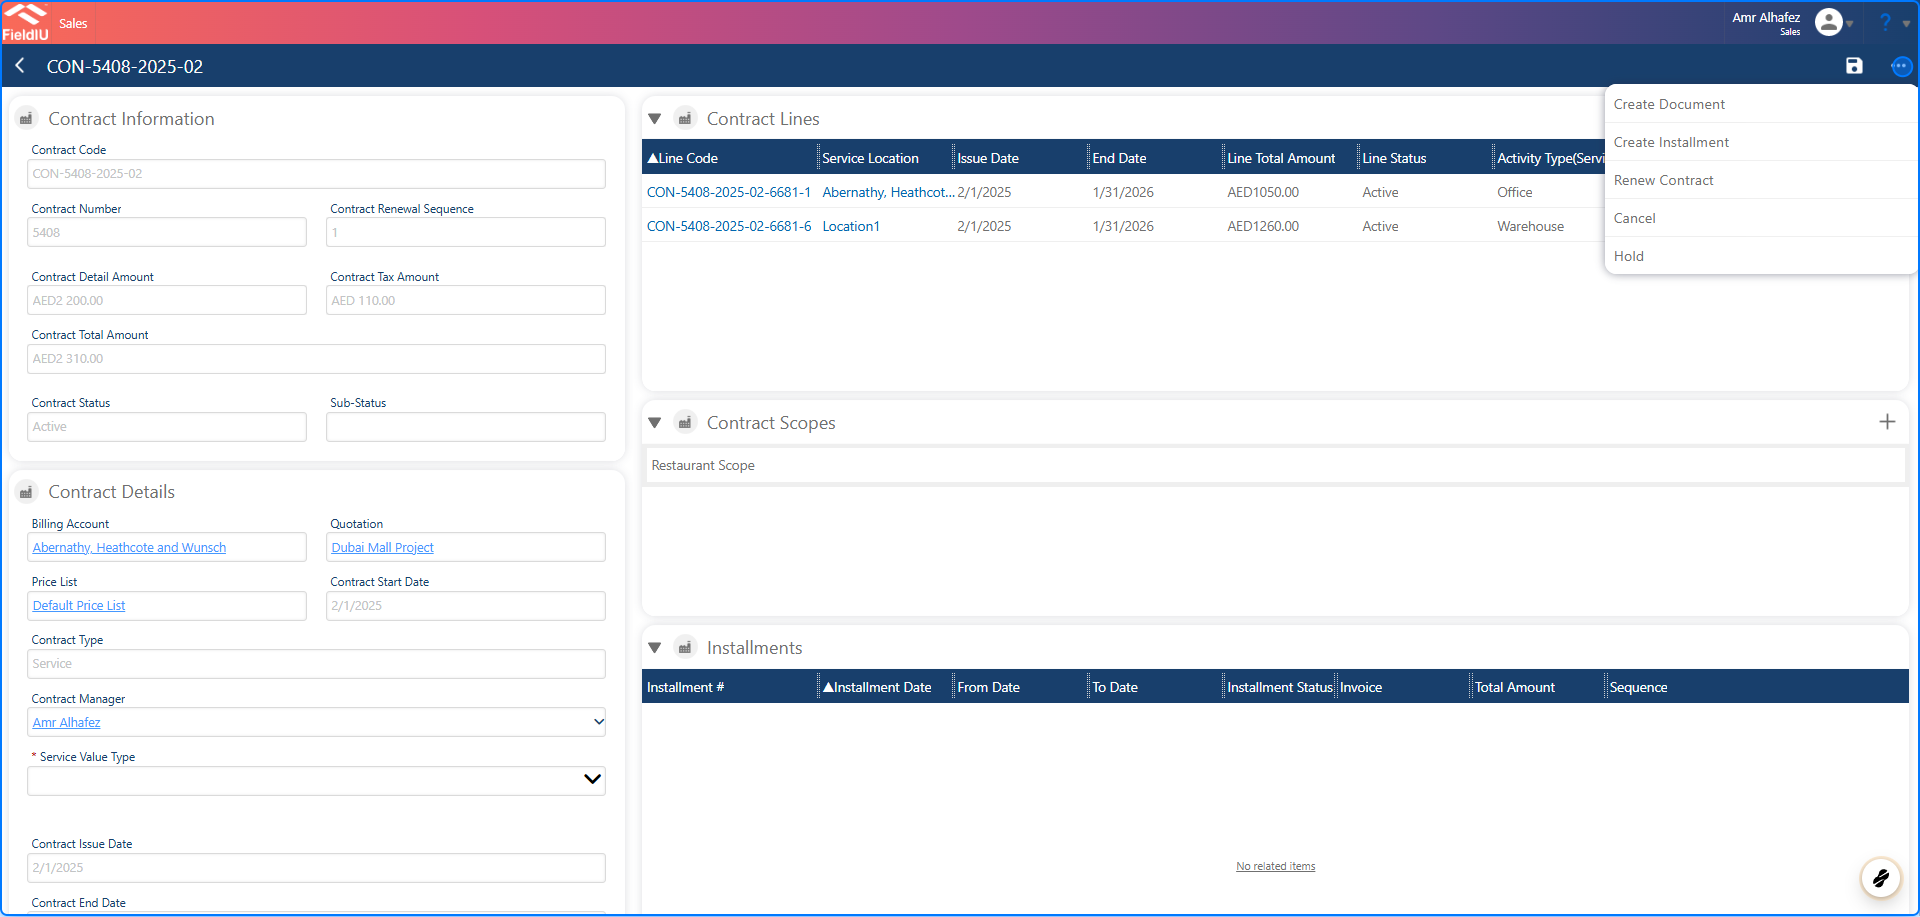
💡 As you can see the installment section filled
2.
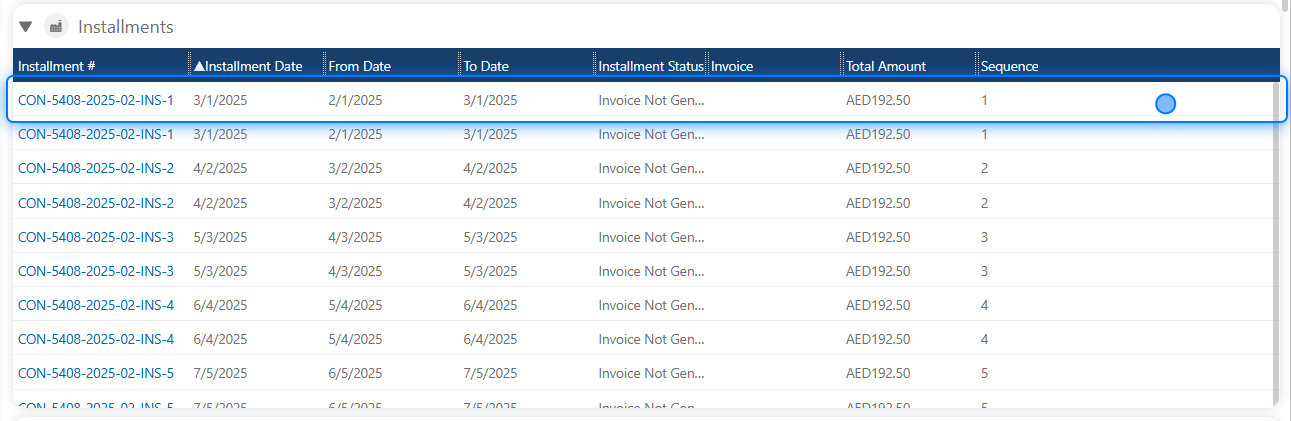
Creating Invoices
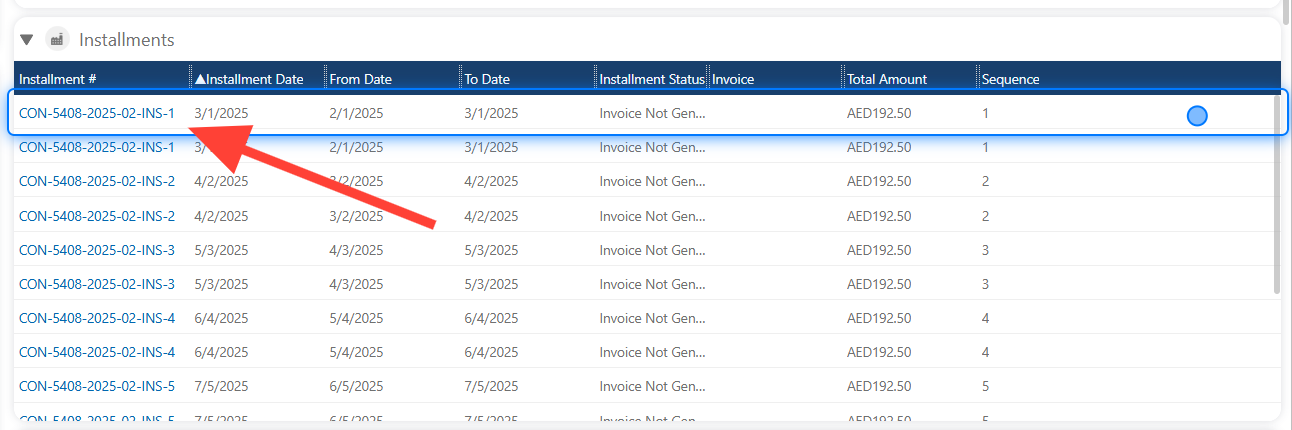
3. Select Installment
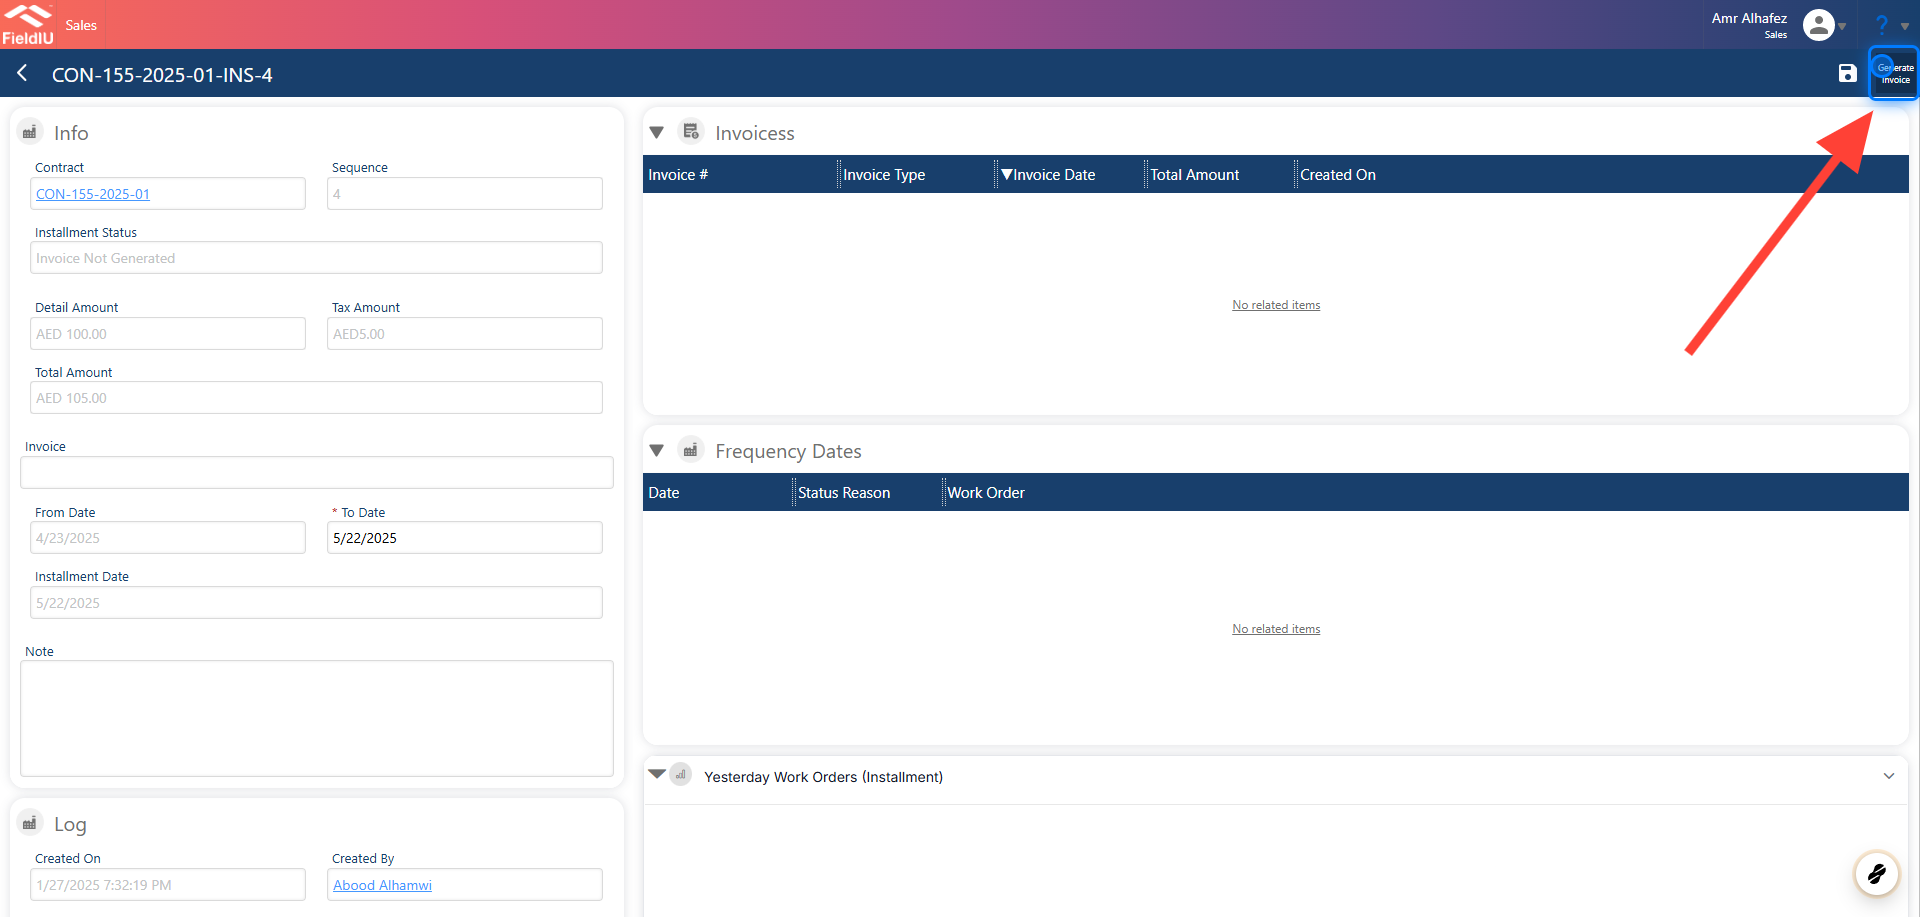
4. Click On Generate Invoices
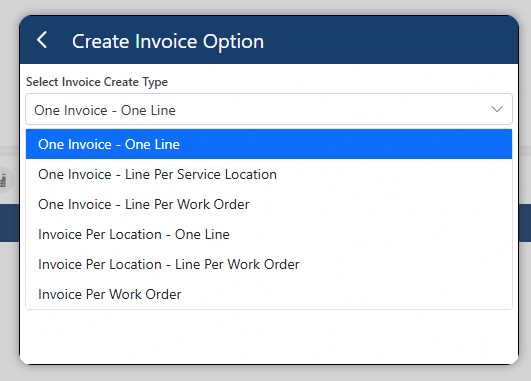
5. Create Invoice Options
Invoice Output Options:
-
One Invoice - One Line:
This option generates a single invoice with one line, regardless of the number of locations or work orders. This means that all locations and work orders will be grouped into one line on the invoice. -
One Invoice - One Line Per Service Location:
For example, if we are working with Emaar Offices, each line on the invoice will represent a different location, regardless of the number of work orders associated with each location. -
One Invoice - One Line Per Work Order:
In this case, we generate one invoice, and each work order is represented by a separate line on the invoice. -
Invoice Per Location - One Line:
For example, if there are 5 locations under Emaar Offices, this option will generate 5 separate invoices, one for each location. -
Invoice Per Location - Line for Work Order:
If there are 3 locations under a work order, the invoice will have 3 lines, one for each location, even though it's a single invoice. -
Invoice for Each Work Order:
This option generates a separate invoice for each work order.
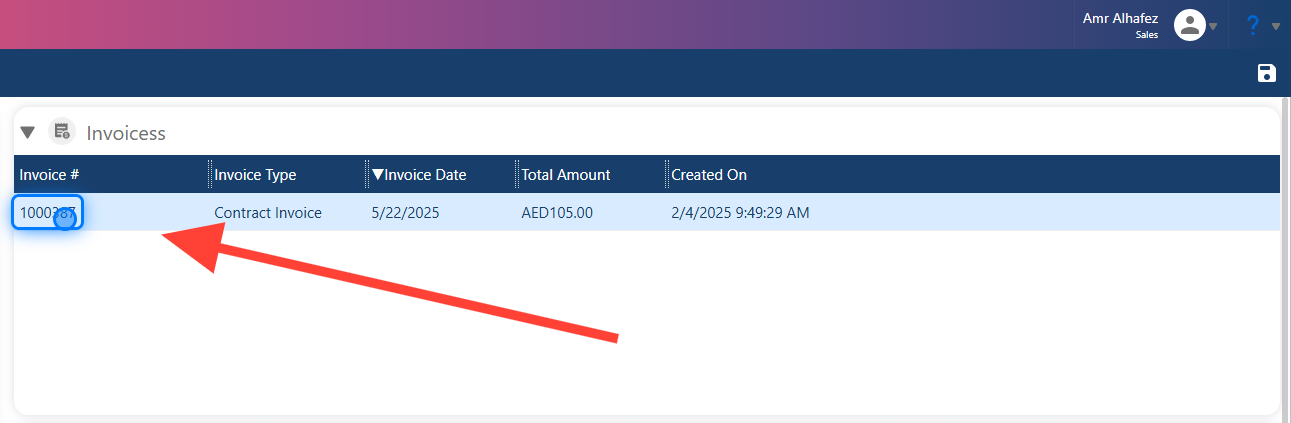
6. Select The Invoice
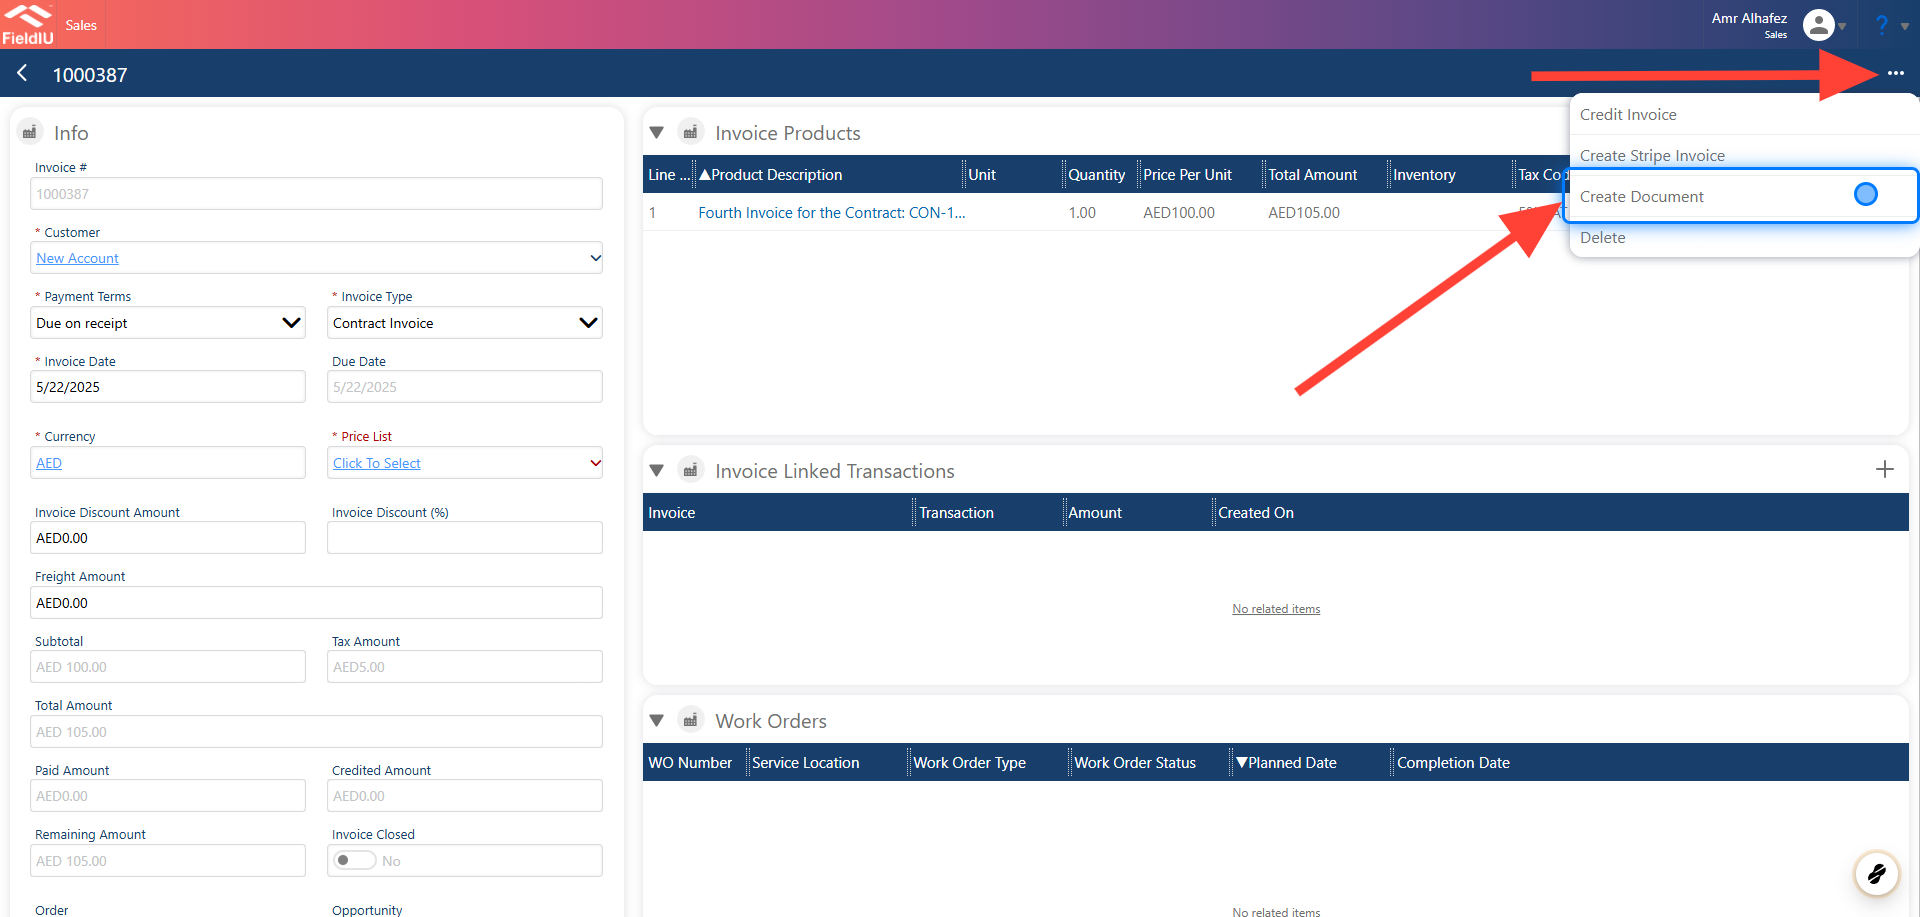
7. Select Create Document
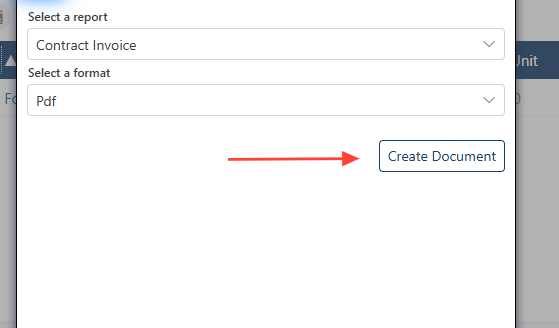
8. Choose & Create
💡 Automated Invoice Generating
We can use the same method in the contract screen and invoice generation settings, so the system will generate the invoices 3 days in advance with the desired settings.�����������������������