

User Managment
⚠️ This Feature Is for System Admin Only!
Here You Can Add & Edit :
User Information
User Passwords
User Roles
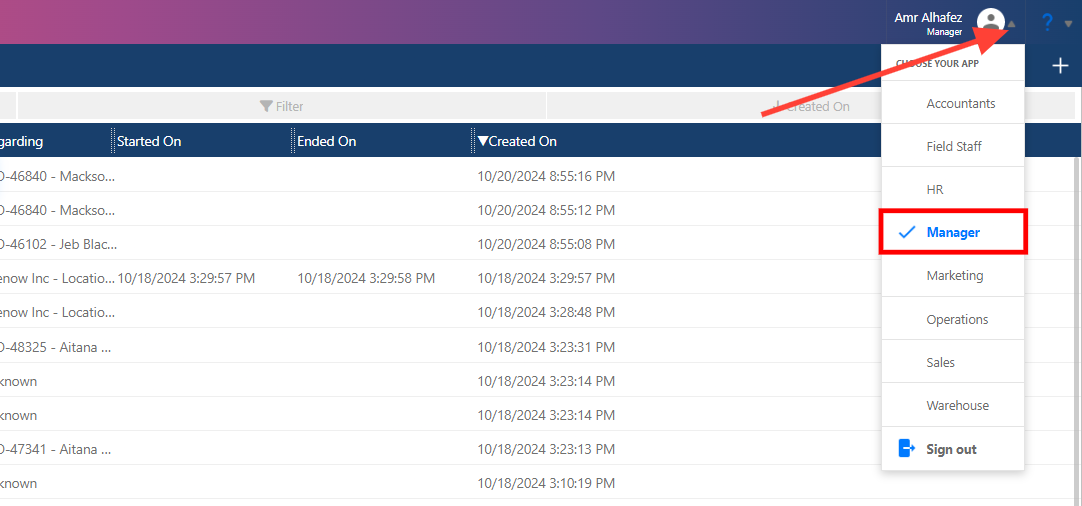
1. Manager App
To access the Administrator Console, select the Manager App by clicking the arrow next to your username, then choose "Manager App."
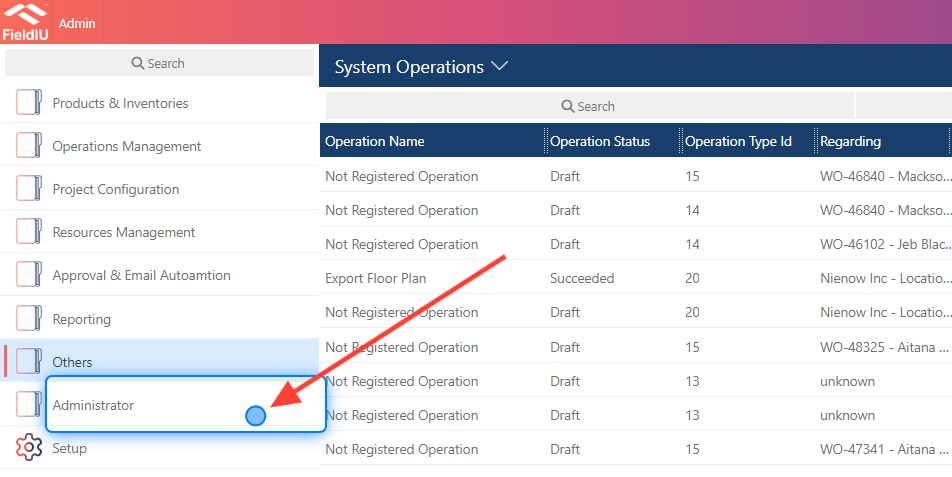
2. Click on Administrator
From The Side Bar Click on Administrator
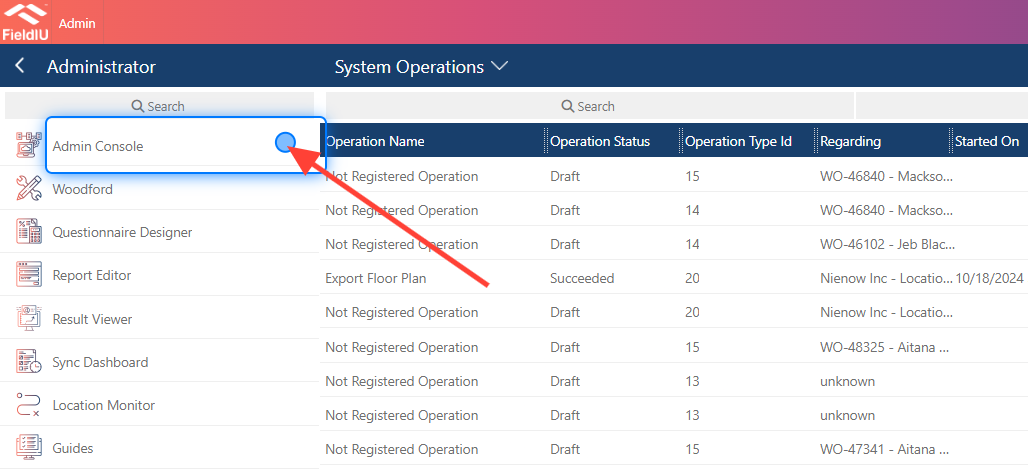
3. Click on Admin Console
4. Click on Users
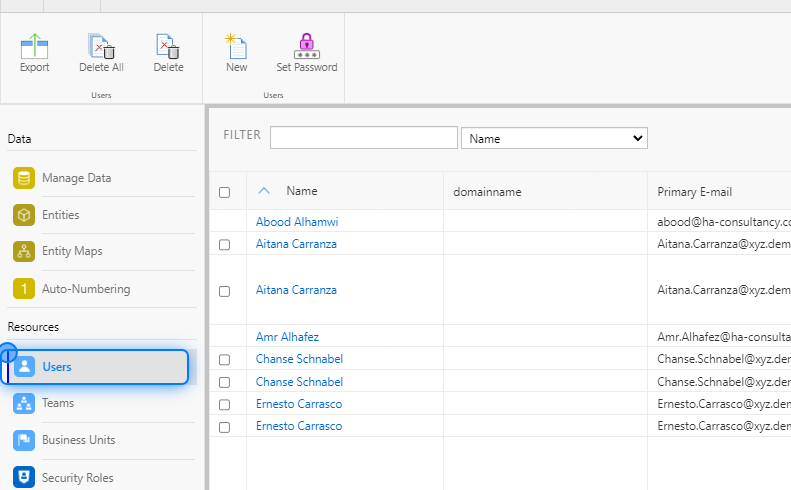
5. Users Console
The User Console contains all user details, including names, email addresses, passwords, and roles. From here, you can edit, add, or remove users.
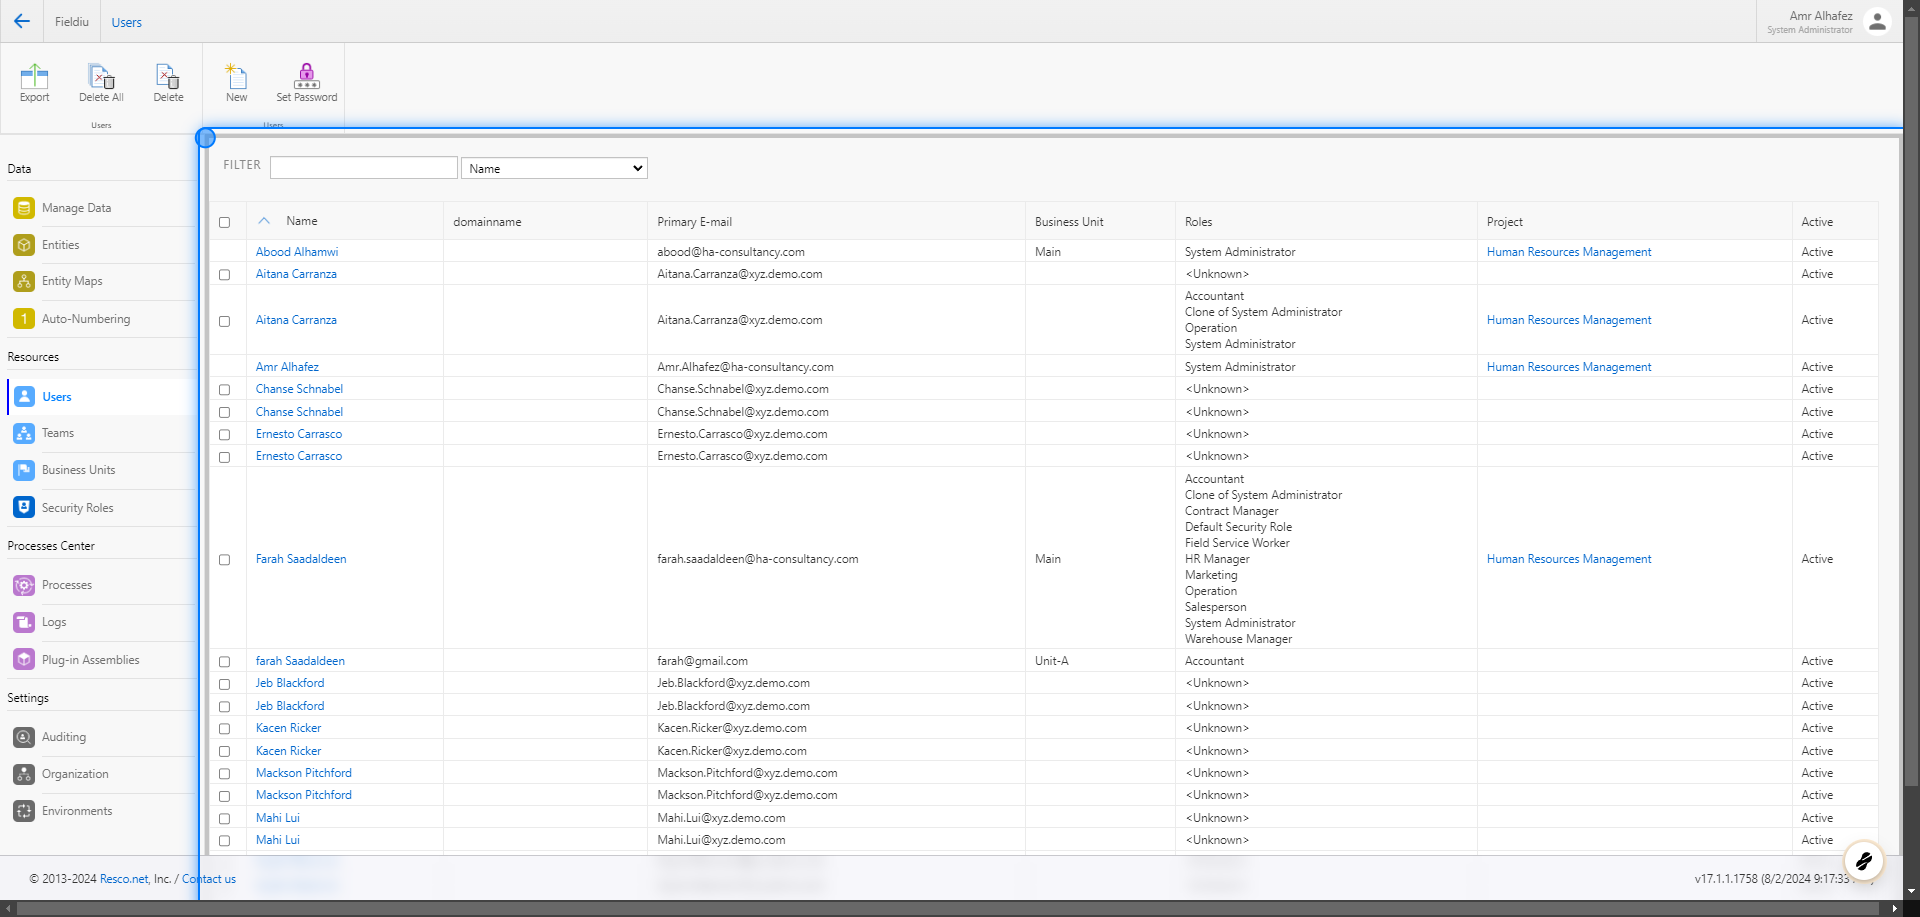
💡 Creating Users
In this documentation, we will show you how to create and edit new users. When you click on a user, you will find the same details available for editing.
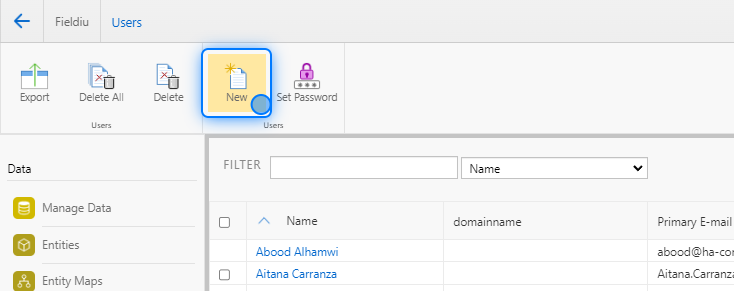
6. New User
Click On New
7.
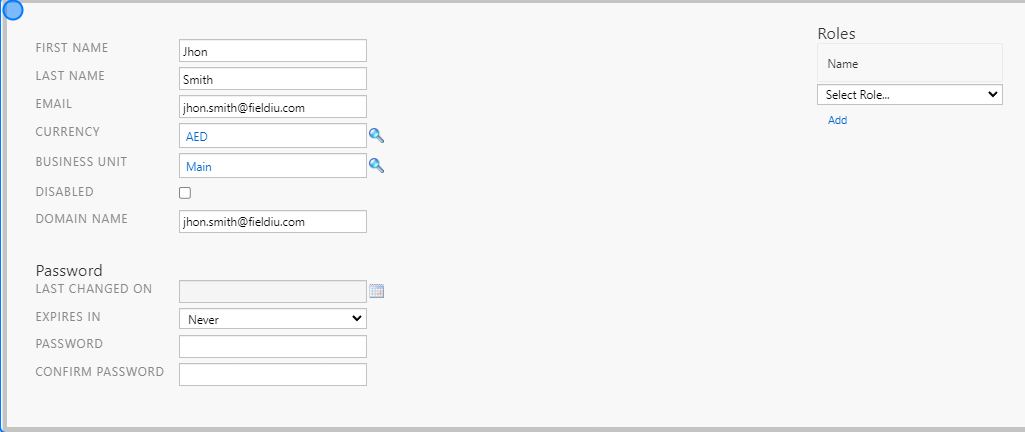
8. Main Details
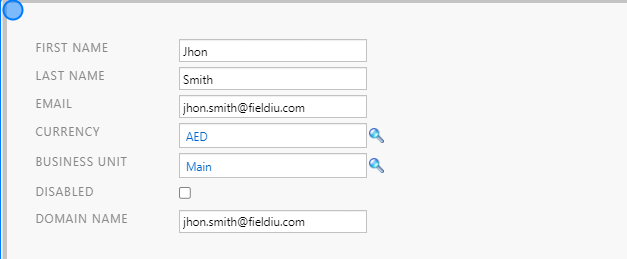
The main details for users are simple. You only need to input the following information:
-
First Name
-
Last Name
-
Email
-
Currency : The system allows for multiple currencies, so you can select the currency used for the user.
-
Business Unit : If your company has multiple branches, you can assign the user to the appropriate branch or business unit.
-
Disable : You can disable users by selecting this option.
-
Domain Name : This should be a duplicate of the email field.
9. Password Section
In the Password section, you can view the last time the user changed their password. You can also add a password for new users or change it for existing users. Additionally, you can set a password expiration date, prompting the user to change their password for enhanced security.
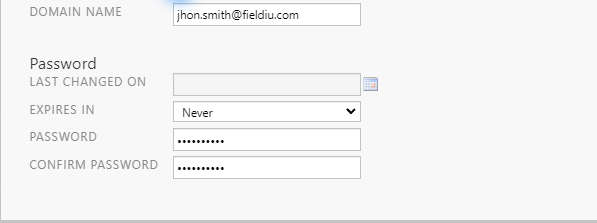
⚠️ Password must contain
At least one upper case letter (A-Z)
At least one number (0-9)
At least one special character
At least 8 characters
For Example ( ABC123abc@ )
!! Use Strong Password Only !!
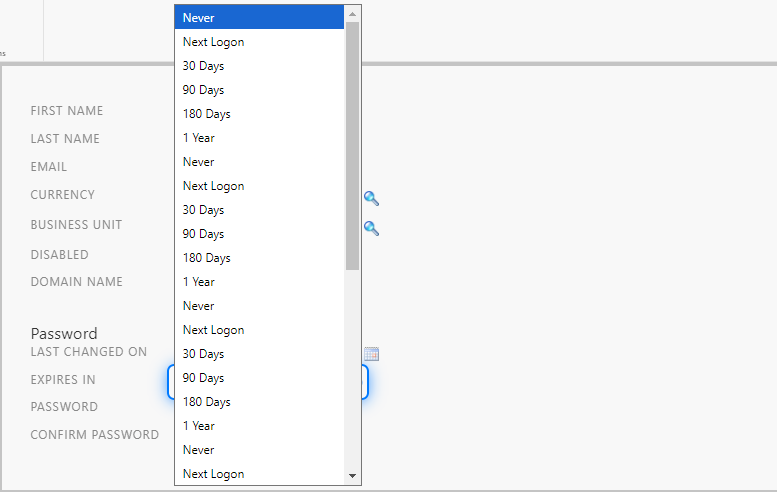
10. Password Expiry
As mentioned, the system allows you to set password expiration for enhanced security. You can choose from the following options:
-
Never
-
Next login
-
30 days
-
90 days
-
Etc.
User Roles
💡 What Is Roles
Roles define a set of permissions and responsibilities assigned to users or entities, controlling their access to resources and tasks. Roles streamline security by granting specific privileges based on the user’s function
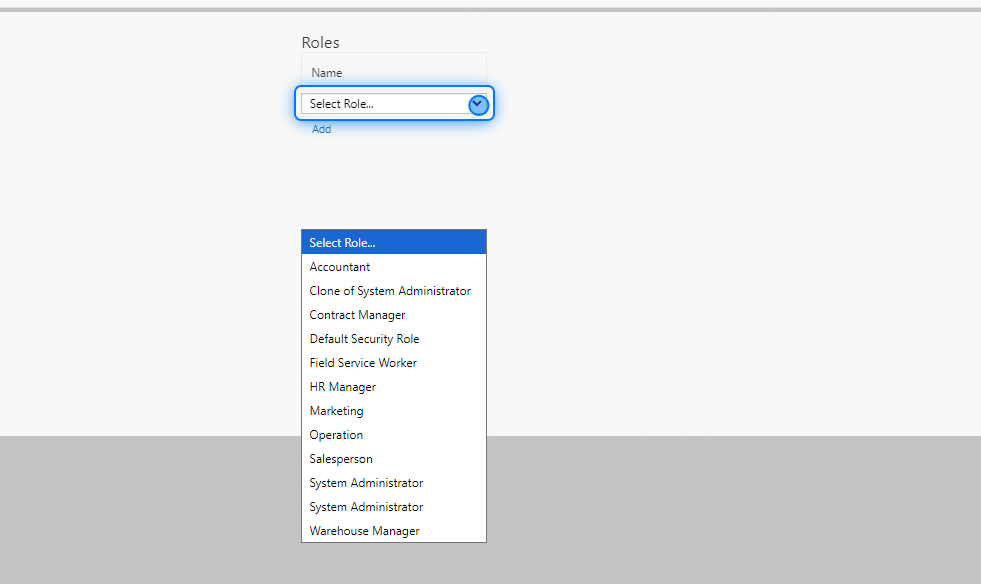
11. Select Roles
By clicking on the roles list, you will see all the available roles in the system. Click on the desired role to add it.
12. Click on Add
Click on add to confirm.
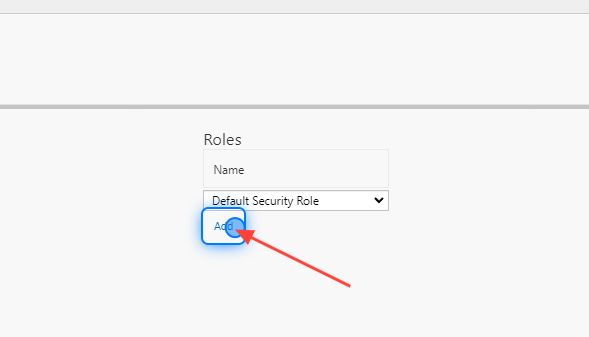
⚠️ Default Security Role
All new users must be assigned the "Default Security Role."
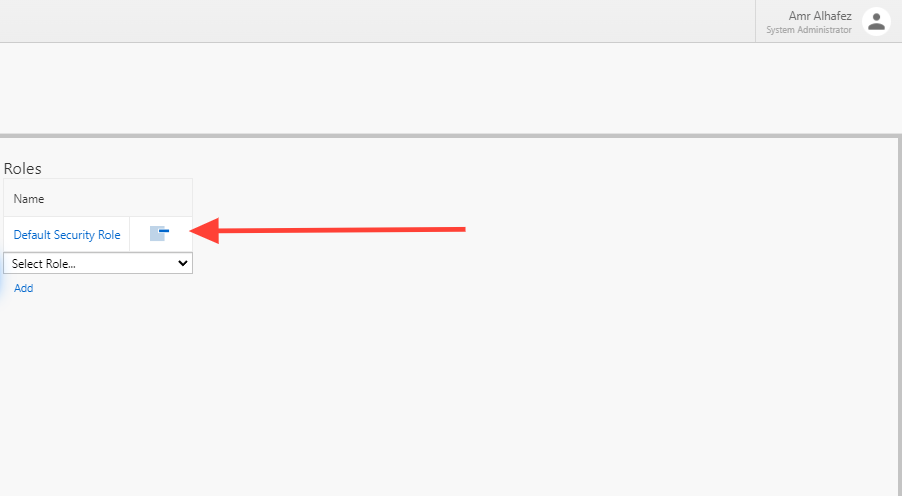
13. Delete The Role
Once you add a role, a delete button will appear beside it. You can use this button to remove the role if needed.
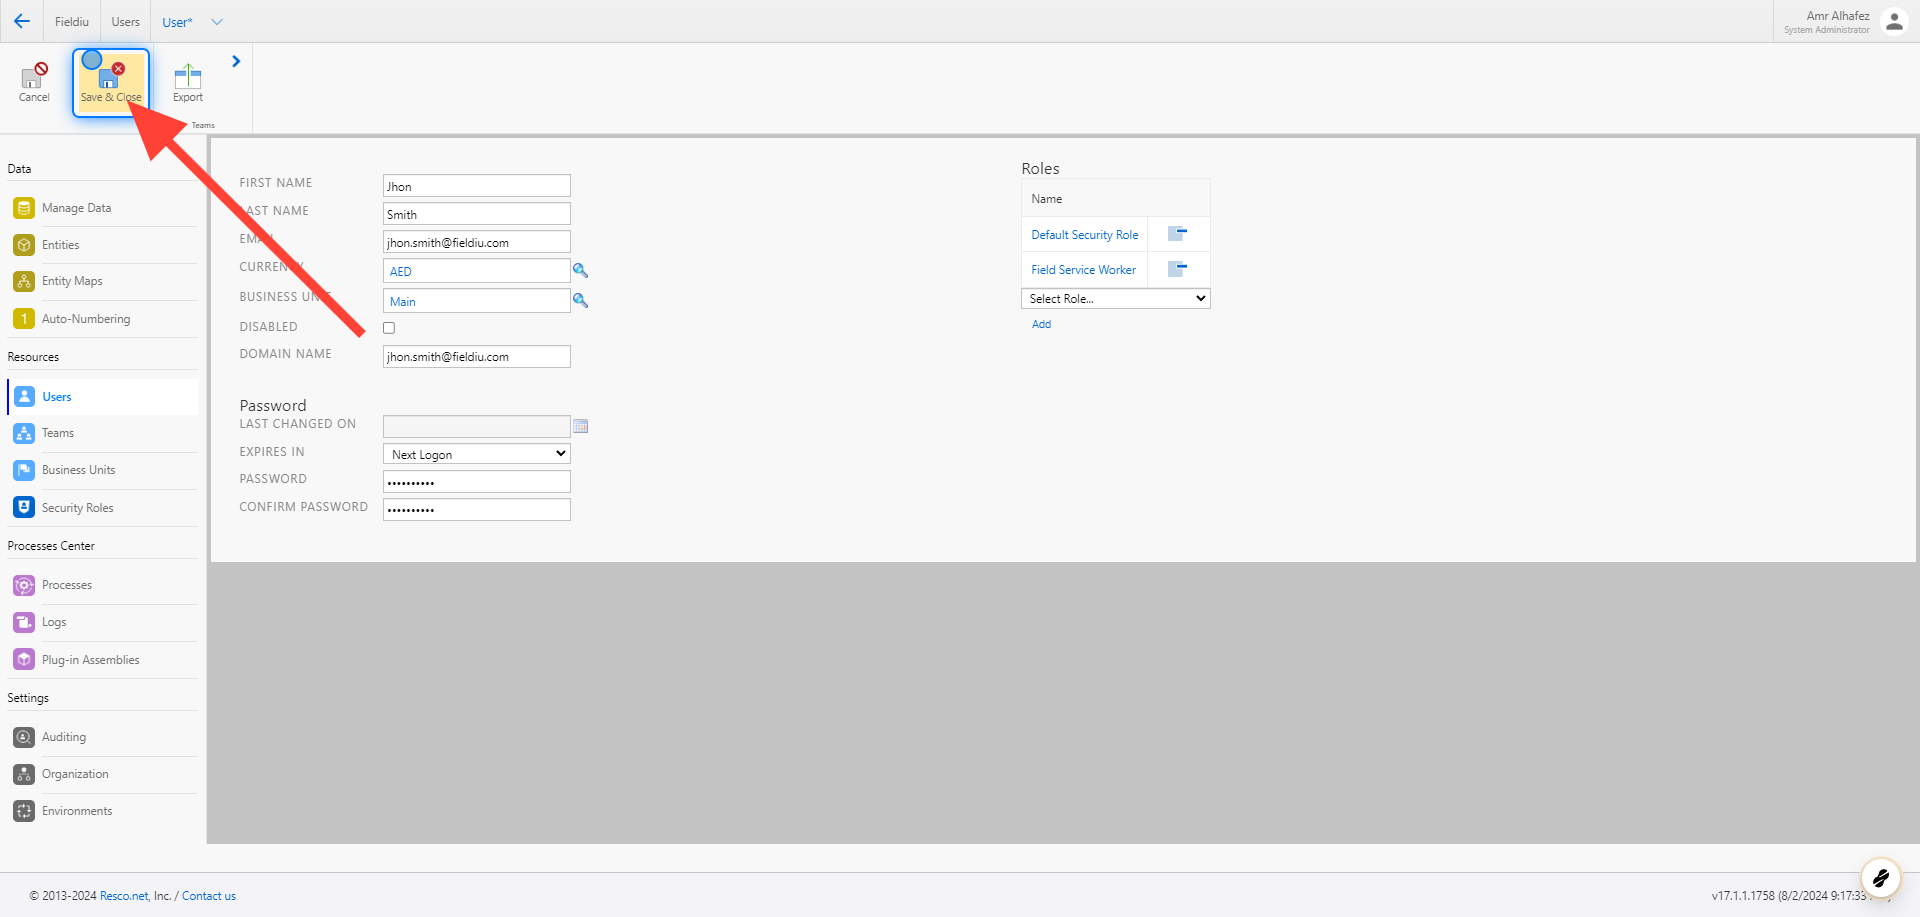
14. Save & Close
Once you finish, don’t forget to save your changes.
 �����������������������