

Products & Services
💡 Products & Services
In this documentation, we will guide you through creating and adjusting the product in the system.
1. Access
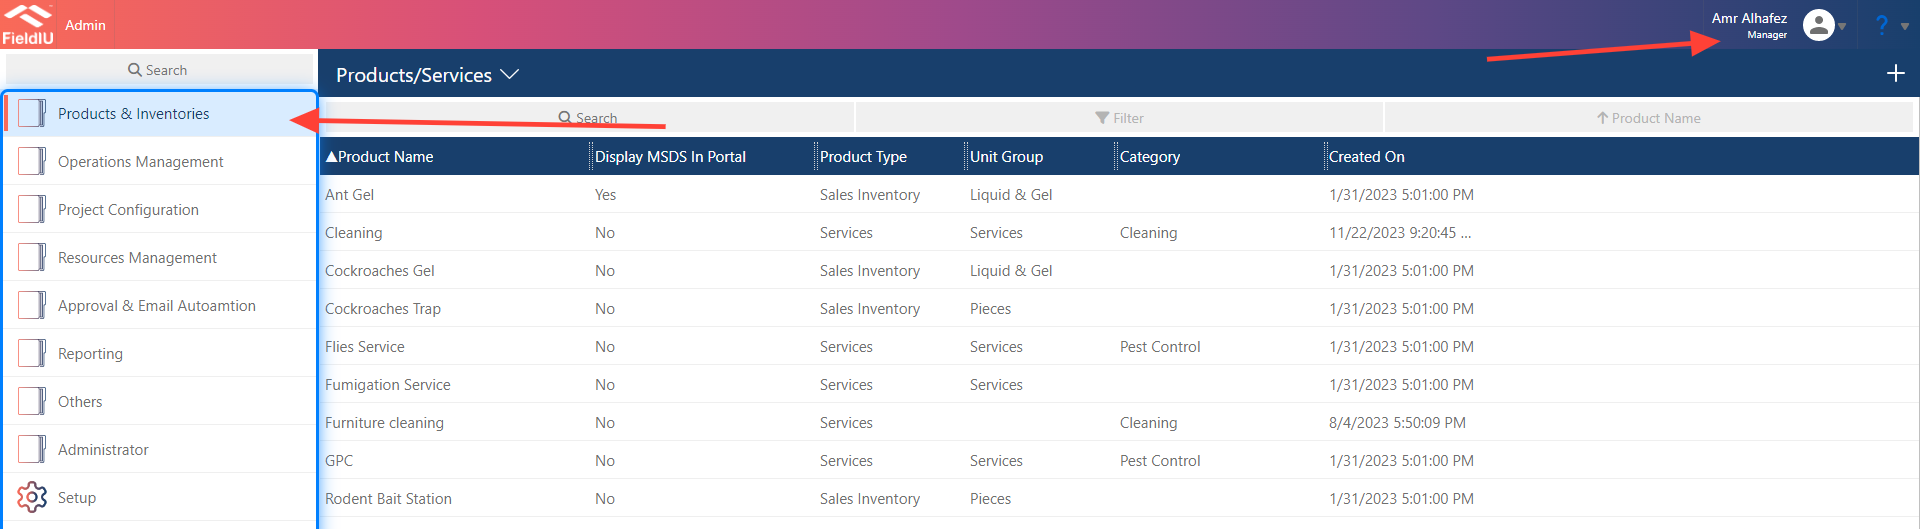
You can access the Products Dashboard from the Manager App only. In the side menu, you’ll find the 'Products & Inventories' tab. Simply click on it to open all the tools related to products and services.
2. List , Create , Edit
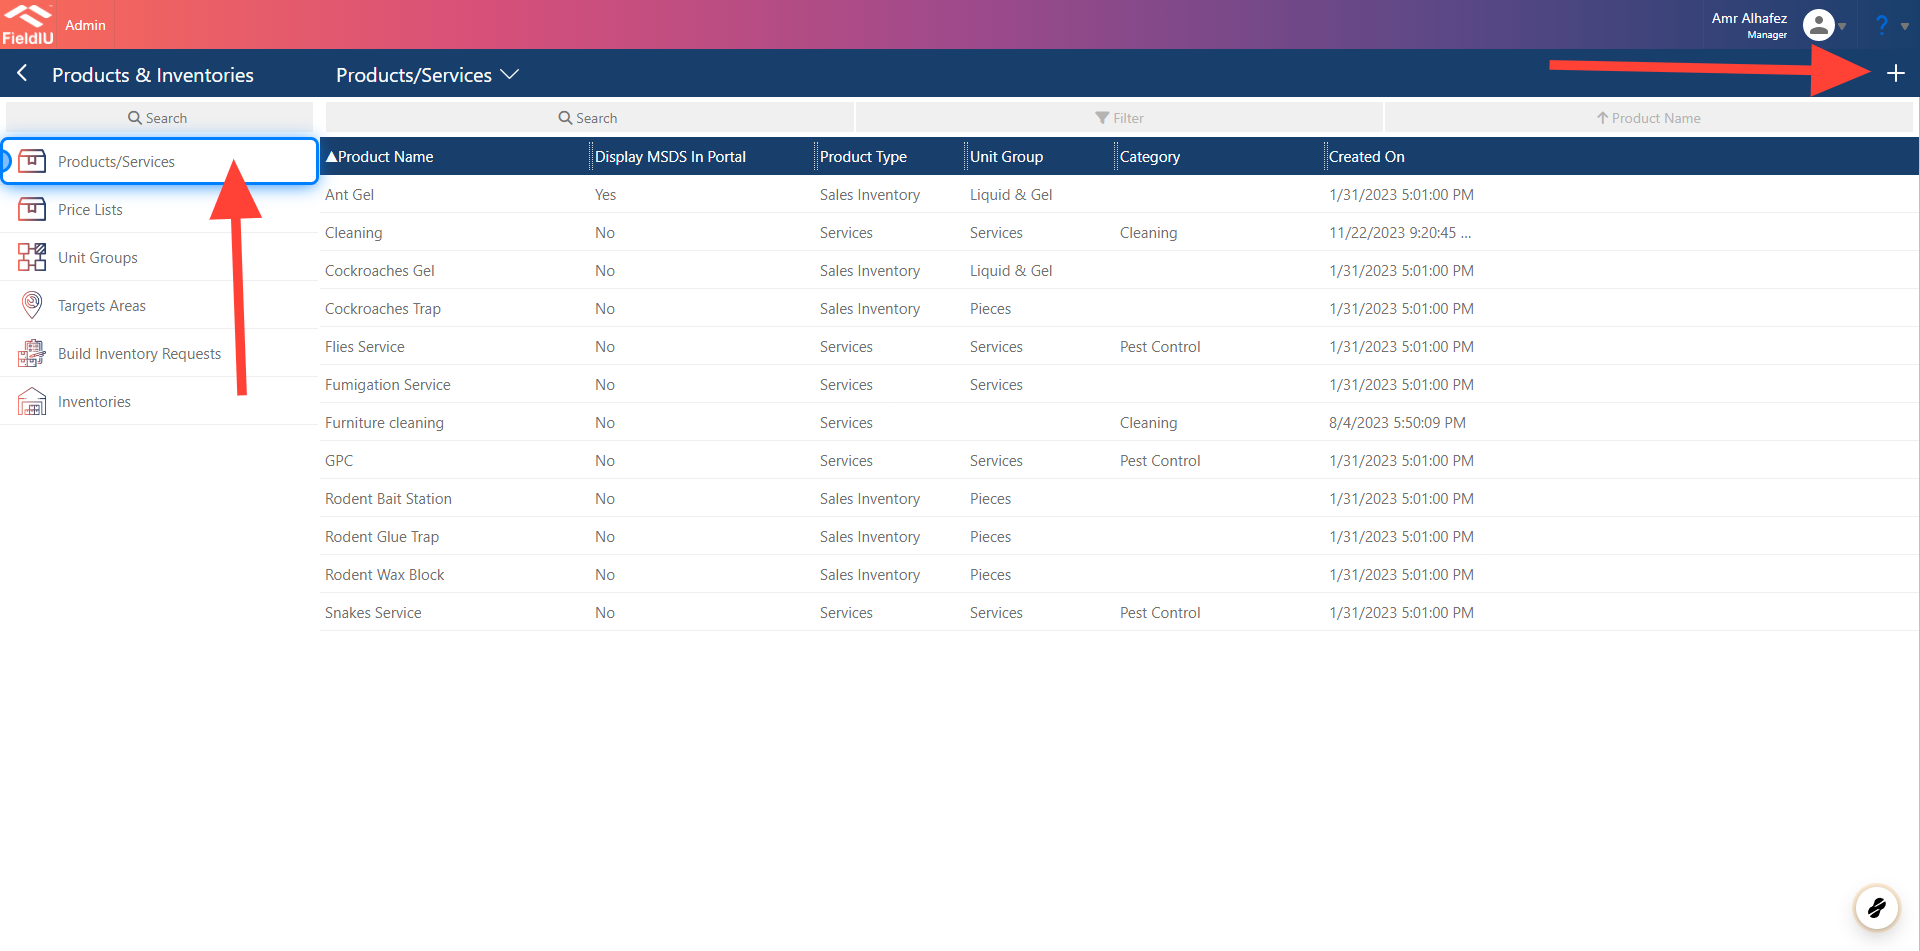
To view your product list, click on the 'Products/Services' button. The list of products will appear. You can easily click on any product to edit it, or create a new product by clicking the '+' button in the top right corner.
3. New Product Details
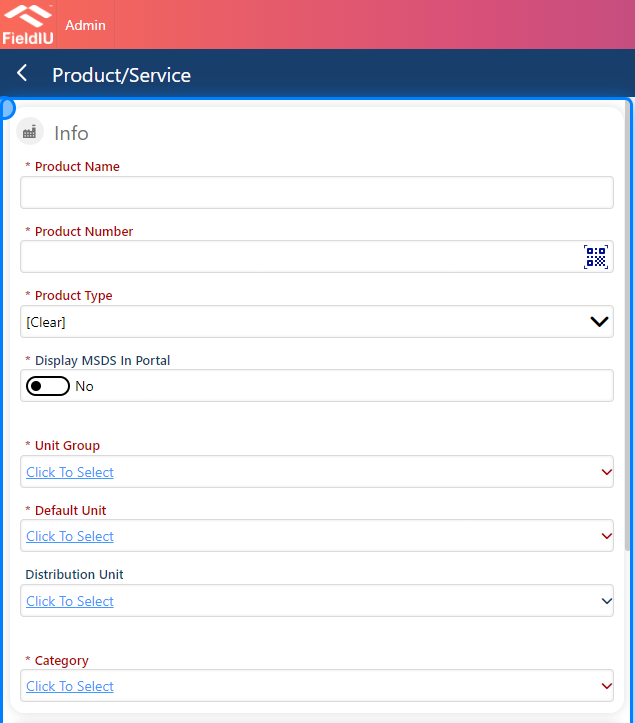
Once you create a new product, a new screen will open with empty fields. These fields are for entering the product’s main details:
-
Product Name : Enter the product's name.
-
Product Number (SKU) : Enter the product number (SKU). You can also use the QR icon to capture it via your camera.
-
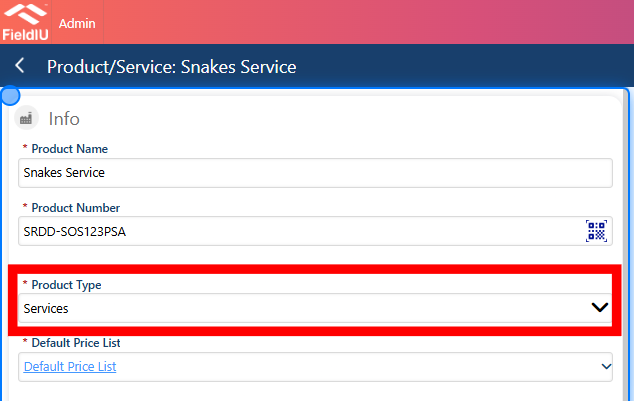
Product Type : Select the product type, such as Sales Inventory, Service, or Non-Inventory Product.
-
Display MSDS in Portal : By selecting 'Yes' on this button, the inserted MSDS file will be visible to customers in the customer portal.
-
Unit Group : This will display the unit groups you have defined in the system. You can select one, such as Liquid & Gel, Pieces, Services, Powder, etc.
-
Default Unit : Choose the default unit of measurement for the product, as defined in the system.
-
Distribution Unit : Select the unit used for wholesale distribution, if applicable.
-
Category : You can categorize the product (e.g., Insects, Rodents). This helps organize the system, reports, and inventories.
4. MSDS Document
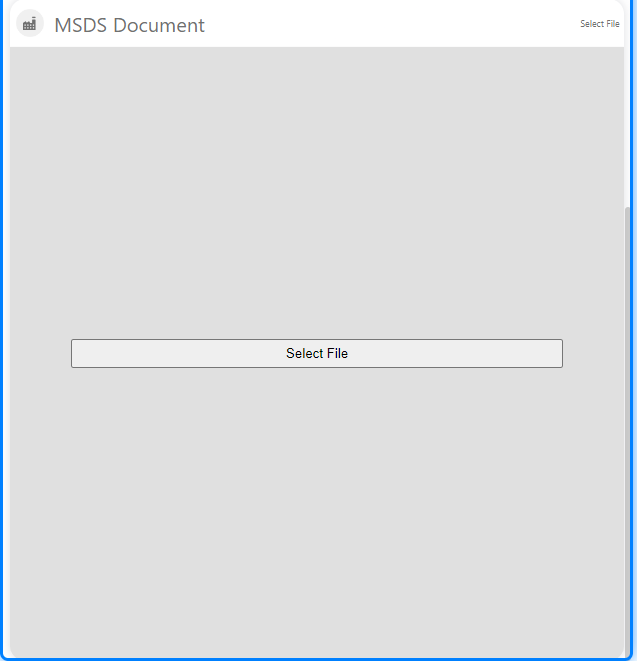
If you scroll down a bit, you’ll find a section where you can add MSDS documents for this product. Simply click the 'Select File' button and choose the file you want to upload
5. Product Related details
Once you save the product’s main information, a new section will appear, allowing you to add additional related details for the product.
6. Price List
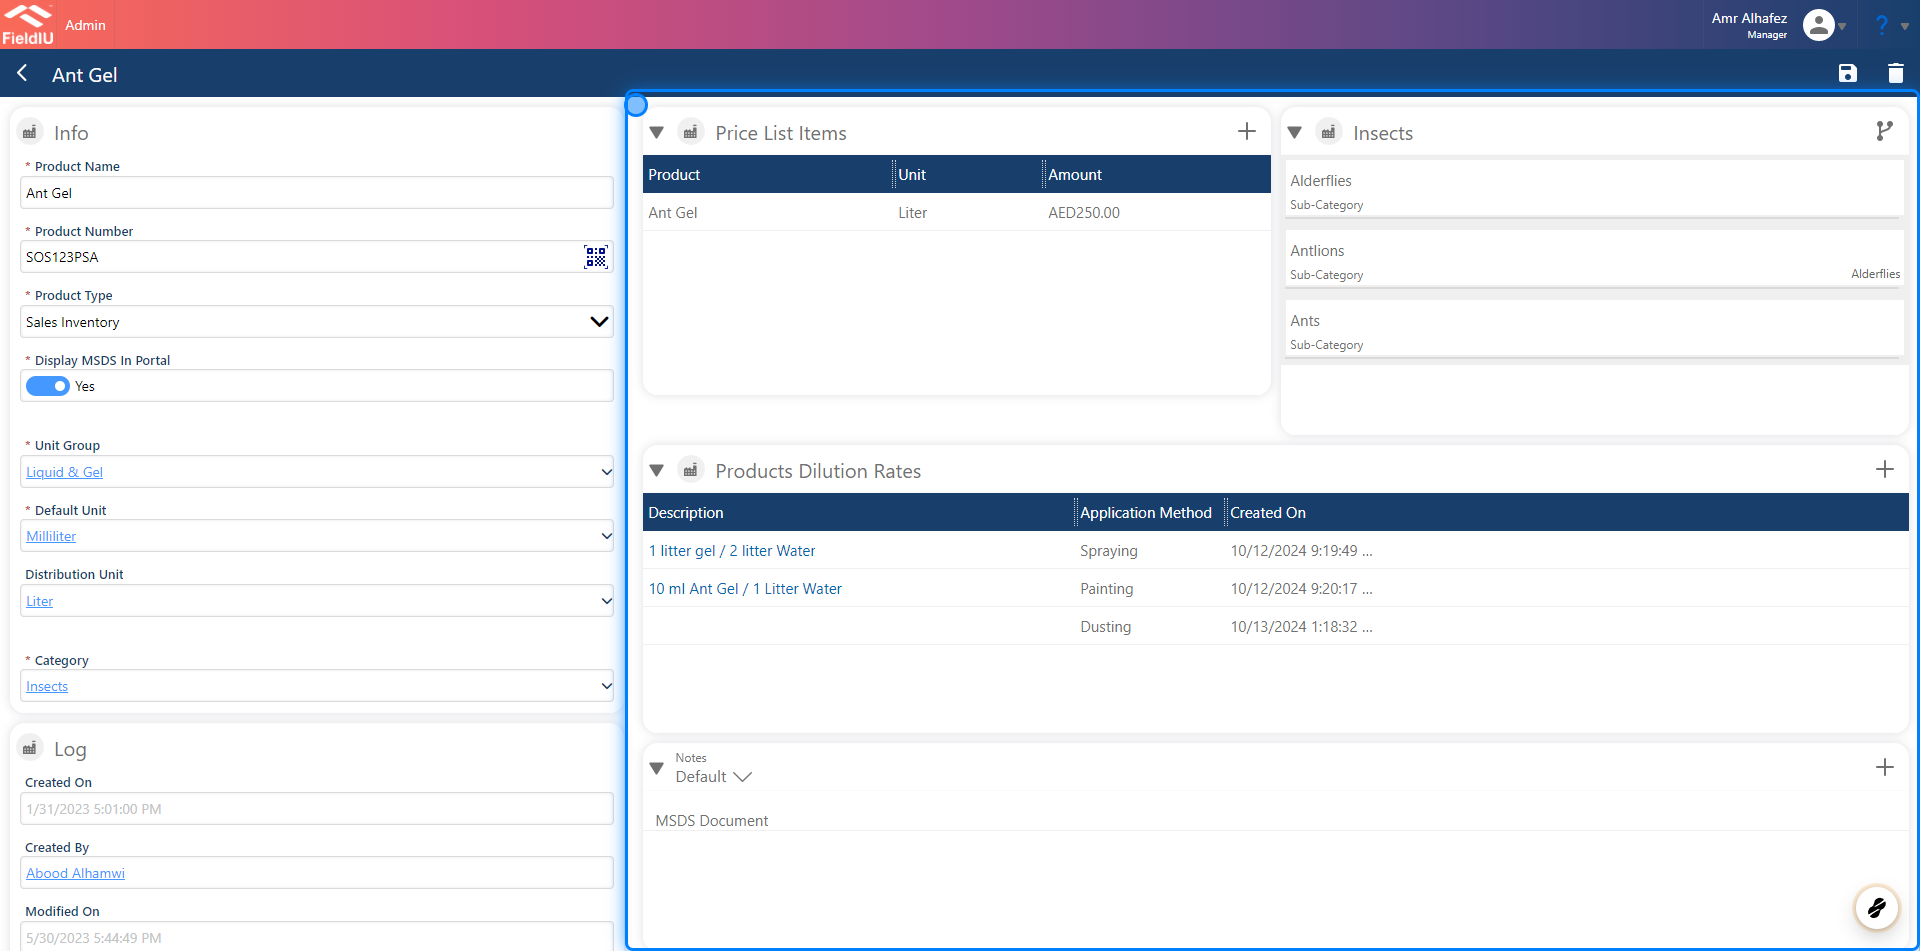
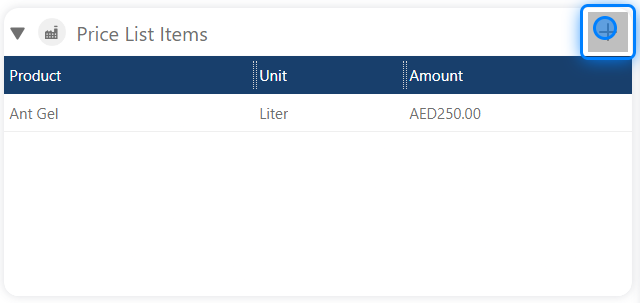
You can add the product to a defined price list and set the prices you want for this product within that list.
7. Insect
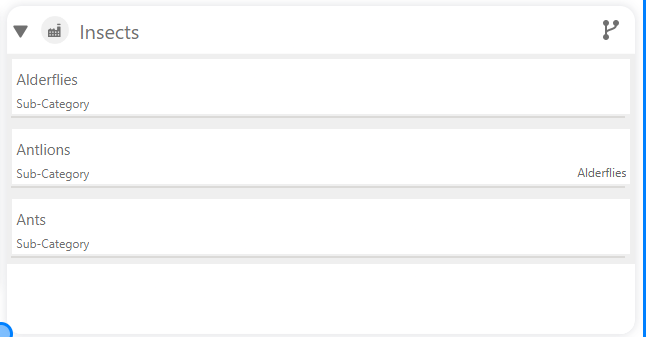
In the Insect section, you can link the product to a selected insect. This will ensure that the product appears in the consumable list when treating that insect in the system.
8. Product Dilution rates
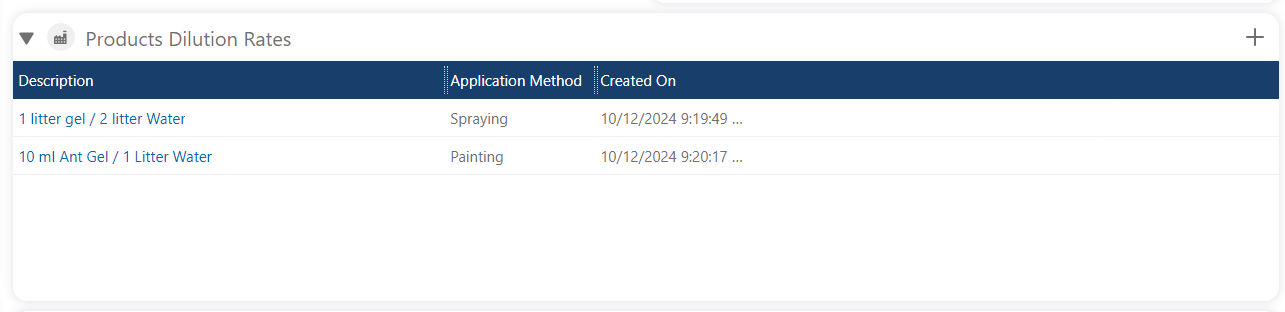
You can also define the product’s dilution rates, so the staff knows the appropriate rates for each method.
Services
9. Services Product Type
When using Services as the product type,
there are different settings that can be added.
10. Linking Insects
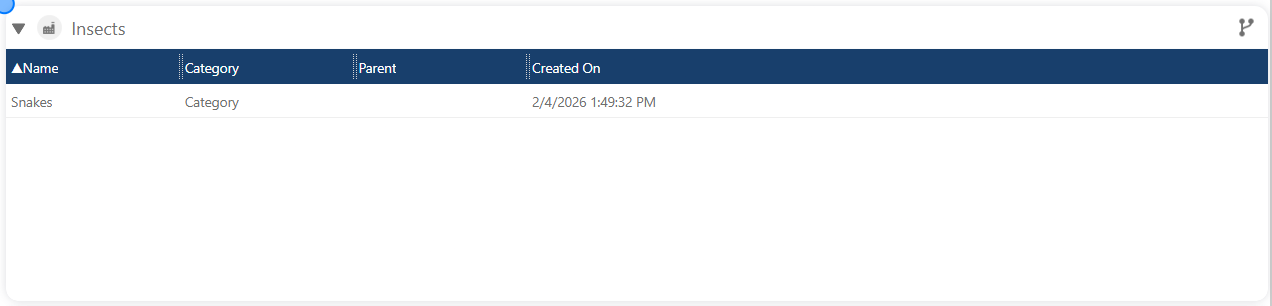
In this section, you can link insects related to the service.
11. Skills
You can link the required skills for this service.
This will help you select the matched resource when assigning work orders based on the service’s required skills.

12. Monitoring Point Types
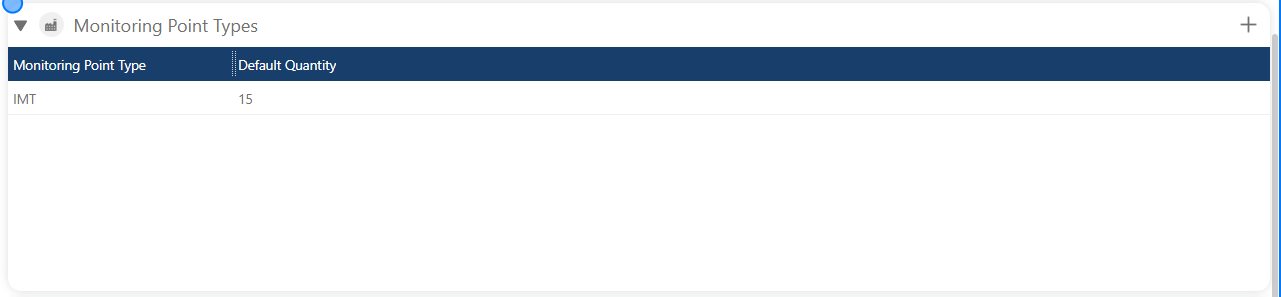
In this section, you can predefine the default quantities of monitoring points for this service.
This makes it easier for the user when creating a contract, as they won’t have to add monitoring point definitions manually during the contract creation process.
13. Guides
You can also link guides to the service, which will be displayed in the booking wizard when the resource is scheduling the visit.

⚠️ Save !!
Please remember to save your changes.�����������������������