

Schedule Board
💡 Schedule The Works
If we have already selected the preferred resources, the booking will be scheduled for the selected time. Otherwise, we can manage the bookings from the schedule board.
1. Accessing the schedule board
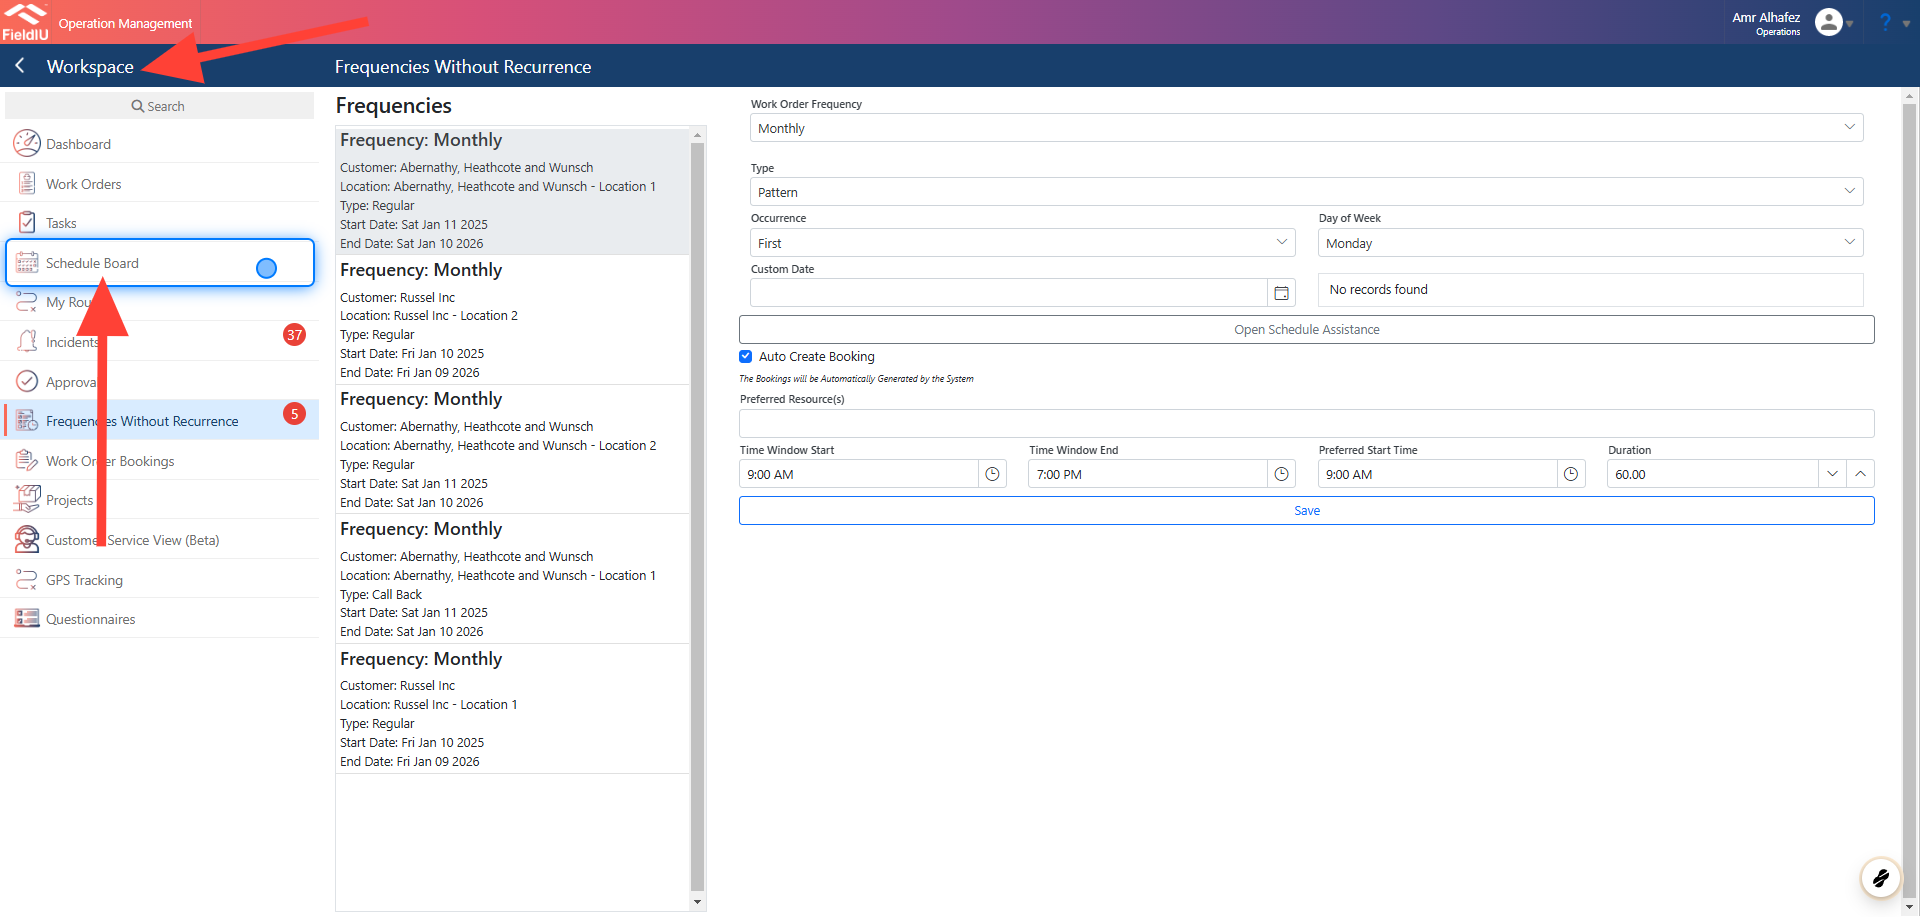
We need to click on the Workspace tab, where we will find the Schedule Board tab.
2. Schedule Board
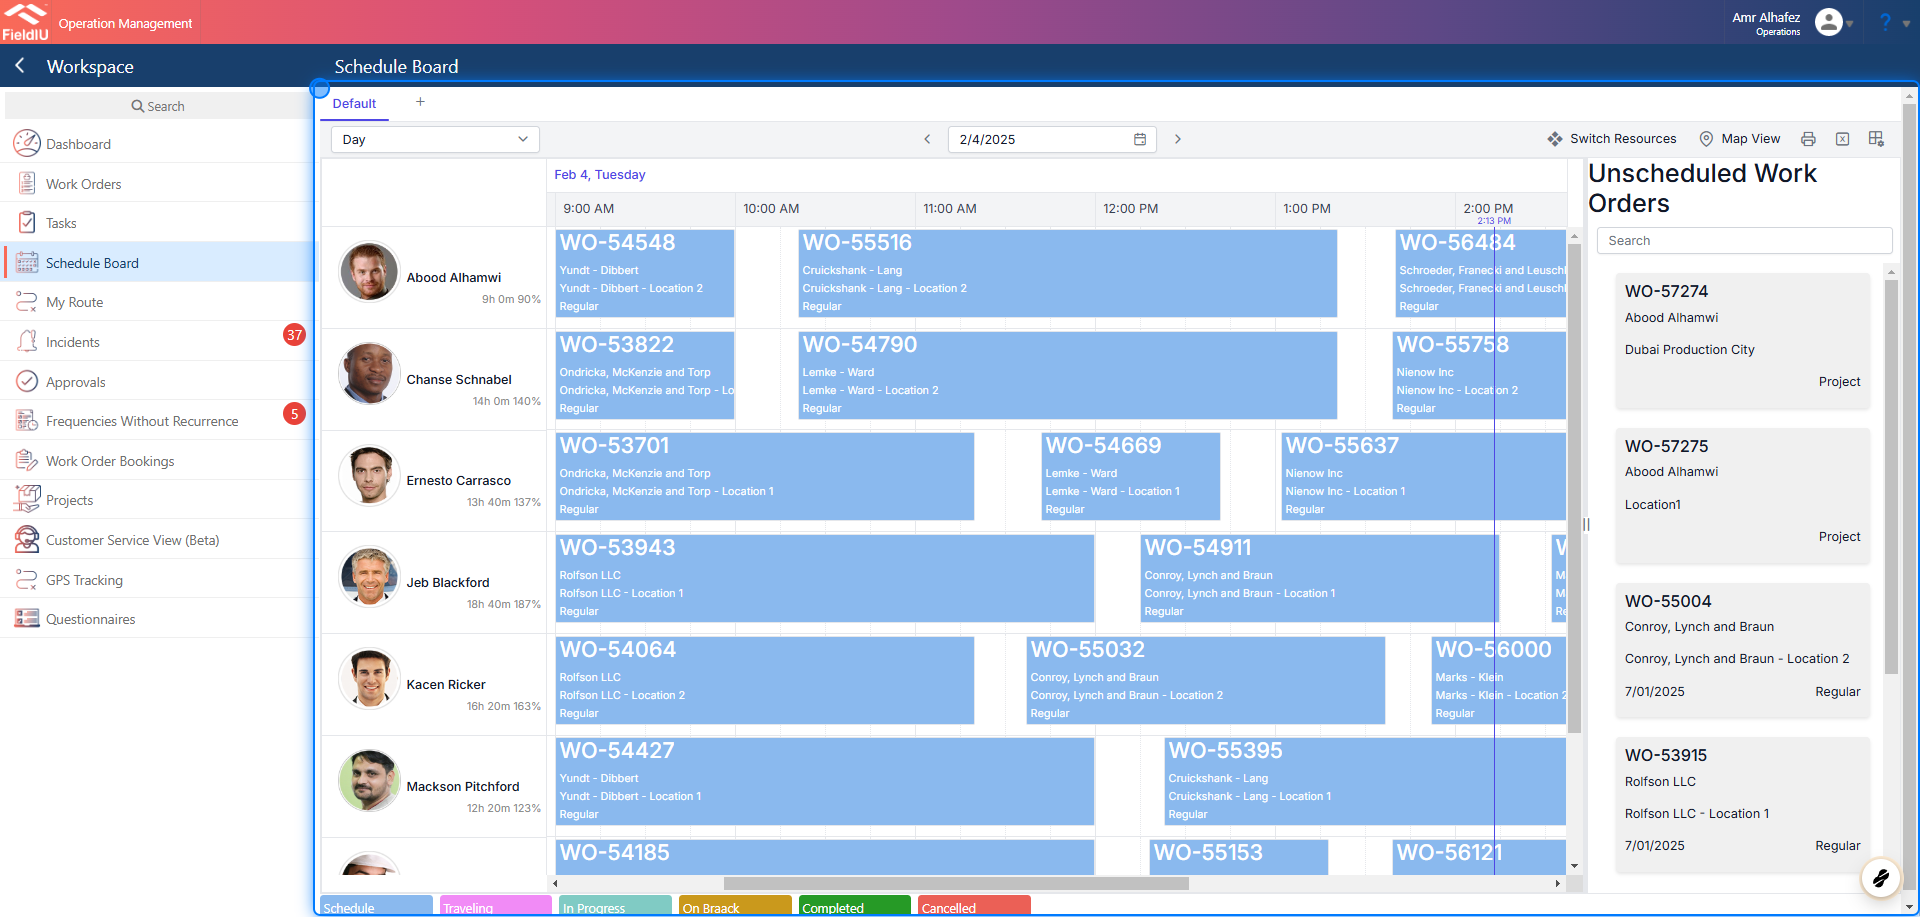
Now, the screen is divided into three sections: the right side displays the resources, the middle section shows the schedule board, and the left side contains the unscheduled work orders.
3. Assigning Work Orders
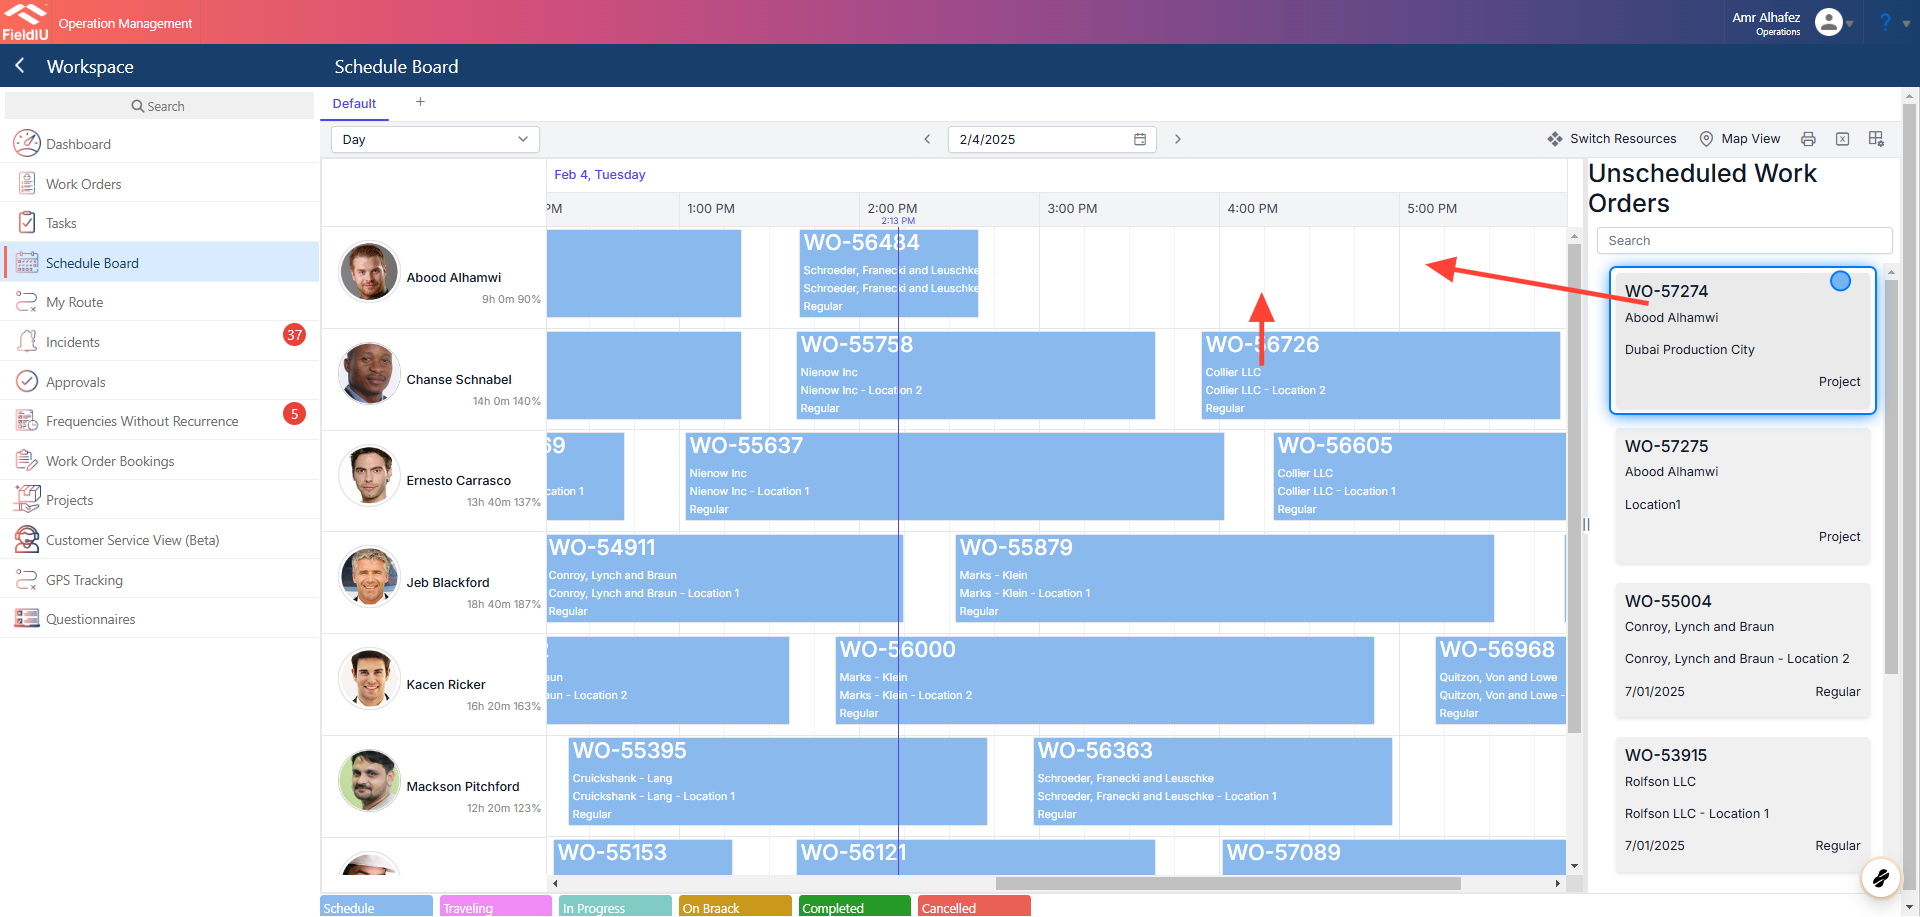
Assigning work orders is simple. We can drag and drop a work order to any resource, or we can change the timing using the same drag-and-drop method. For example, if we need to move a work order to another resource, it's just as easy to do.
4. Resource Capacity
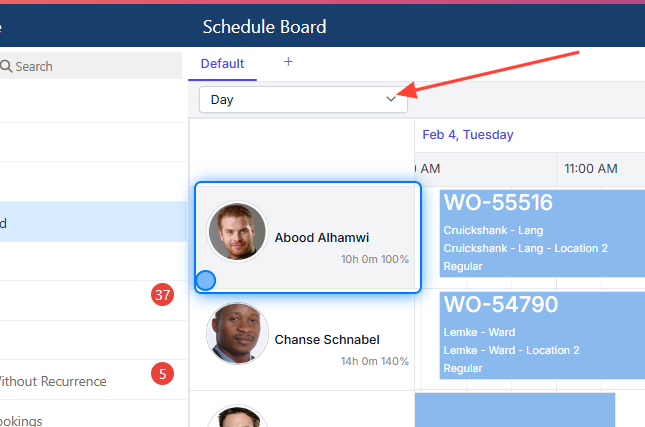
For each resource, the system shows how many hours they will be working during the selected period and their allocation based on their working hours. This helps us easily manage workloads.
5. Color Coded Status
As you can see, all work orders are color-coded. For example, blue represents scheduled work, while pink indicates another status. Of course, you can customize these colors to suit your needs, making it easier to understand what's happening at a glance.

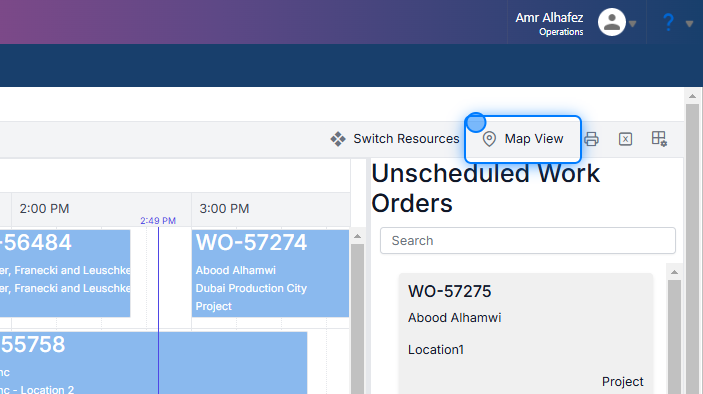
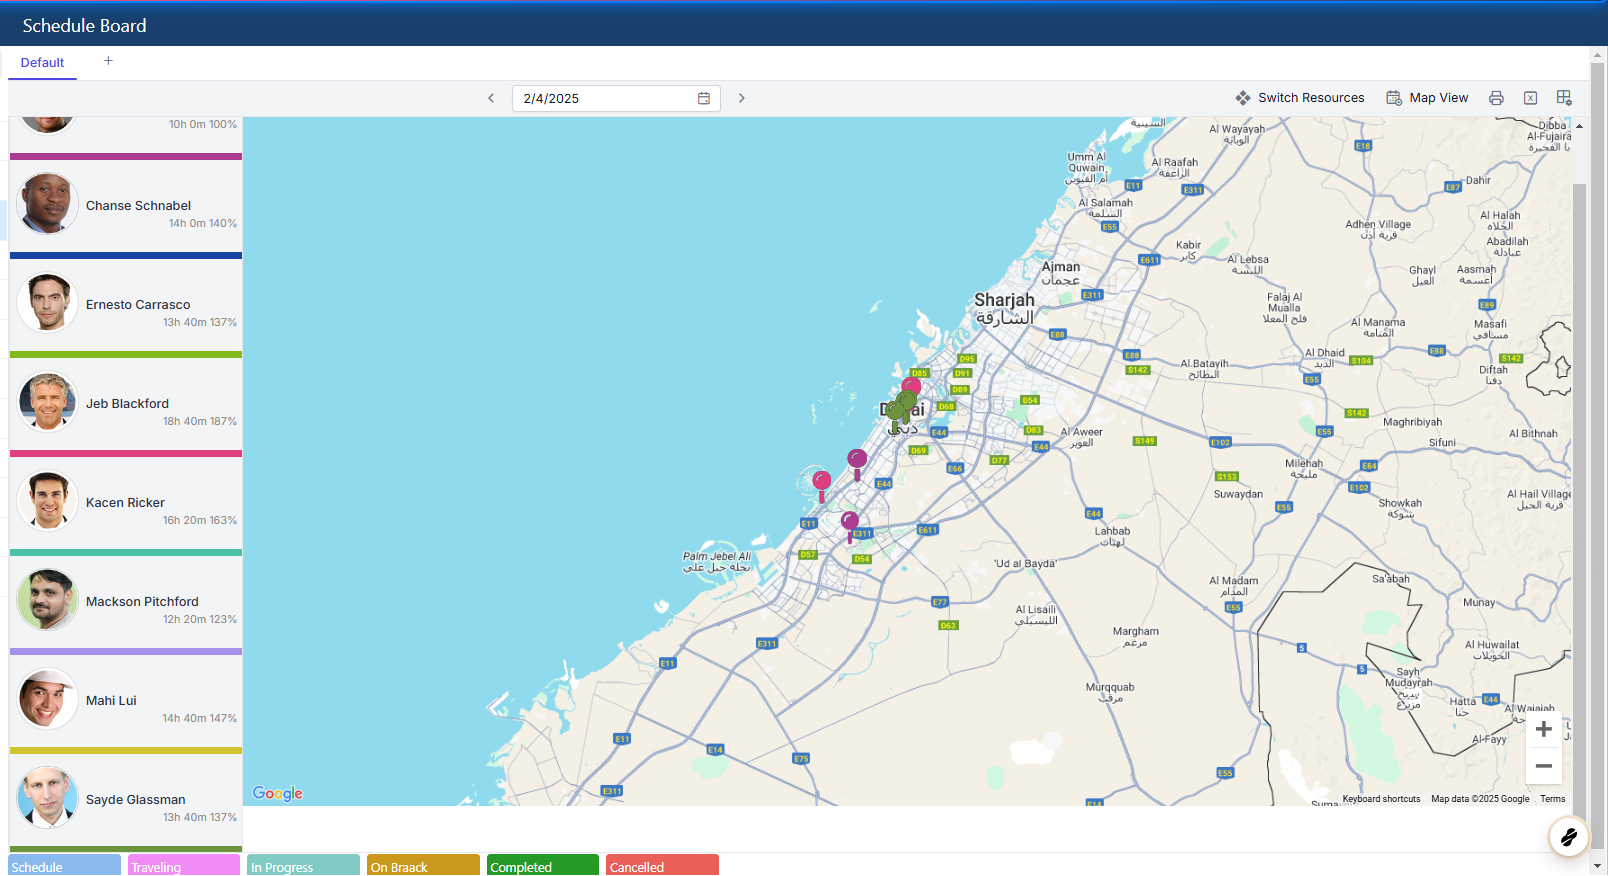
6. Map View
the schedule board can be viewed on the map, and we can even track a specific resource's location.
7.
 �����������������������