

Project
💡 What is Project
The Project feature is for visits with non-committed customers. You can create a single visit or multiple visits.
1. Access Project
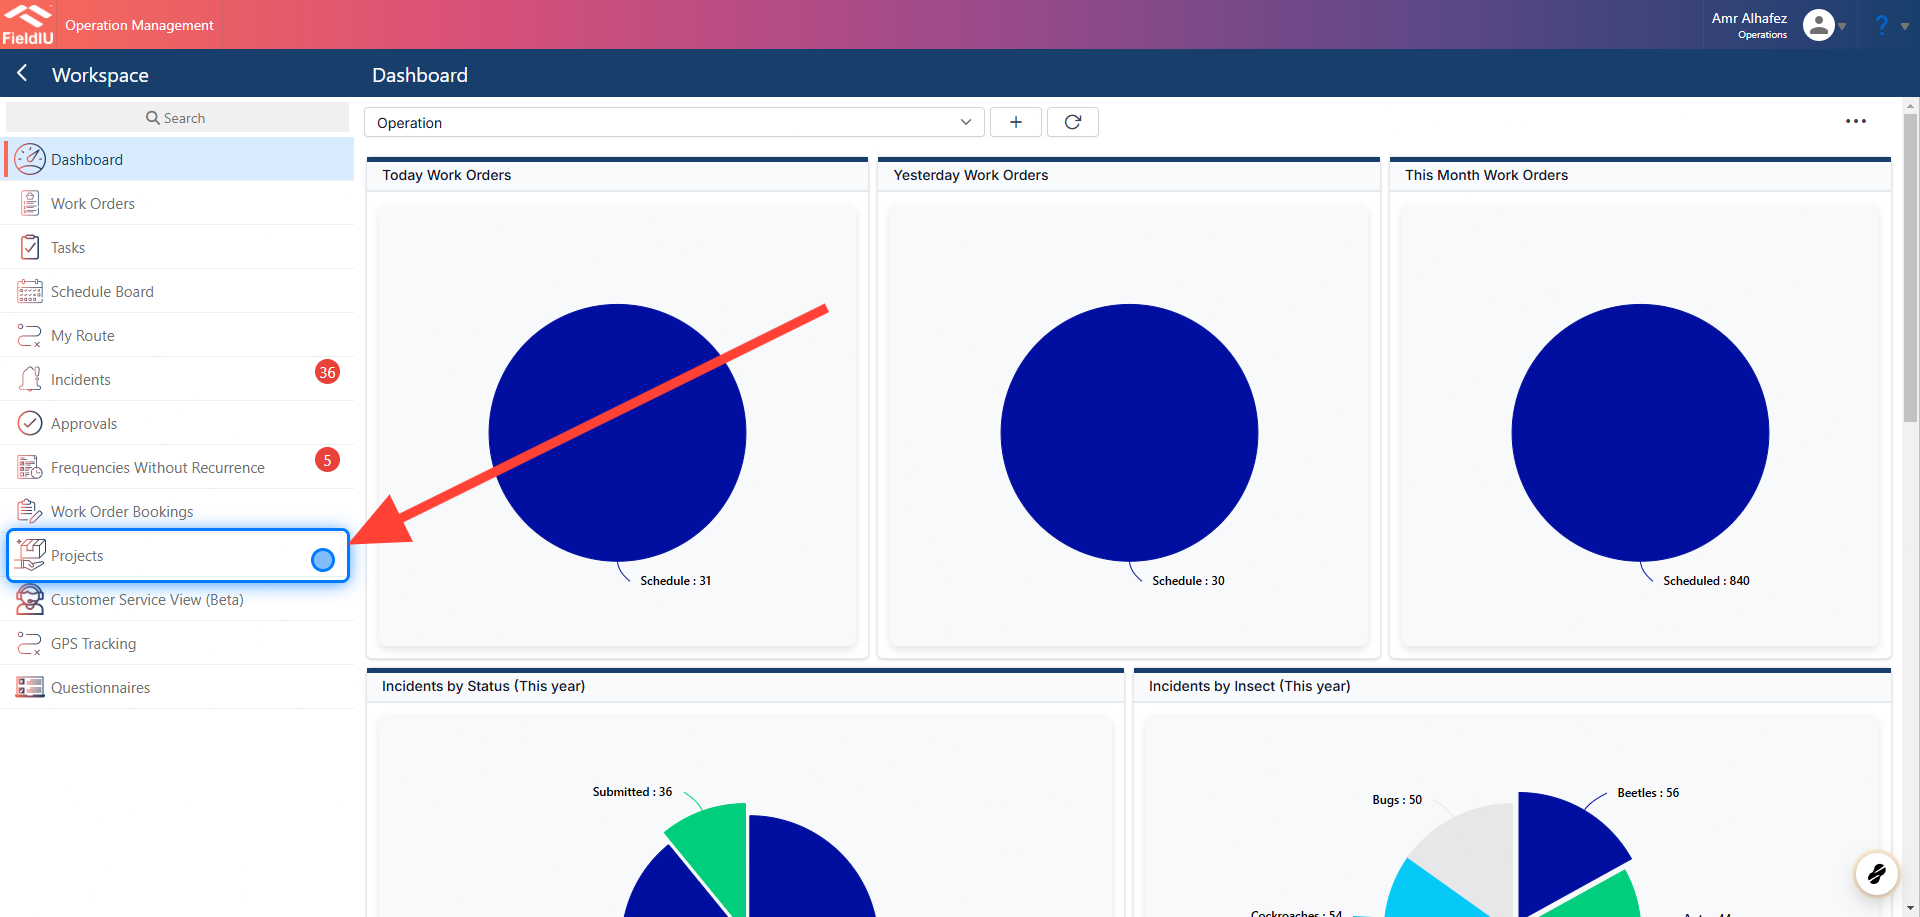
You can locate the Projects tab in the Workspace section of the sidebar menu.
💡 Create New
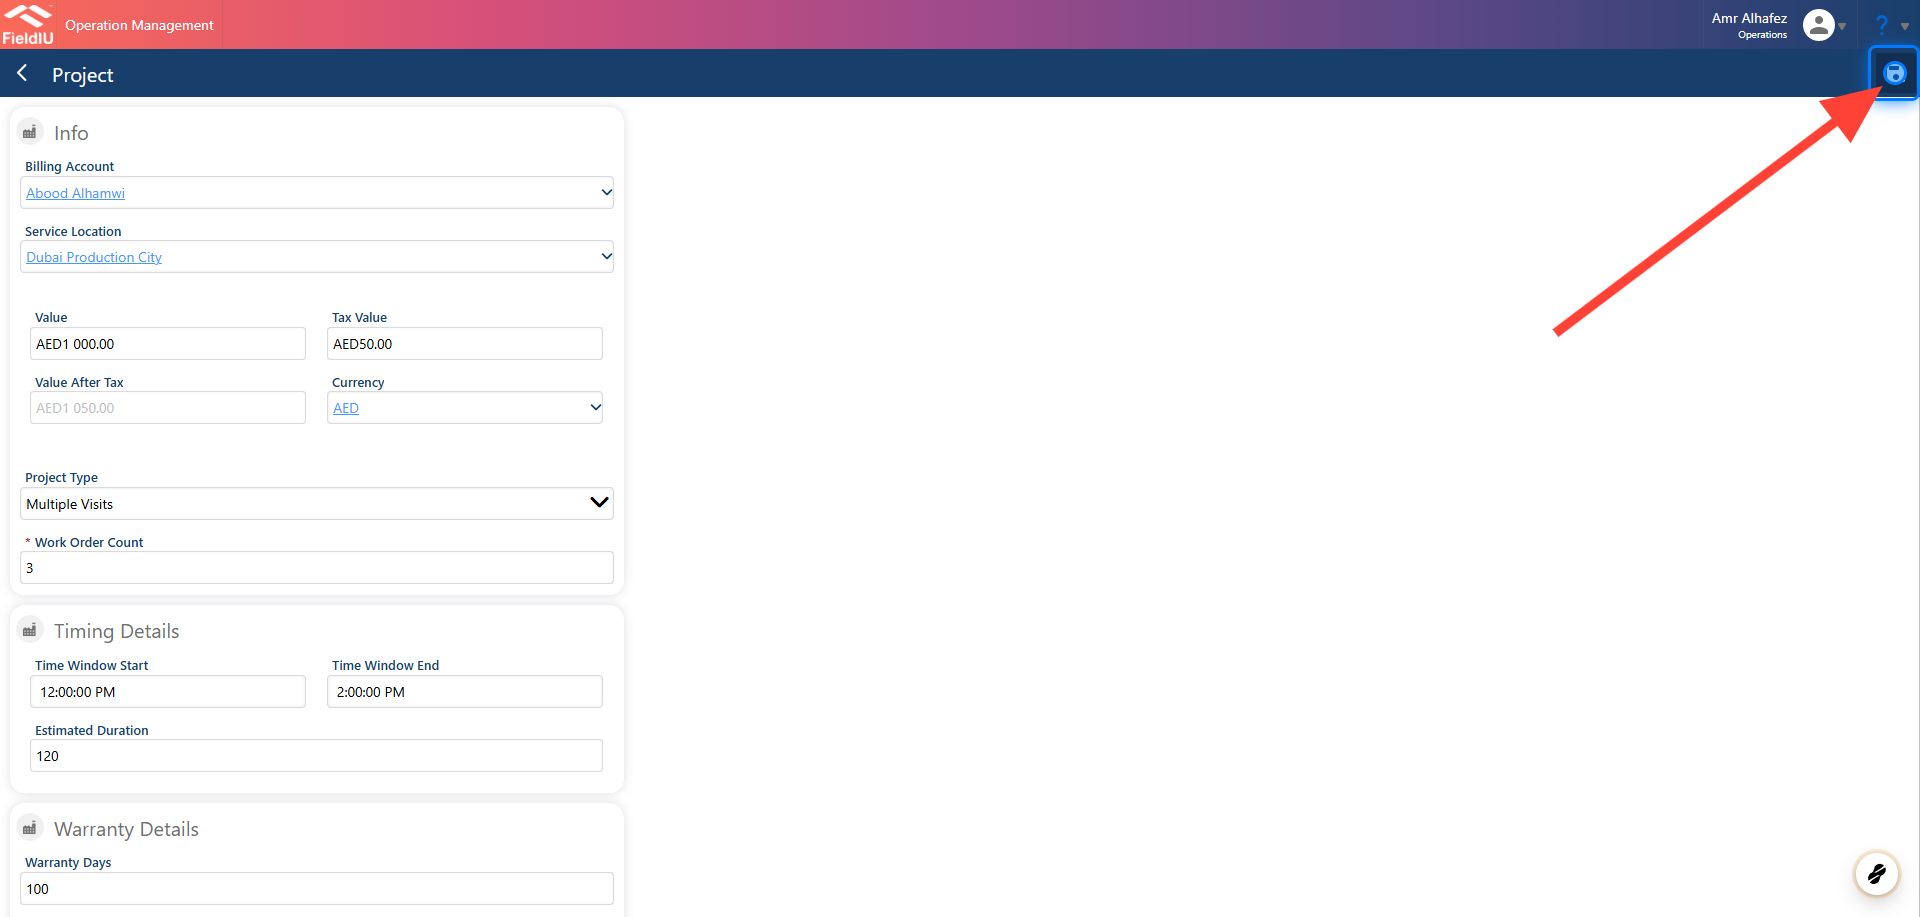
To create a new project, you need to insert certain details. Let's go through them.
2. Main Information
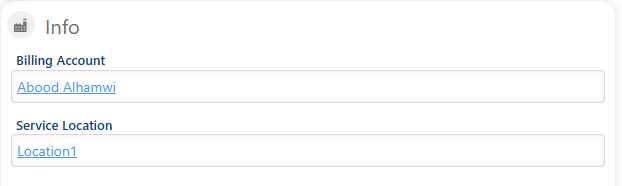
Billing Account : Select the customer who wants the service.
Service Location : Select the location for this customer.
3. Values
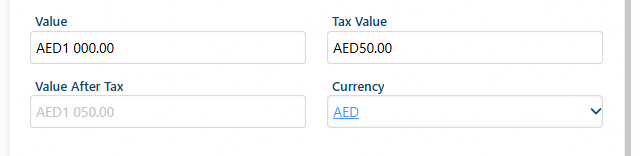
I n the Values section, you need to insert the value of the visit(s), select the currency, and if you have defined the tax in your environment, it will be automatically calculated for you.
4. Project Type
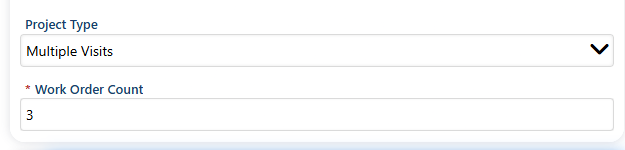
As we mentioned, you can select a one-visit project or a multiple-visit project.
Once you select multiple visits, you need to insert the count of the visits.
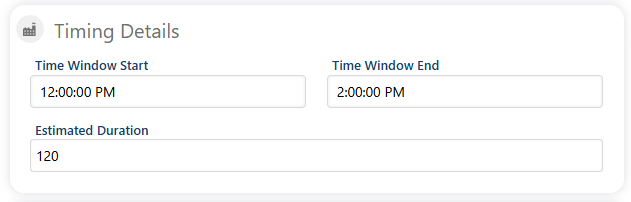
5. Timing
You need to insert the timing for the visits and the duration for each one.
6. Invoicing
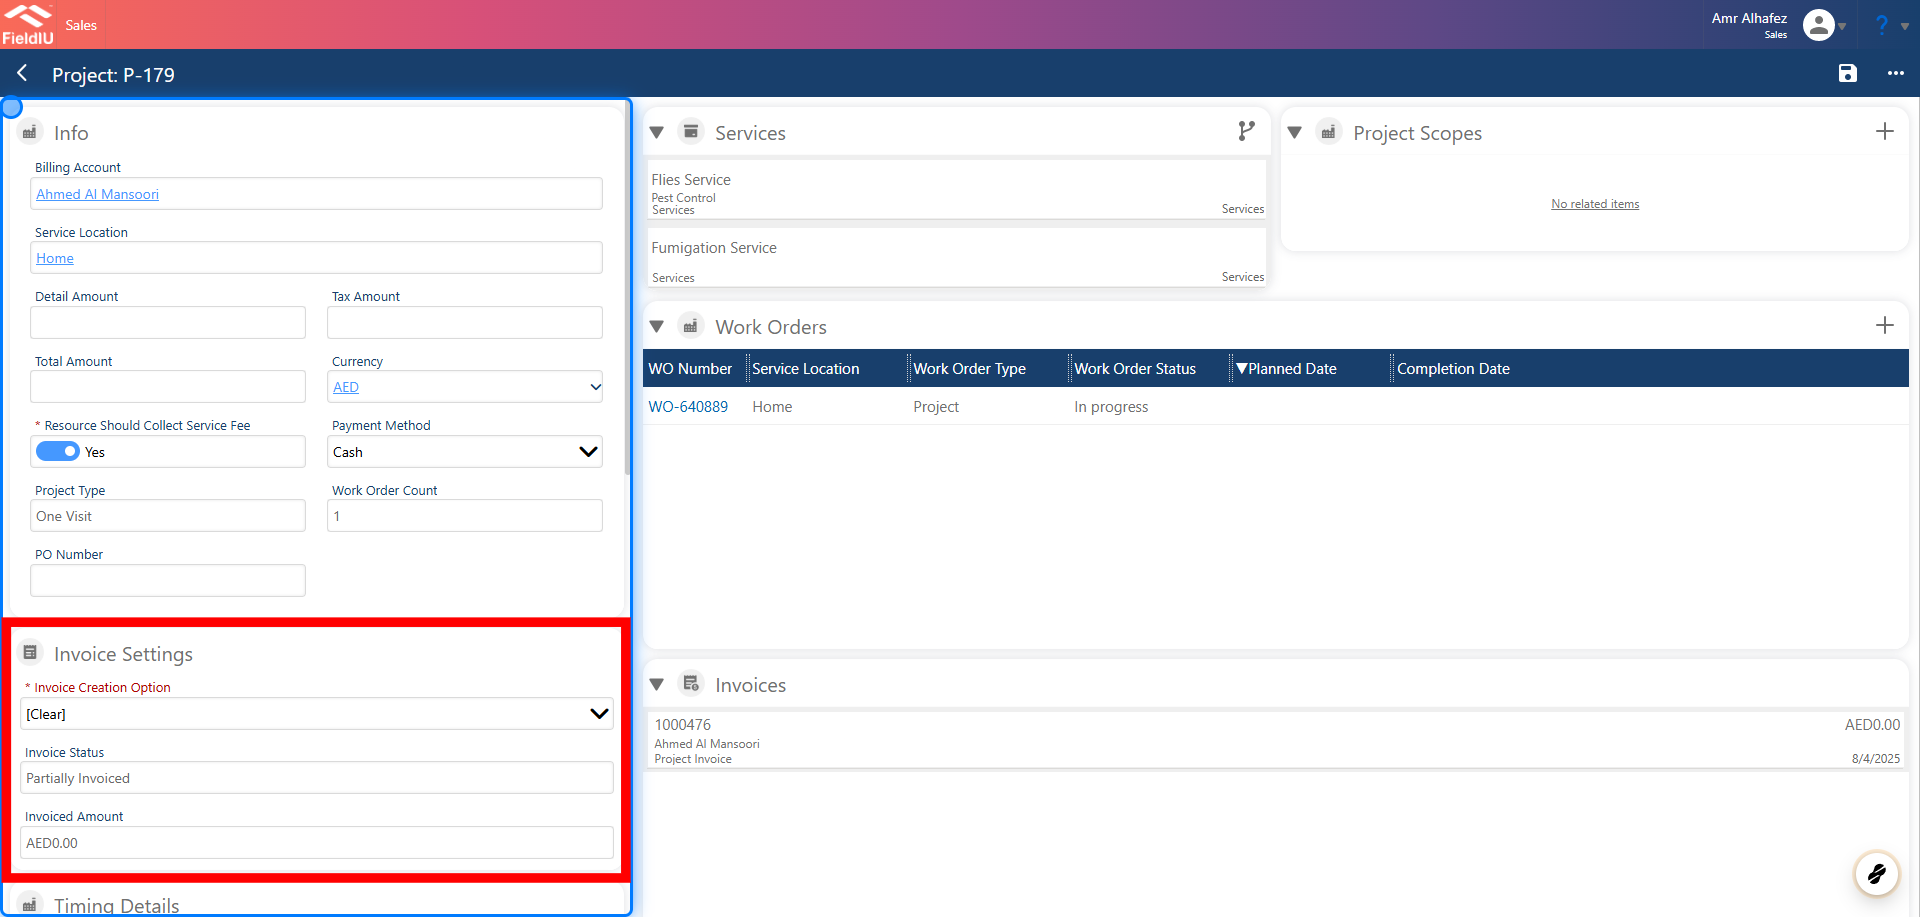
To generate invoices for a project, go to the Invoicing Settings within the project.
There, you'll find Invoice Creation Options , where you can define how invoices should be created and managed.
7. Select the Creation option
Invoice Creation Options
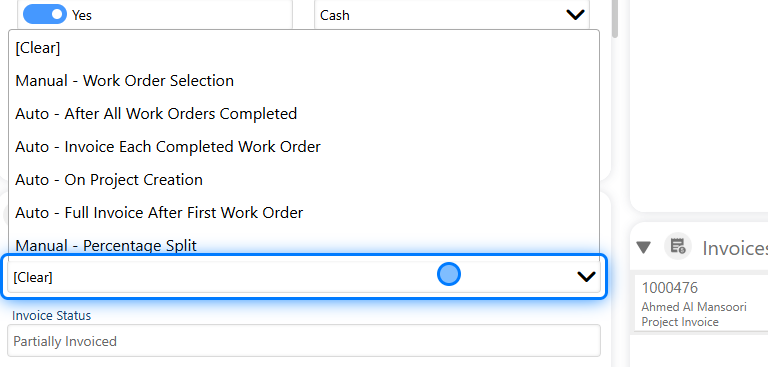
There are six available options for creating invoices:
-
Manual - Work Order Selection
Invoices are created manually by selecting specific work orders. -
Auto - After All Work Orders are Completed
An invoice is automatically created once all work orders are completed. -
Auto - Invoice Each Completed Work Order
An invoice is automatically generated for each completed work order. -
Auto - Upon Project Creation
An invoice is automatically generated when the project is created. -
Auto - Full Invoice After First Work Order
A full invoice is created automatically after the first work order is completed. -
Manual - Percentage Split
Invoices are manually created with a percentage split based on predefined criteria.
💡 Learn more about project invoicing
8. Warranty
If you want to provide warranty days, you can insert them in the Warranty Days field.

9. Details
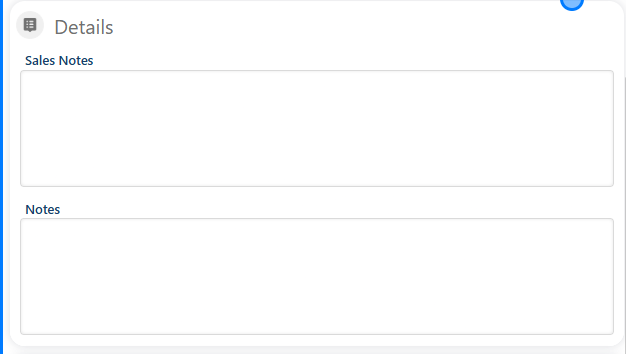
In the Details section, you can add any further notes, whether they are sales notes or general notes.
10. Save
11. Work Orders
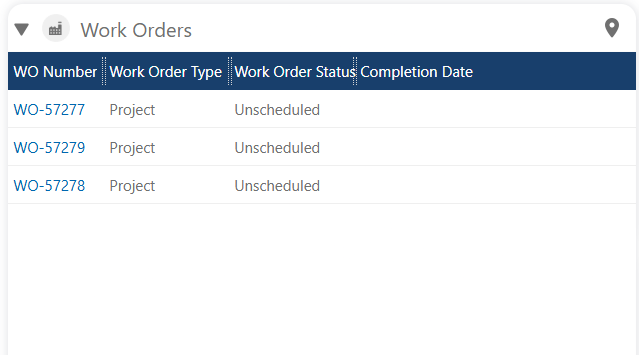
Once you save the project, the system will automatically create work orders for the visits and assign them as unscheduled work orders.
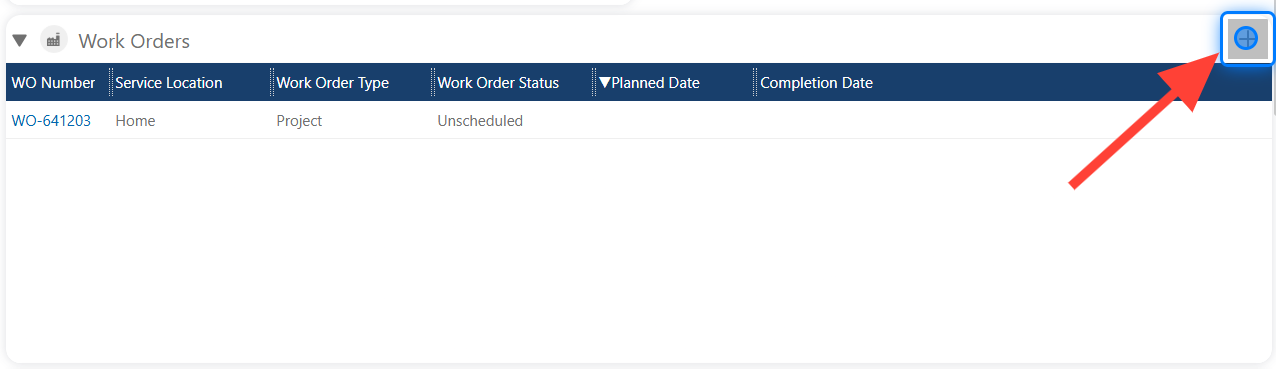
12. Adding Extra Work Orders
This option allows you to add work orders directly to an existing project, giving you more flexibility and control
13. New Work Orders
Simply add the work order count, and the value of each work order
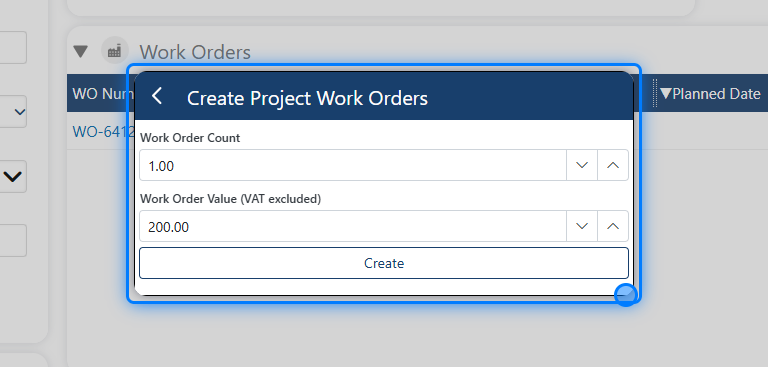
⚠️ Value is for each Work Order
the price is for one work order only, for example if the user wants to add 10 WO, the amount entered should be for one only�����������������������