

Vendors
1. Access To Vendors
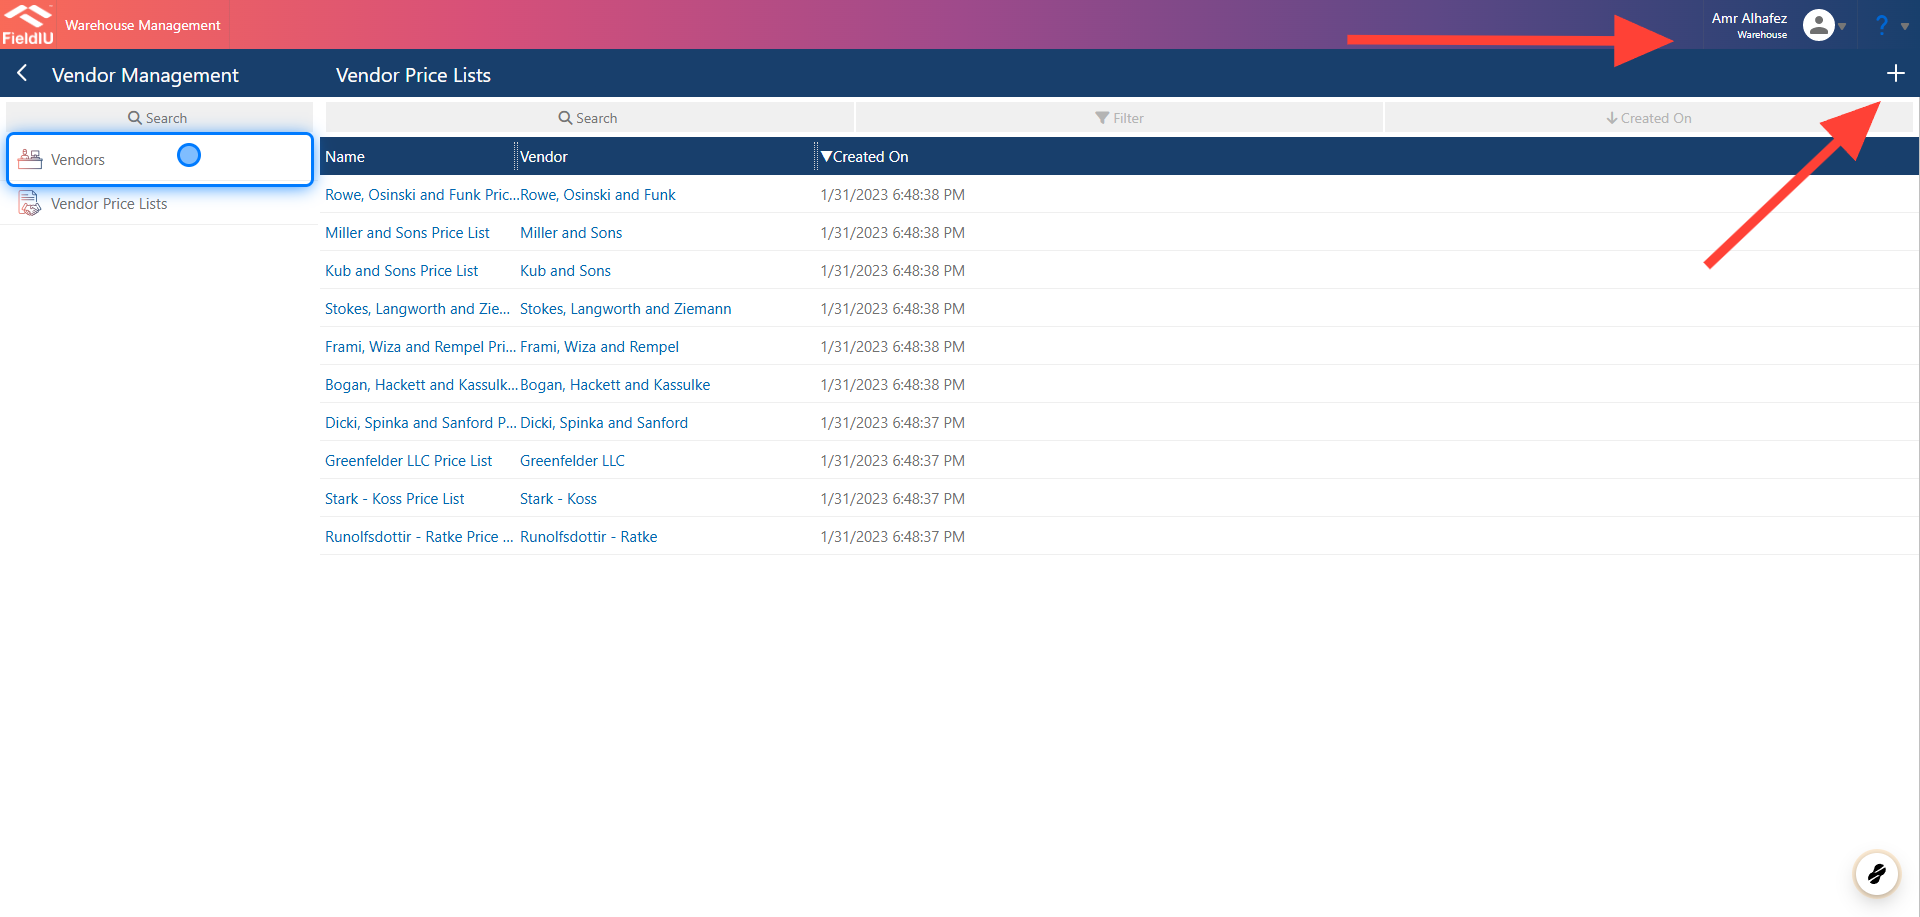
To access Vendors, open the Warehouse app and click the Vendors tab in the side menu.
Here, you can view and manage all vendors, as well as create new vendor records.
2. Creating New VendorEmail
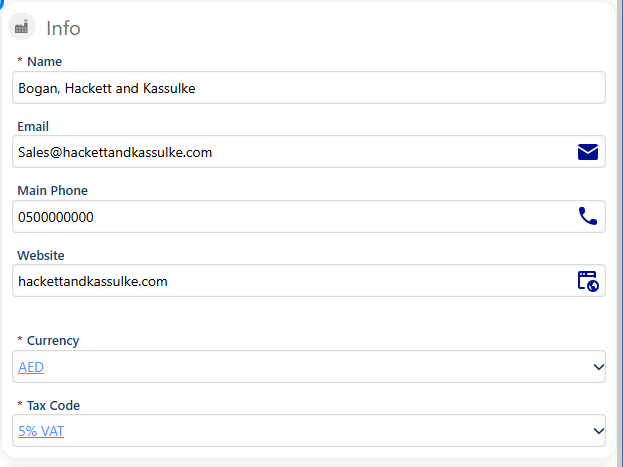
Once you create a new Vendor, you must enter the main details:
-
Name (required)
-
Email
-
Main Phone
-
Website
-
Currency (required)
-
TAX Code (required)
3. Vendor Address
4. Vendor Address
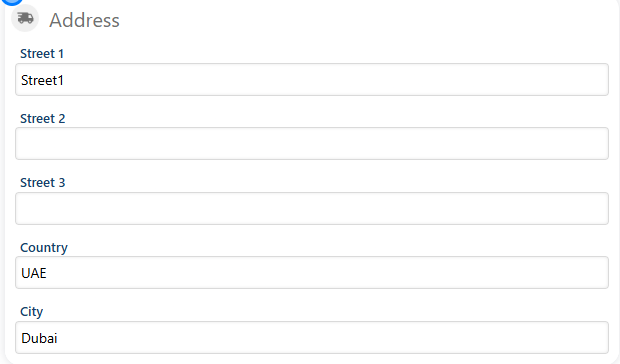
Similarly, in the Address section, you can enter the vendor’s address details.
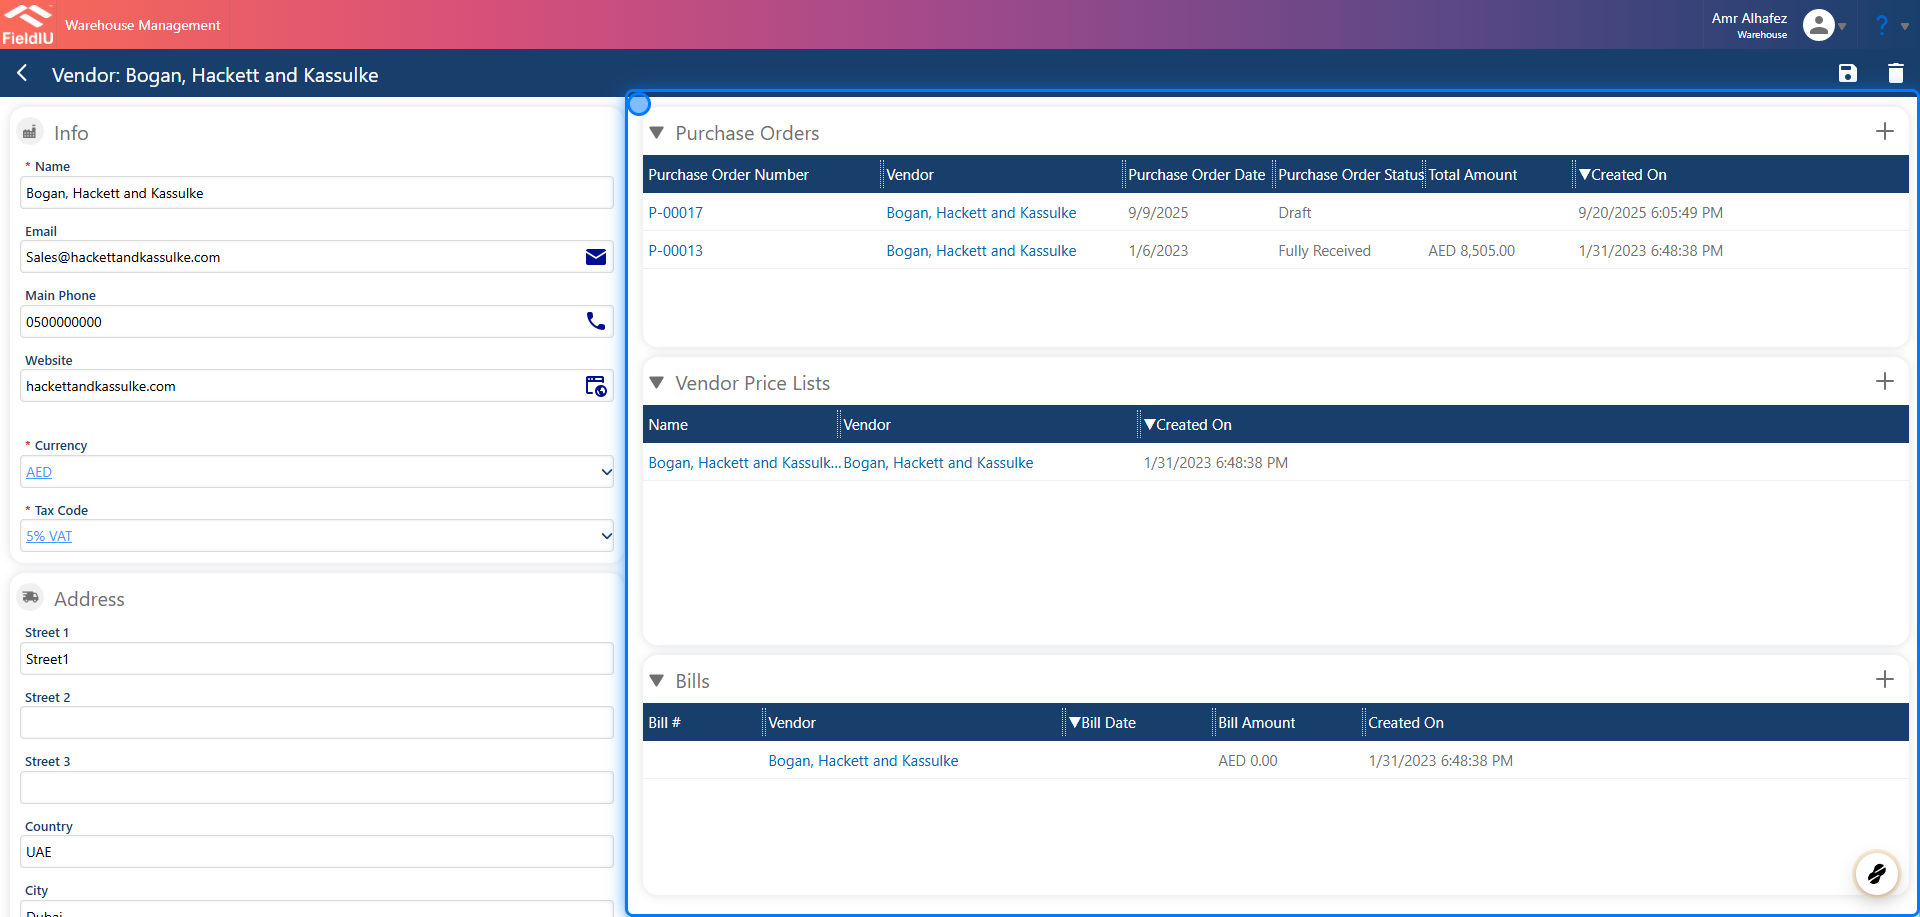
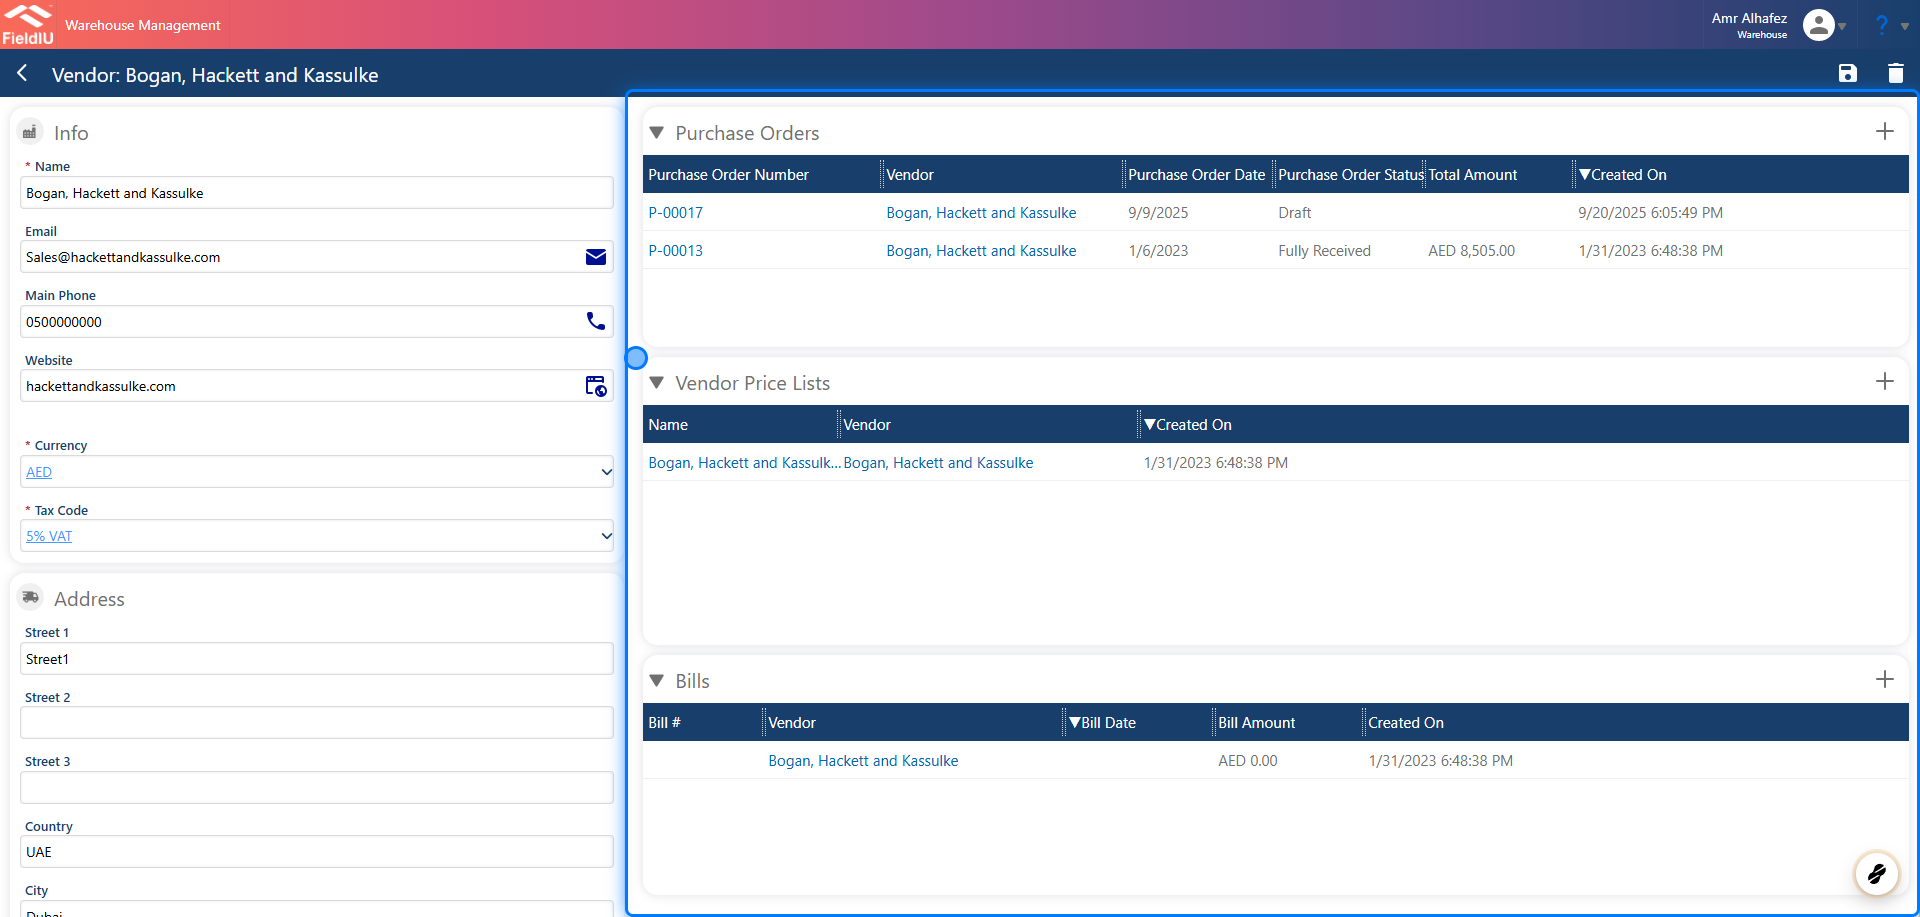
💡 Once you save the vendor, new sections will become available:
Purchase Orders
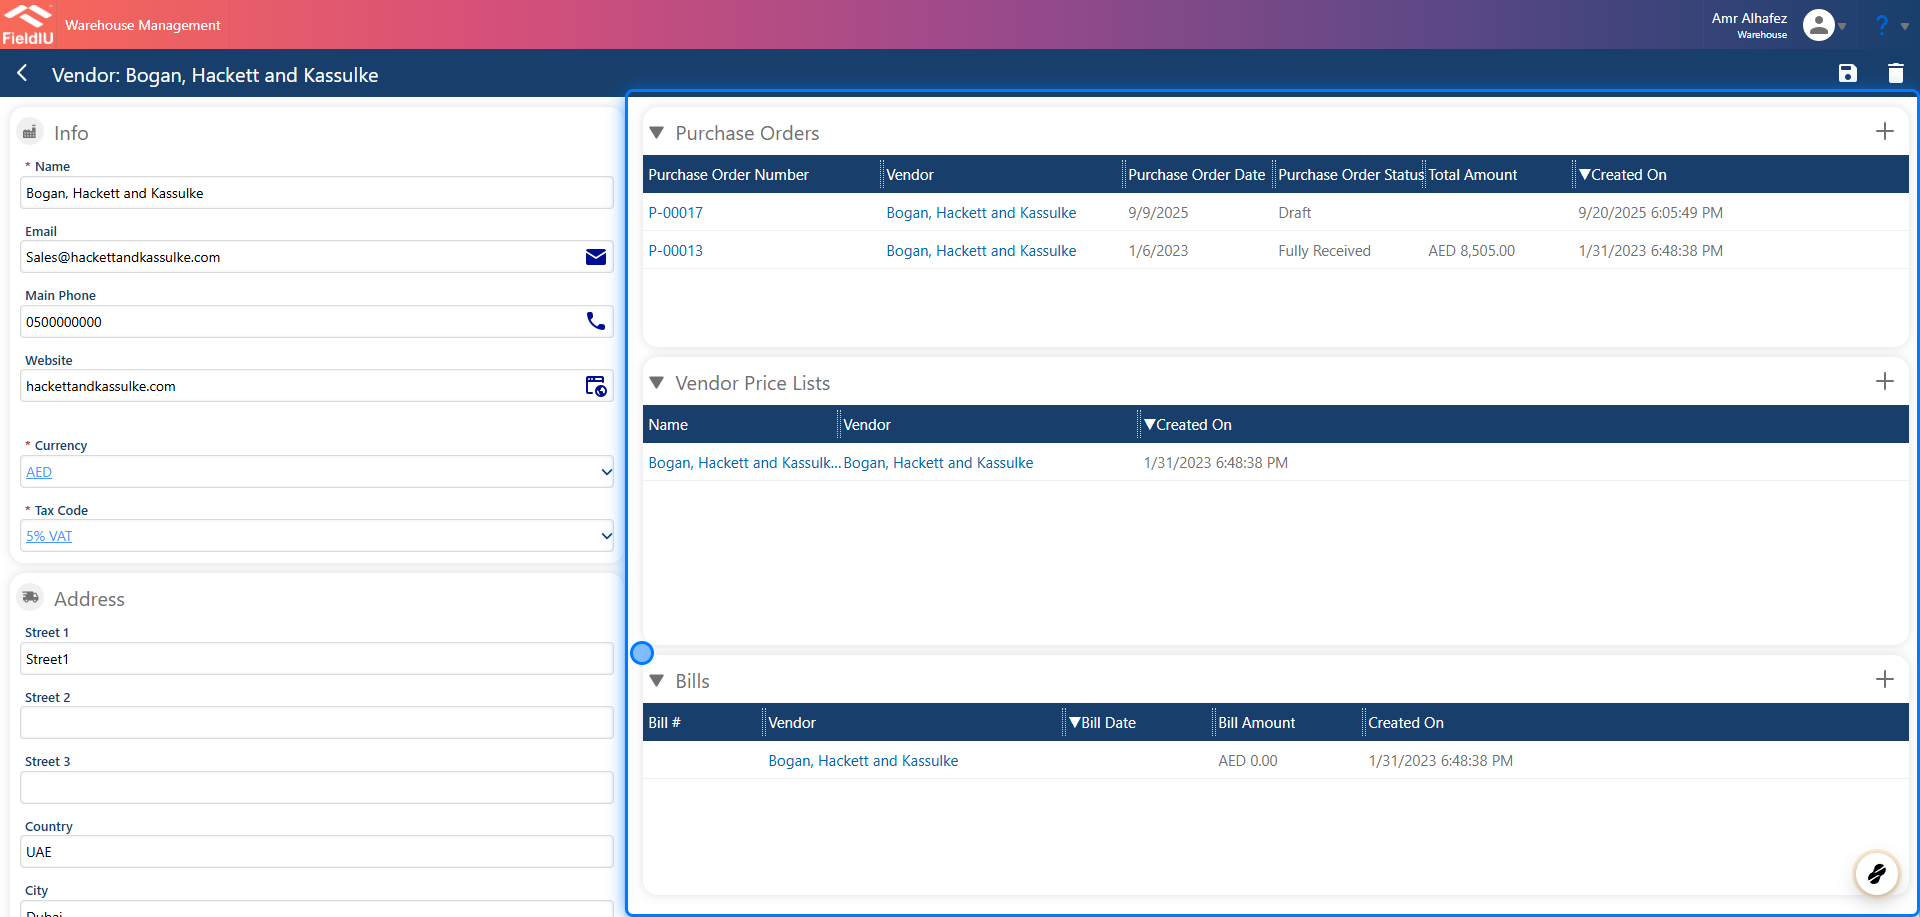
Vendor Price Lists
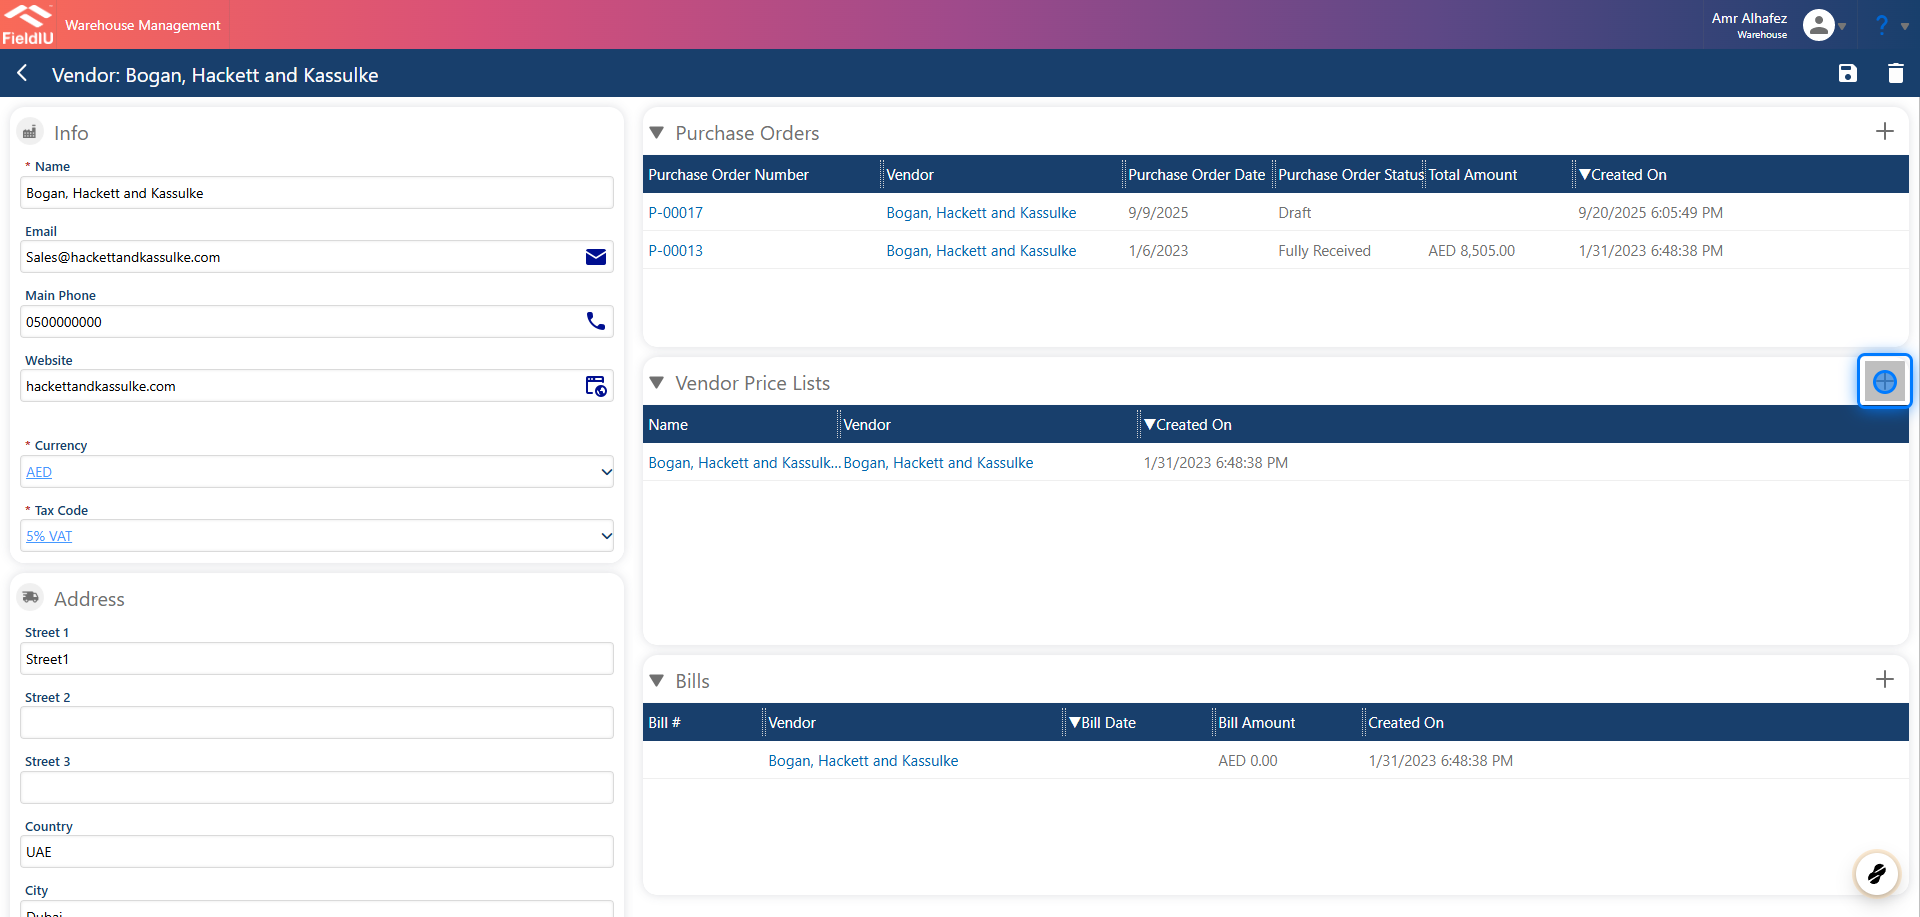
Bills
5. Purchase Orders
Purchase Orders is where you can view all purchase orders linked to this vendor.
For more details, refer to the Purchase Order Documentation .
6. Vendor Price Lists
In the Vendor Price List section, you can add price lists for the vendor and set the prices for the products and items you purchase from them.
For more details, refer to the Vendor Price Lists Documentation .
7. Bills
In the Bills section, you can view and manage all bills linked to this vendor.
For more details, refer to the Bills Documentation .
 �����������������������