

Inventory "Mobile App"
1. Main Screen
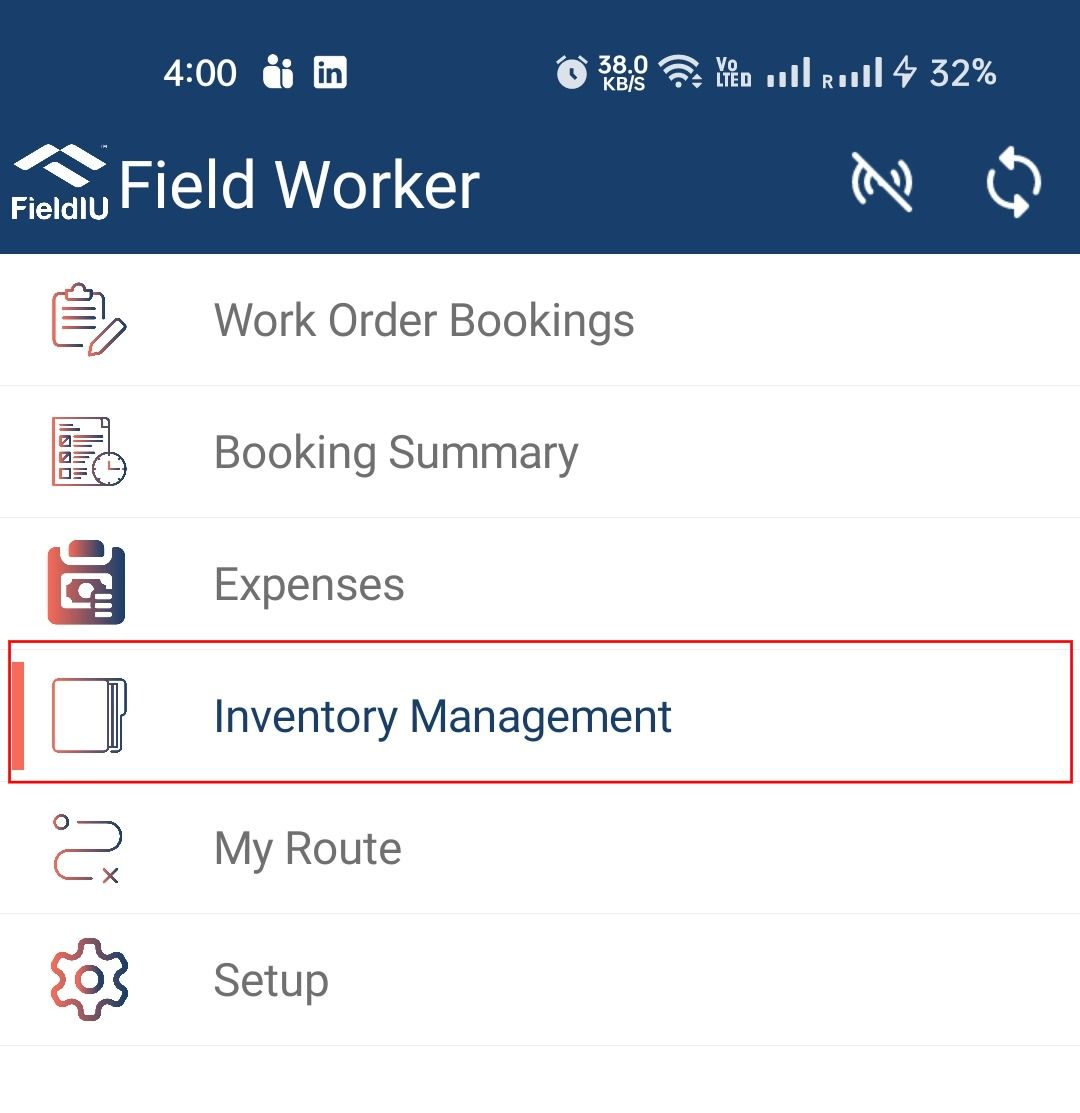
The field staff can access the Inventory Management section from the main app screen.
2. What's inside ?
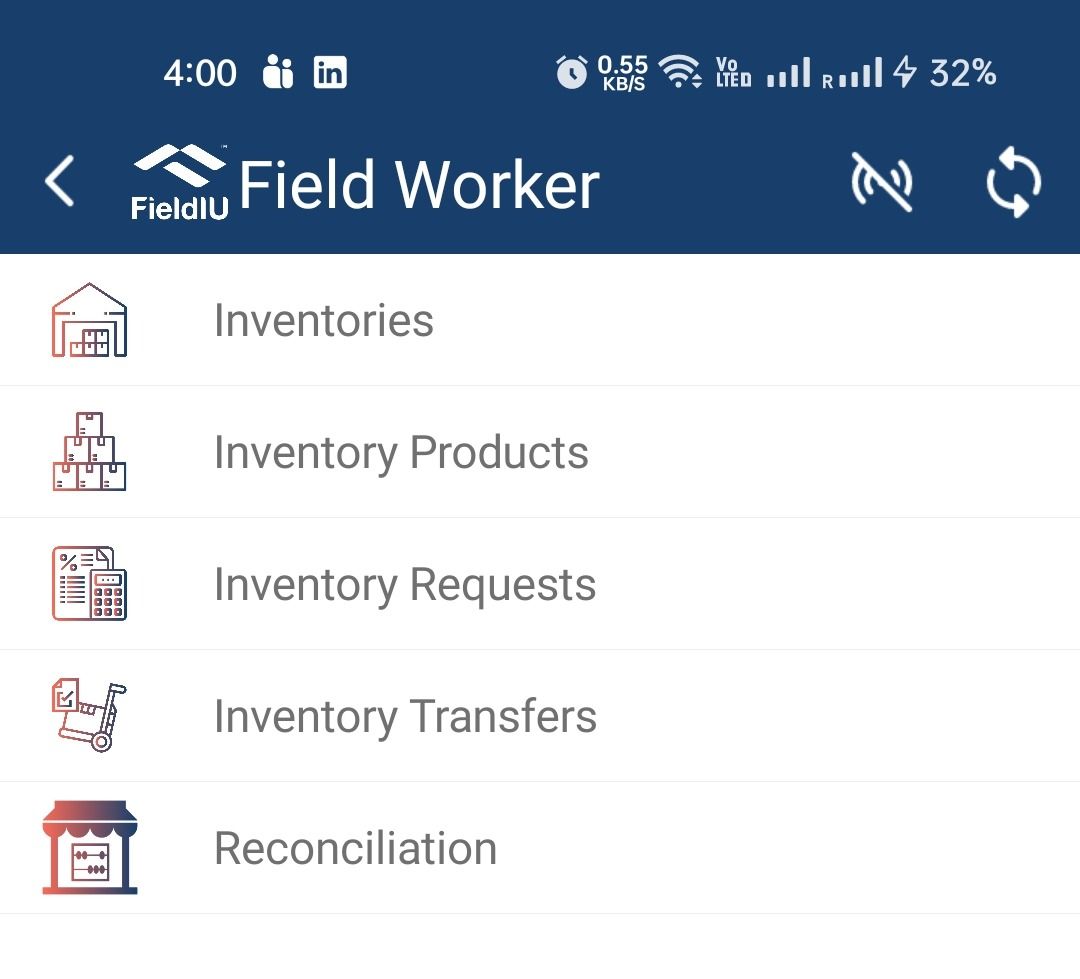
The Inventory Management tab consists of five main sections:
-
Inventories
-
Inventory Products
-
Inventory Requests
-
Inventory Transfers
-
Reconciliation
Inventory Requests
3. Inventory Requests
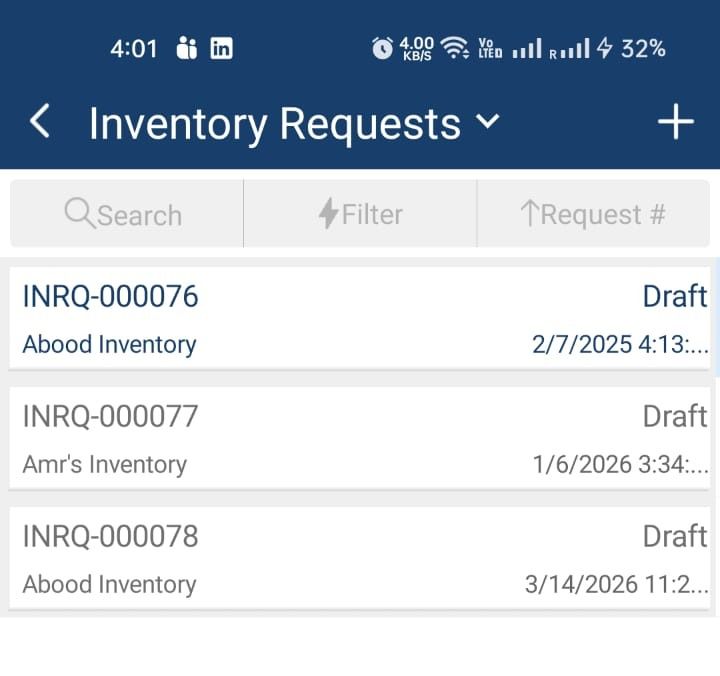
In the Inventory Requests section, you can find all requests related to your inventory, whether they are from or to your inventory. As shown, there are three requests in draft status. You can access them or create a new request by clicking on the “+” button
4. Creating Transfer Request
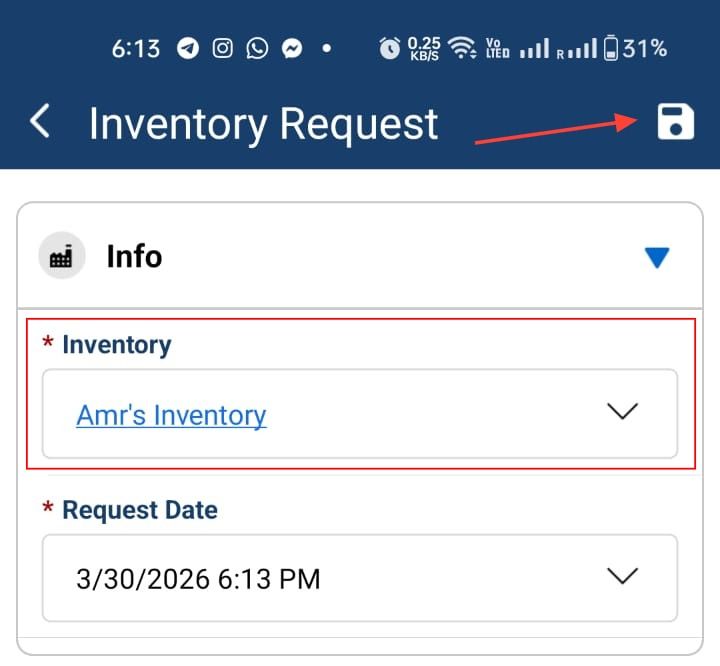
Once we create a request, we simply select our inventory and then click Save .
5. Inventory Requests Items
Once we save, two new sections will appear: Inventory Request Items and Inventory Transfer .
-
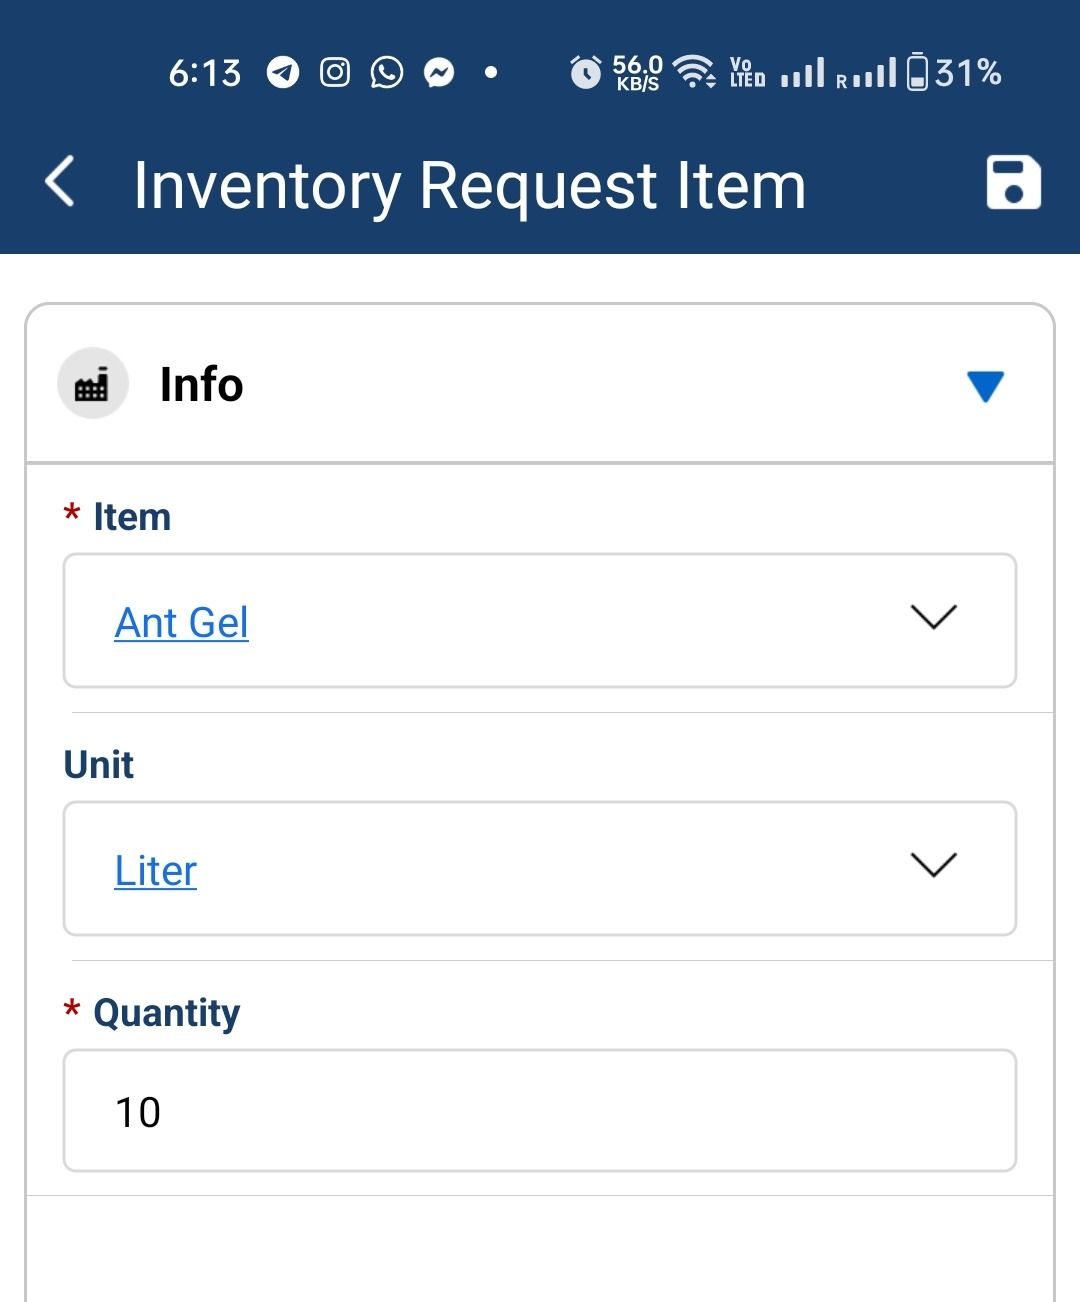
Inventory Request Items – This is where we select the items we want to request.
-
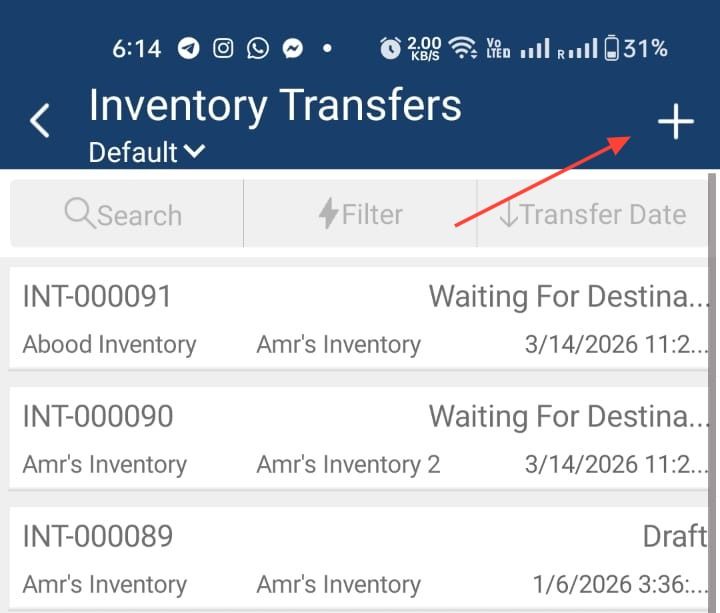
Inventory Transfer – This shows the related transfers for the request once it has been submitted.
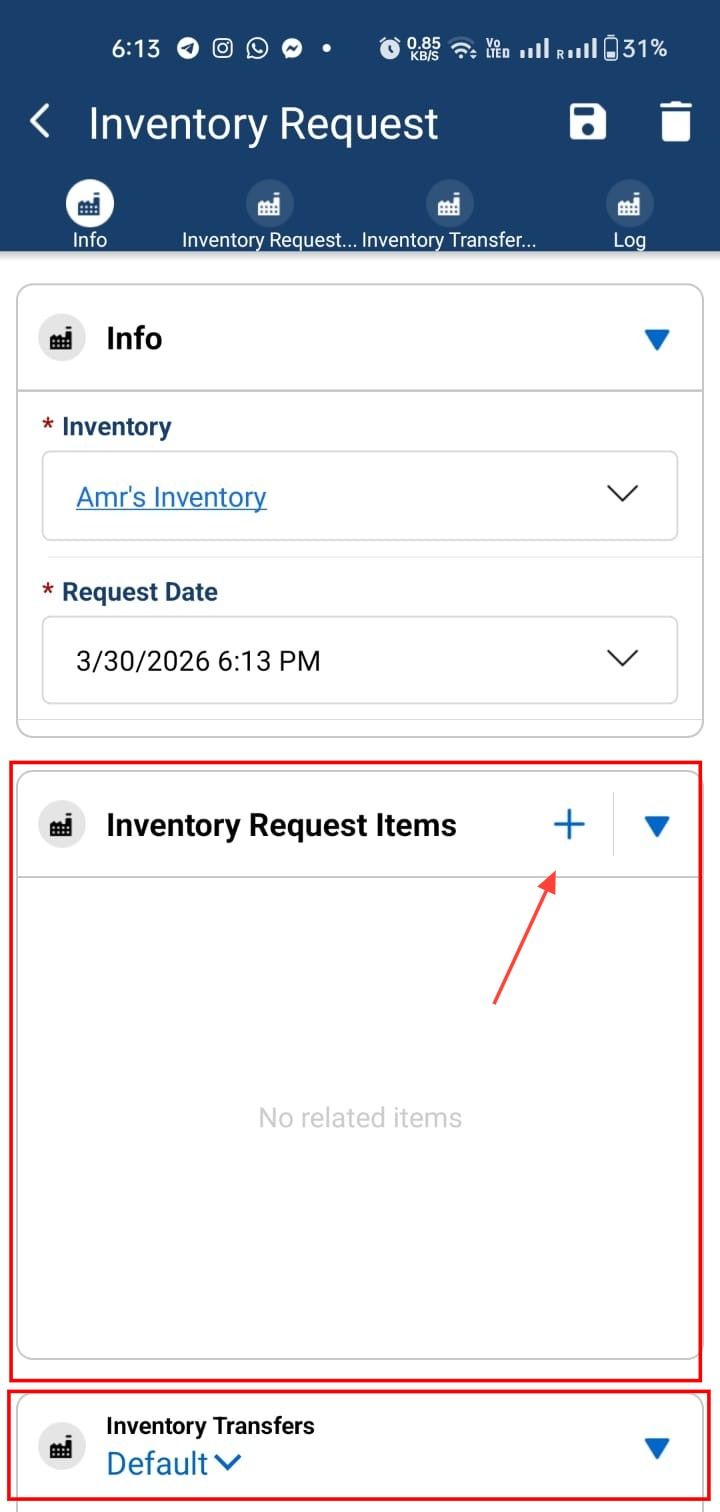
6. Add The Requested Item
7. Create New Inventory Transfer
8. Transfer Status
Once you Create, the request will be created in draft status
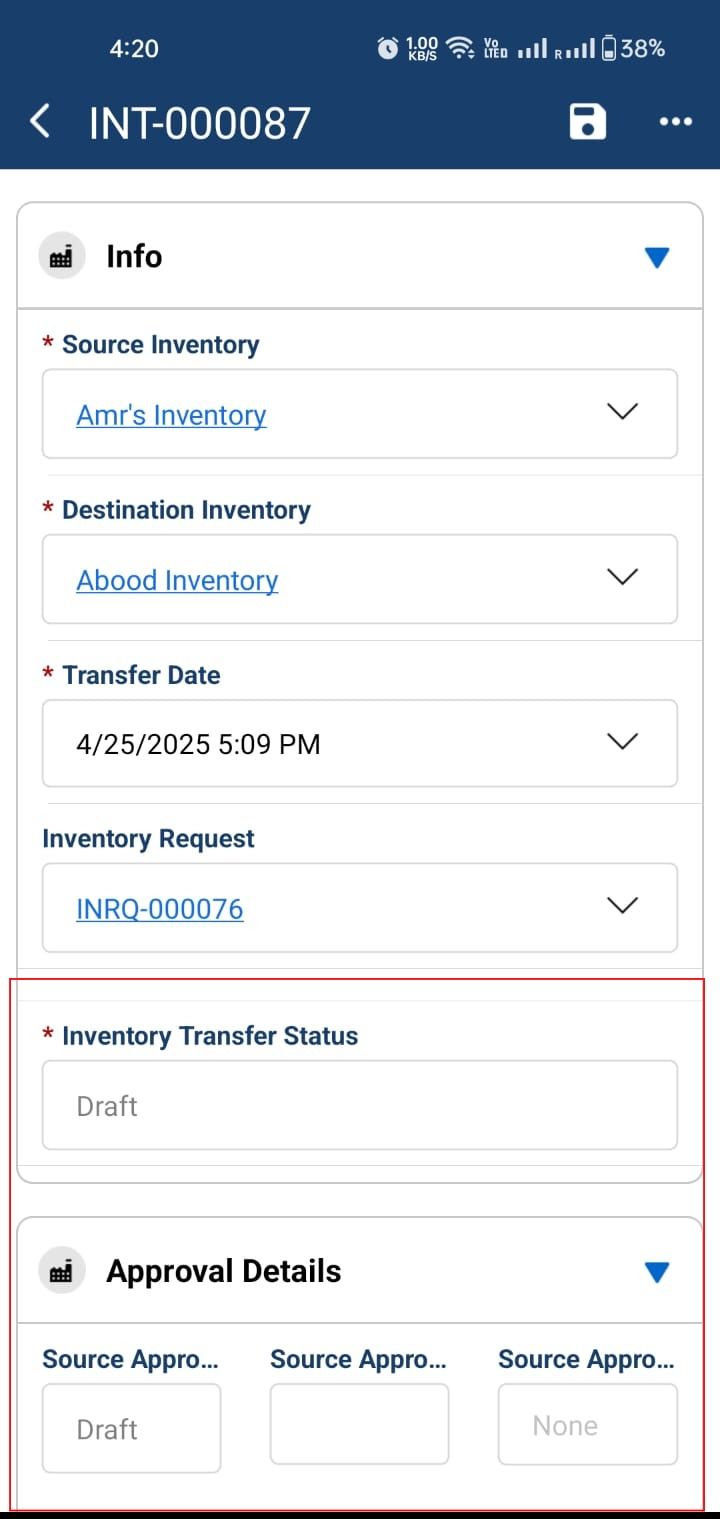
9. Inventory Transfer
Select the inventories and then choose the request.
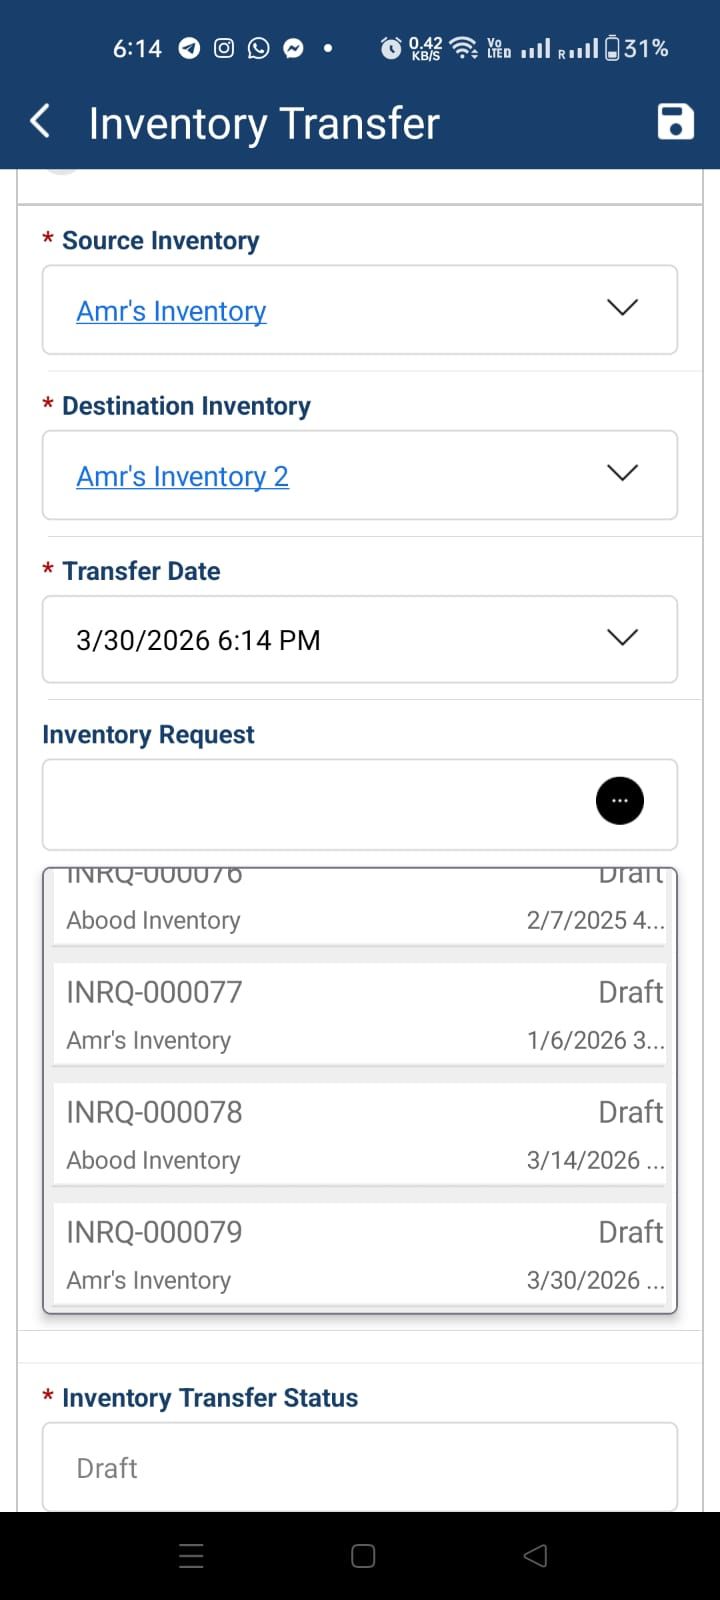
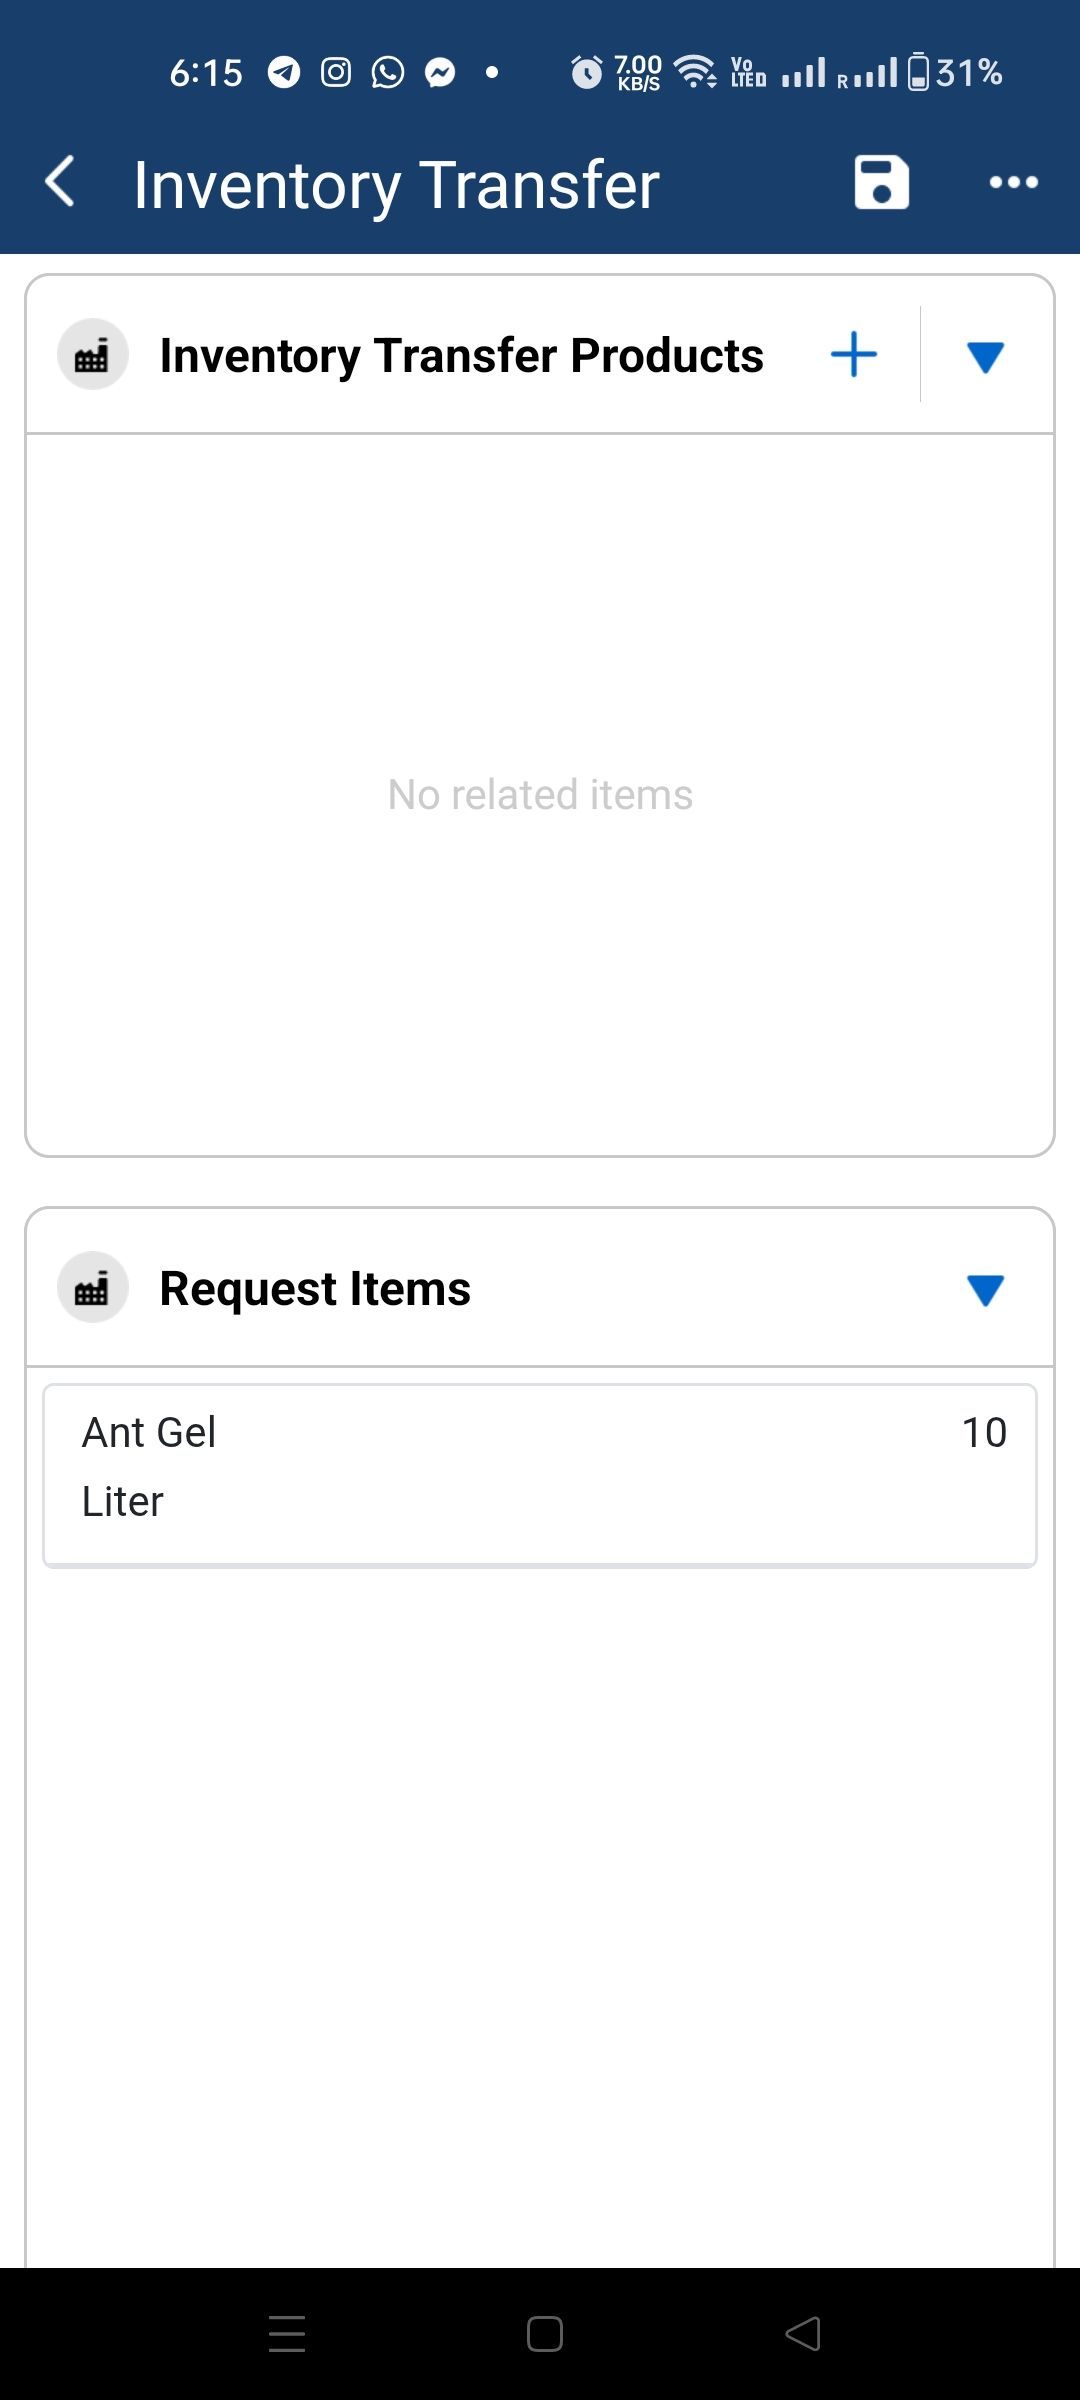
10. Request Items & Transfer Products
Once we select the request and save, the Request Items section will be populated with the items from the selected request. Based on this, we can then add the products to the Inventory Transfer section.
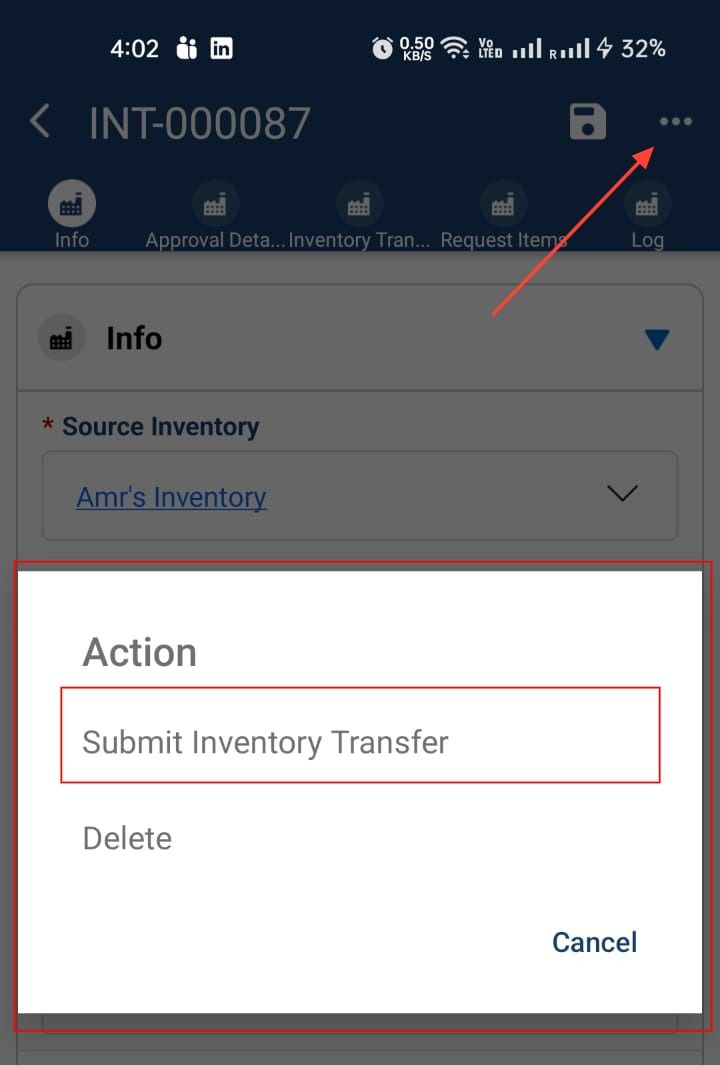
11. Submitting Transfer Request
To submit the request, click on the three-dot button and select Submit Inventory Transfer .
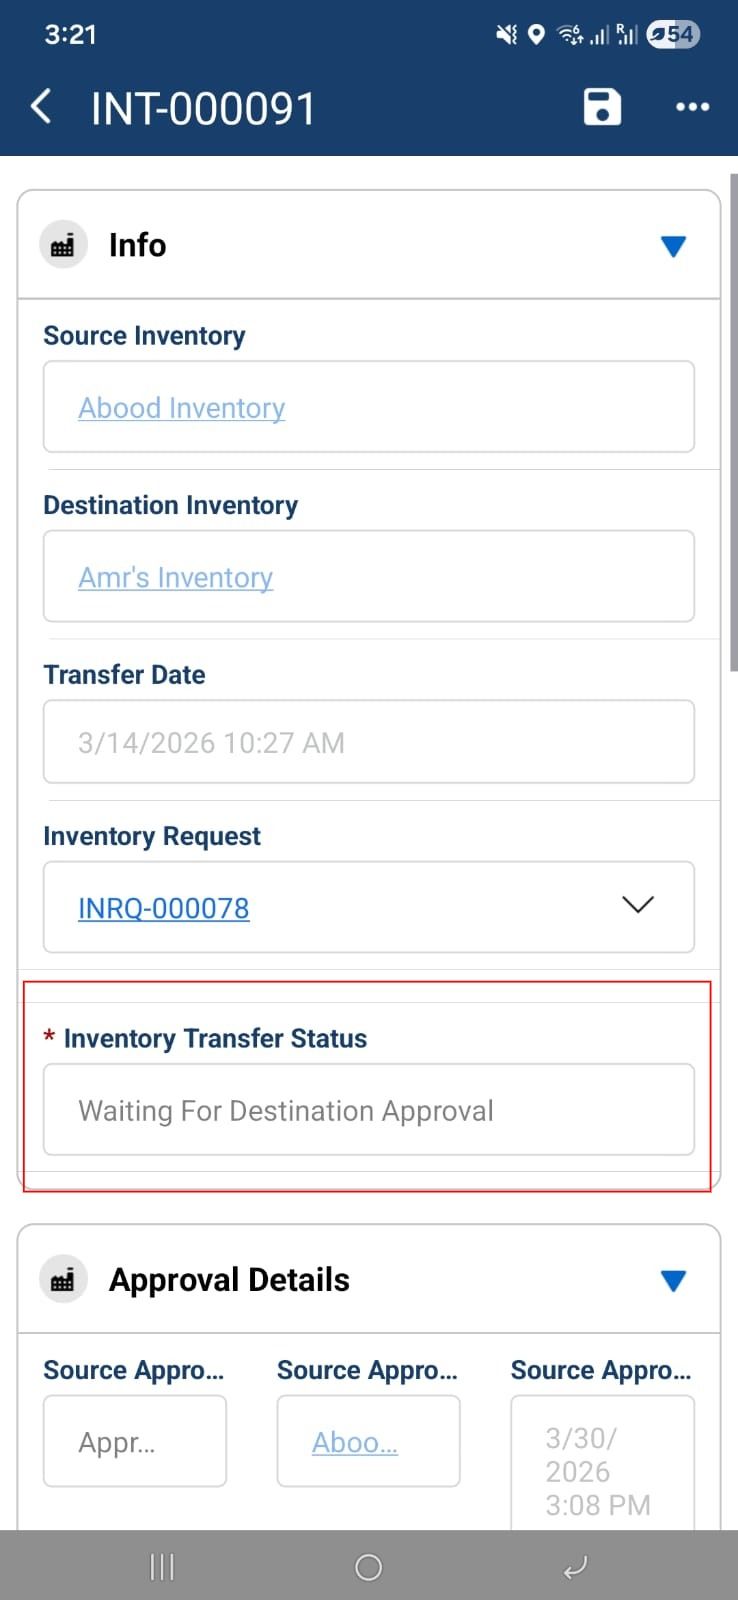
12. Status Changes
As you can see, at each step the status automatically changes based on the situation. We are now waiting for the destination inventory to approve the request.
13. Approve The Transfer
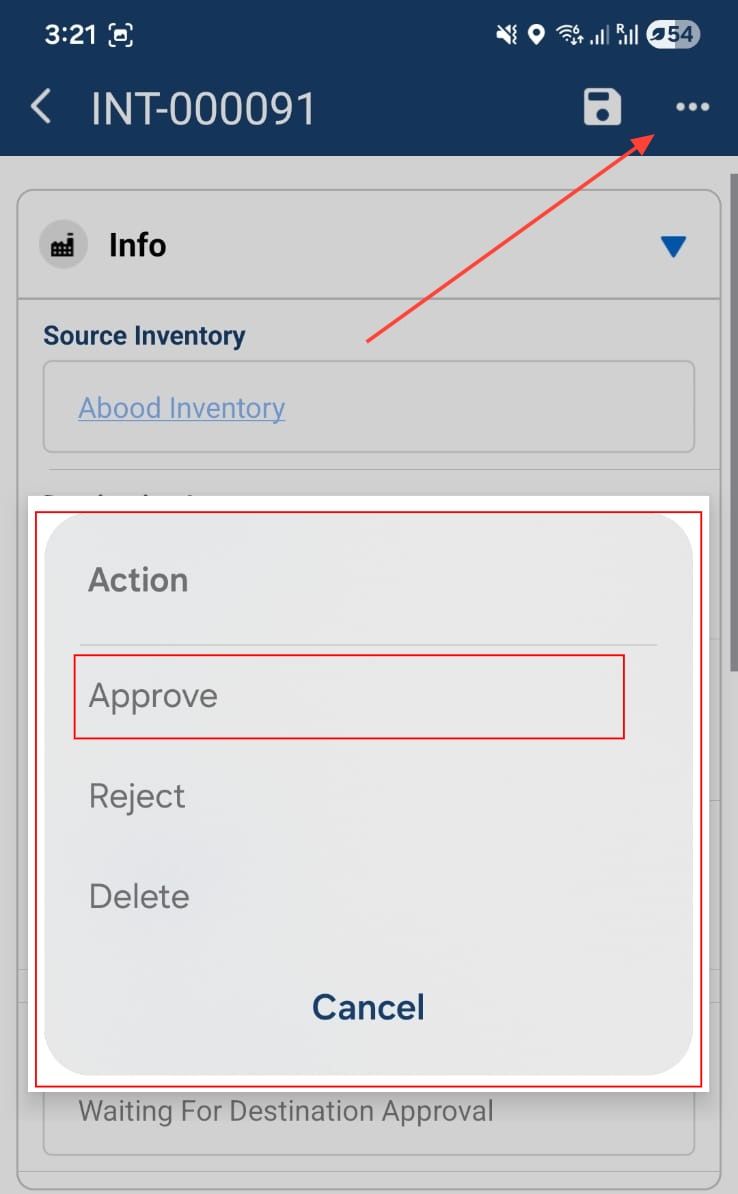
Now, from the destination inventory, we will receive a request to approve or reject. We will choose Approve to complete the process.
Inventory Products
14. Inventory Products
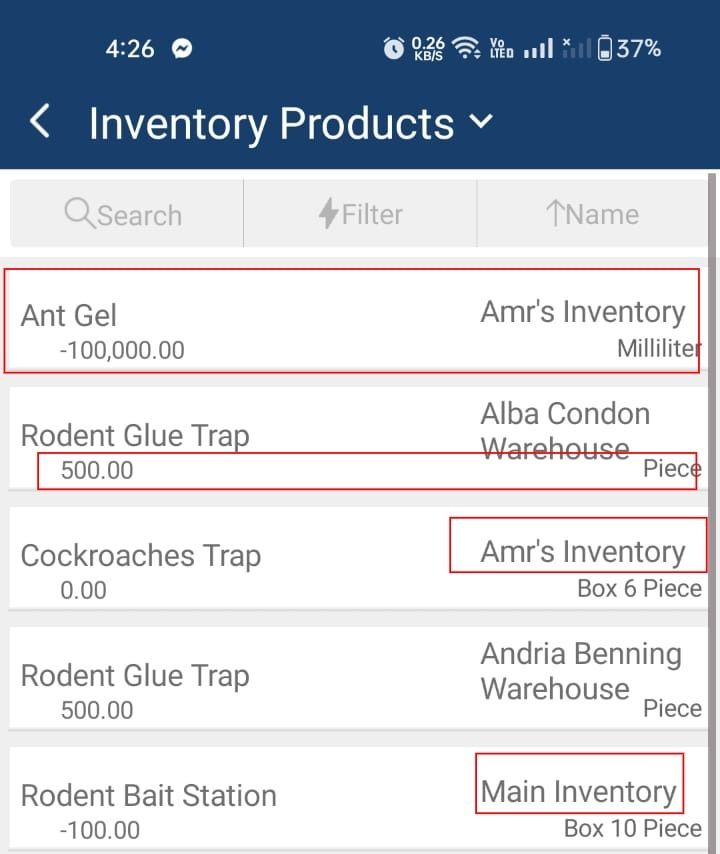
In the Inventory Products section, you can view the items available in your associated inventories. For example, a user can manage multiple inventories, allowing them to see the products, their quantities, the unit, and the name of each inventory.
Reconciliation
15.
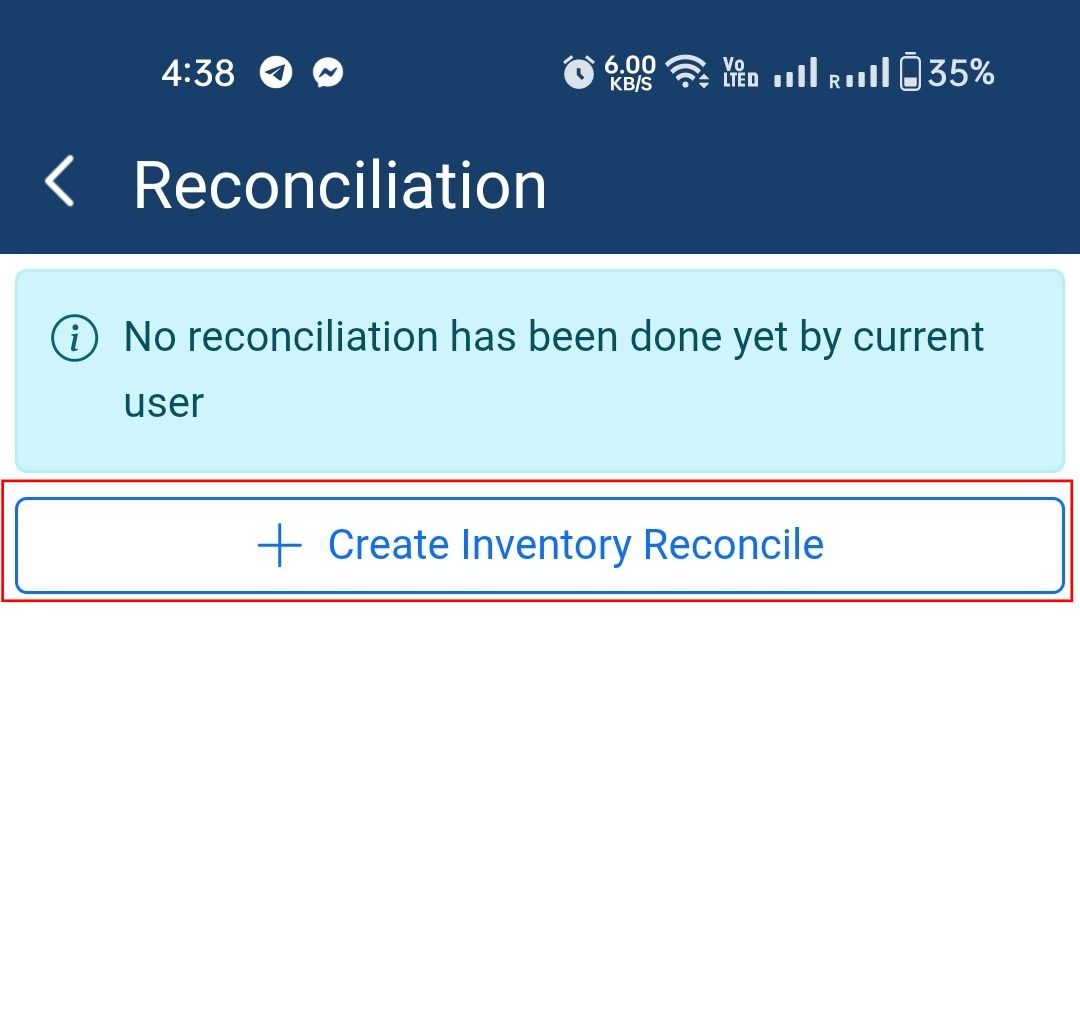
To create a new reconciliation, click on the “+ Create Inventory Reconcile” button.
16. View Products Journey
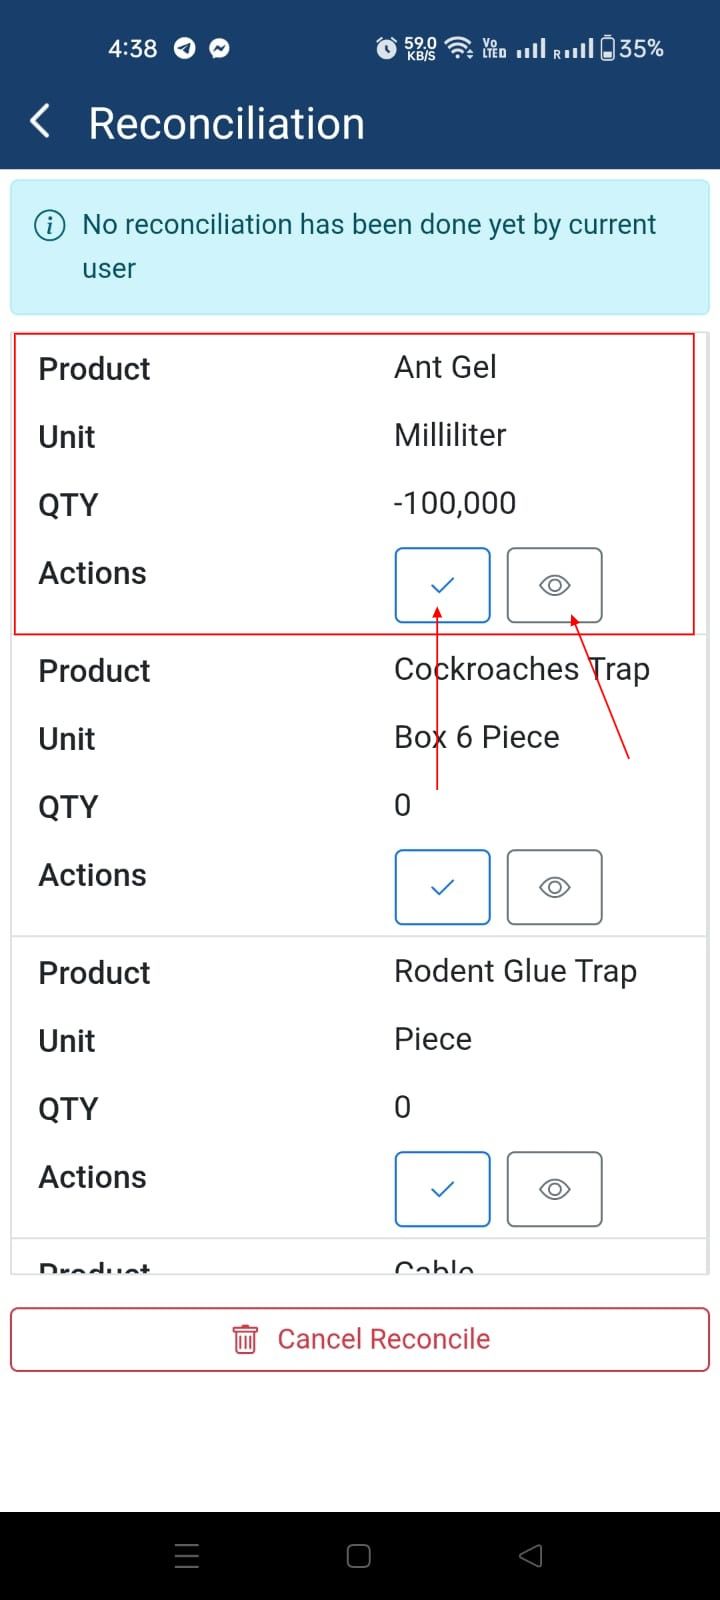
Once we create a new reconciliation, we can see each product and the quantity used. There are also two buttons available: View and Submit .
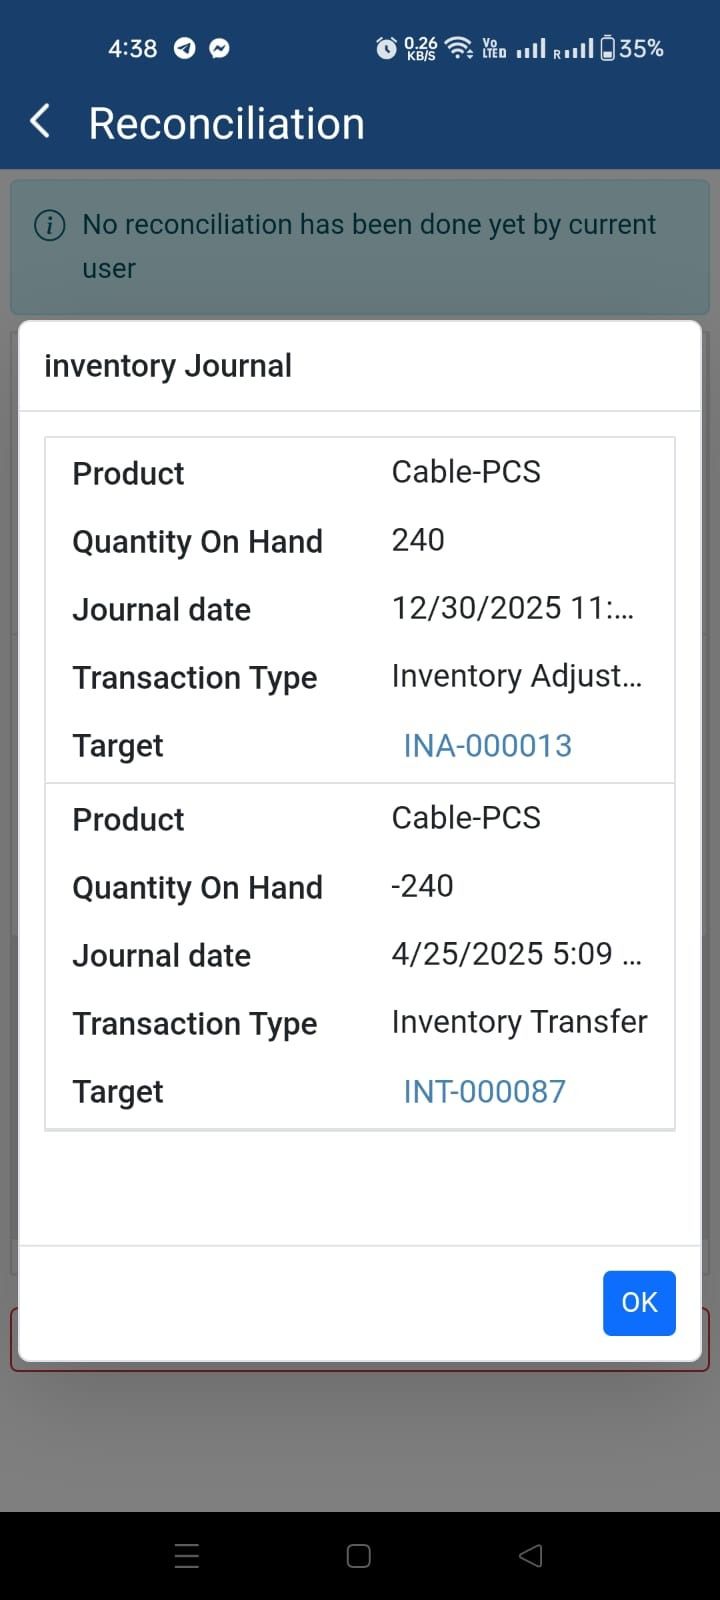
17. Inventory Journal
The View button opens the Inventory Journal for the product, showing where and how the quantity was used. After reviewing, we can submit the products one by one.
18. Confirm The Reconciliation
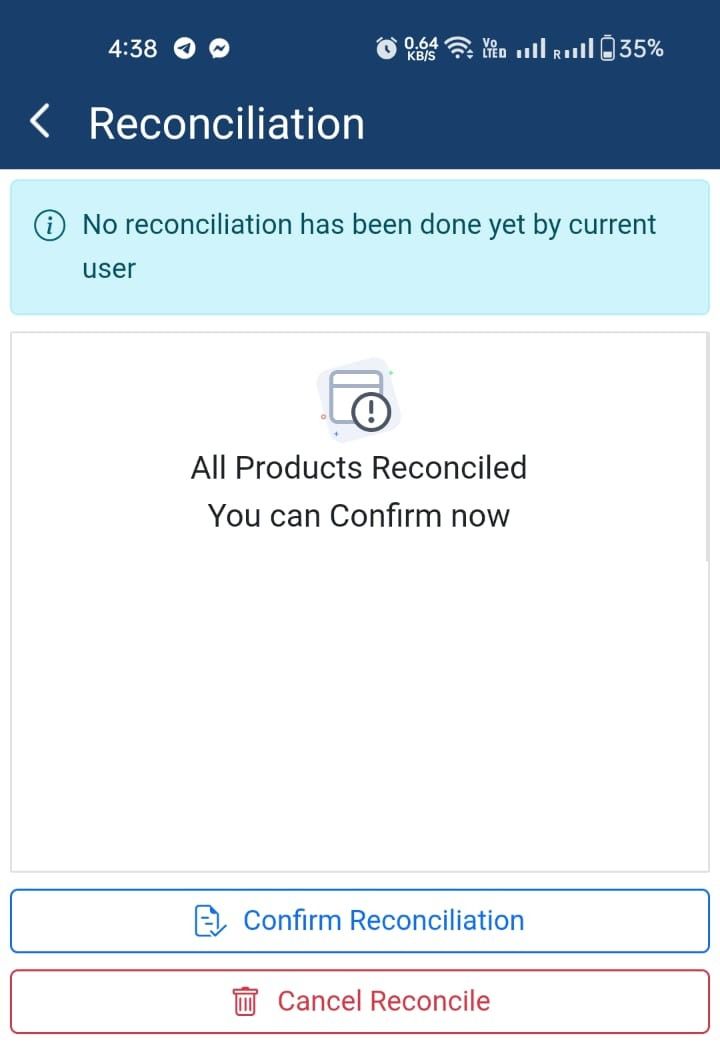
Once we have finished, we can Confirm the Reconciliation to submit it to the Operations team for approval.
19.
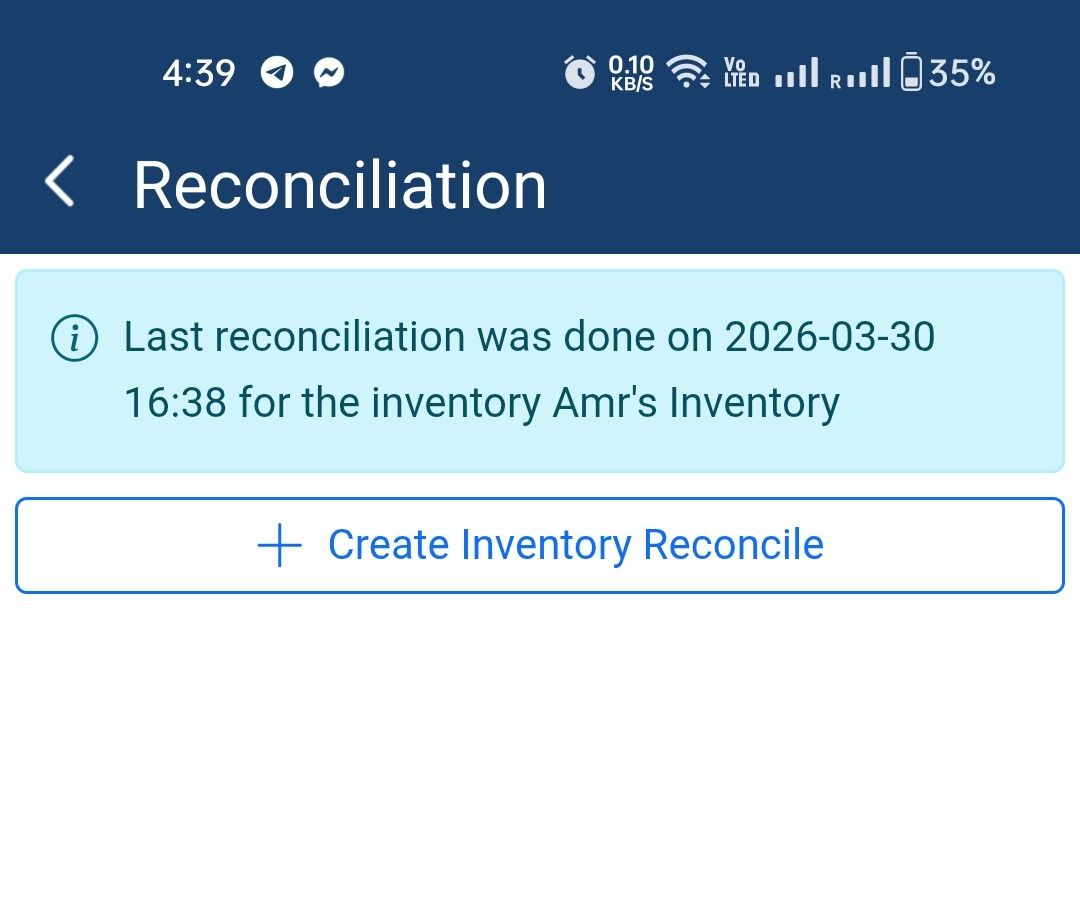
Once you open the reconciliation, you will see the last time it was reconciled and…
 �����������������������