

Service Report Export Result
💡 What is Service Report Export Result ?
The Service Report Export Result tool helps you export Excel report files for the services you've performed on the system, with customizable conditions and grouping options.
1. Where It Is ?
You can find this tool in the Operations app under the Reporting section in the navigation bar menu. To create a new export, click the "+" button.
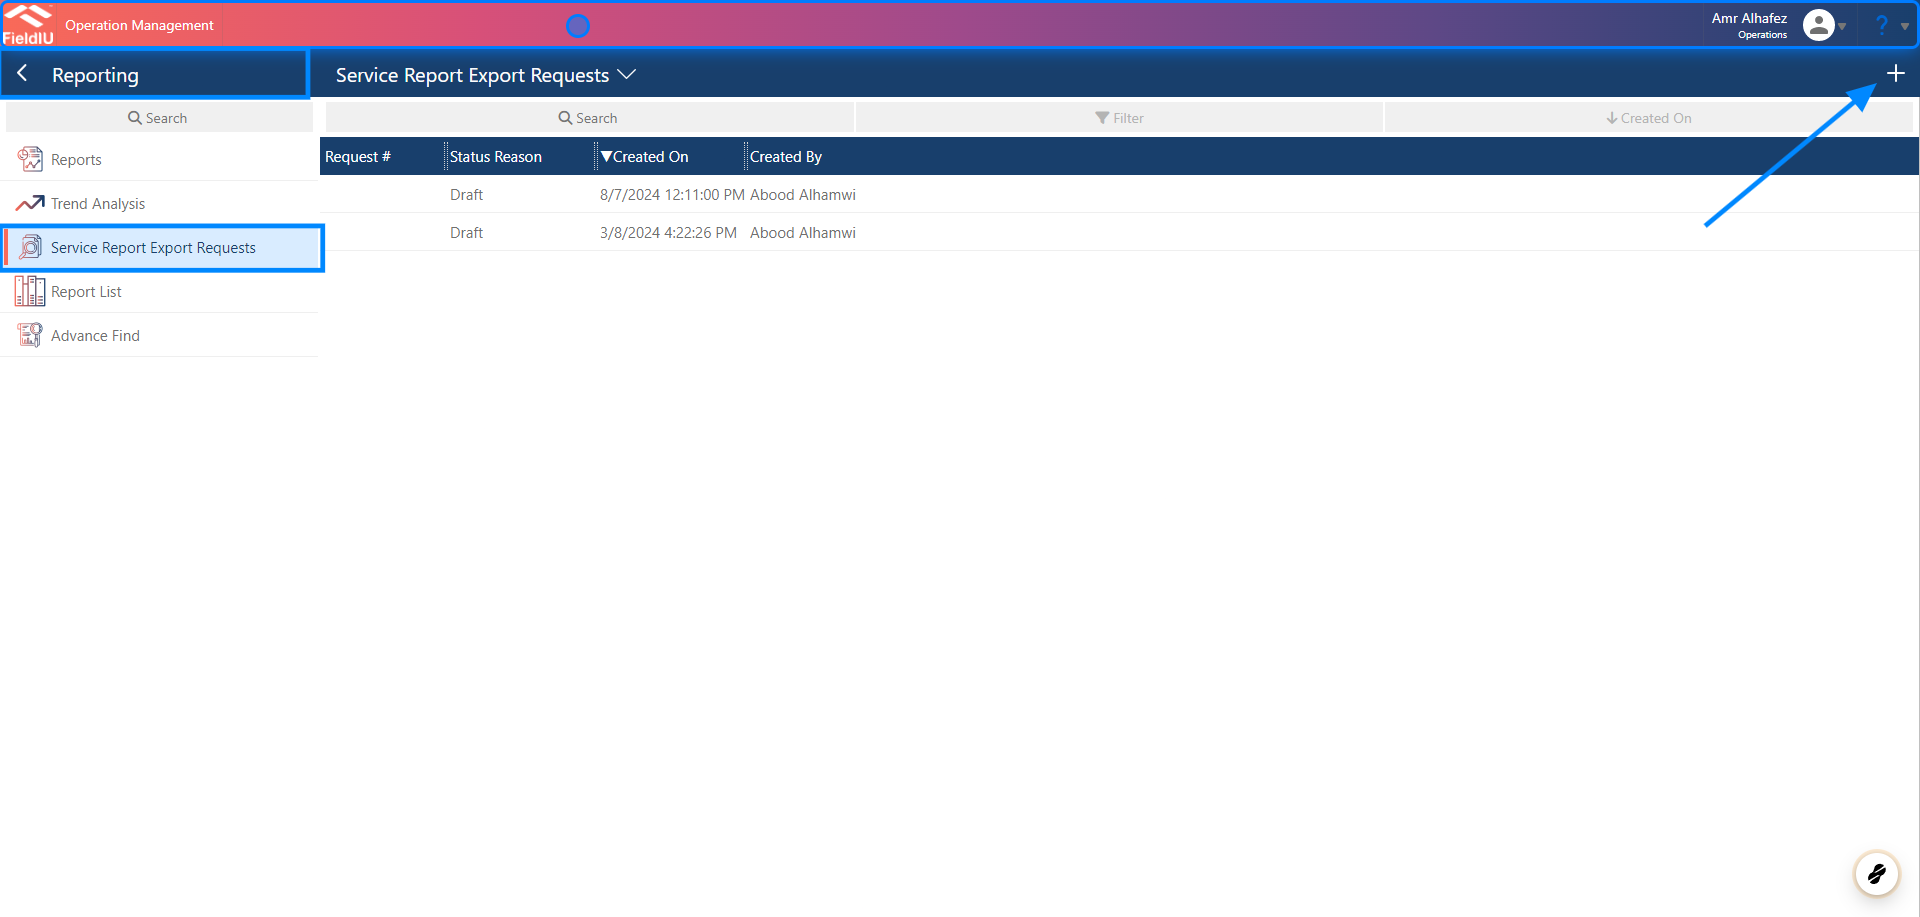
2. What's Inside
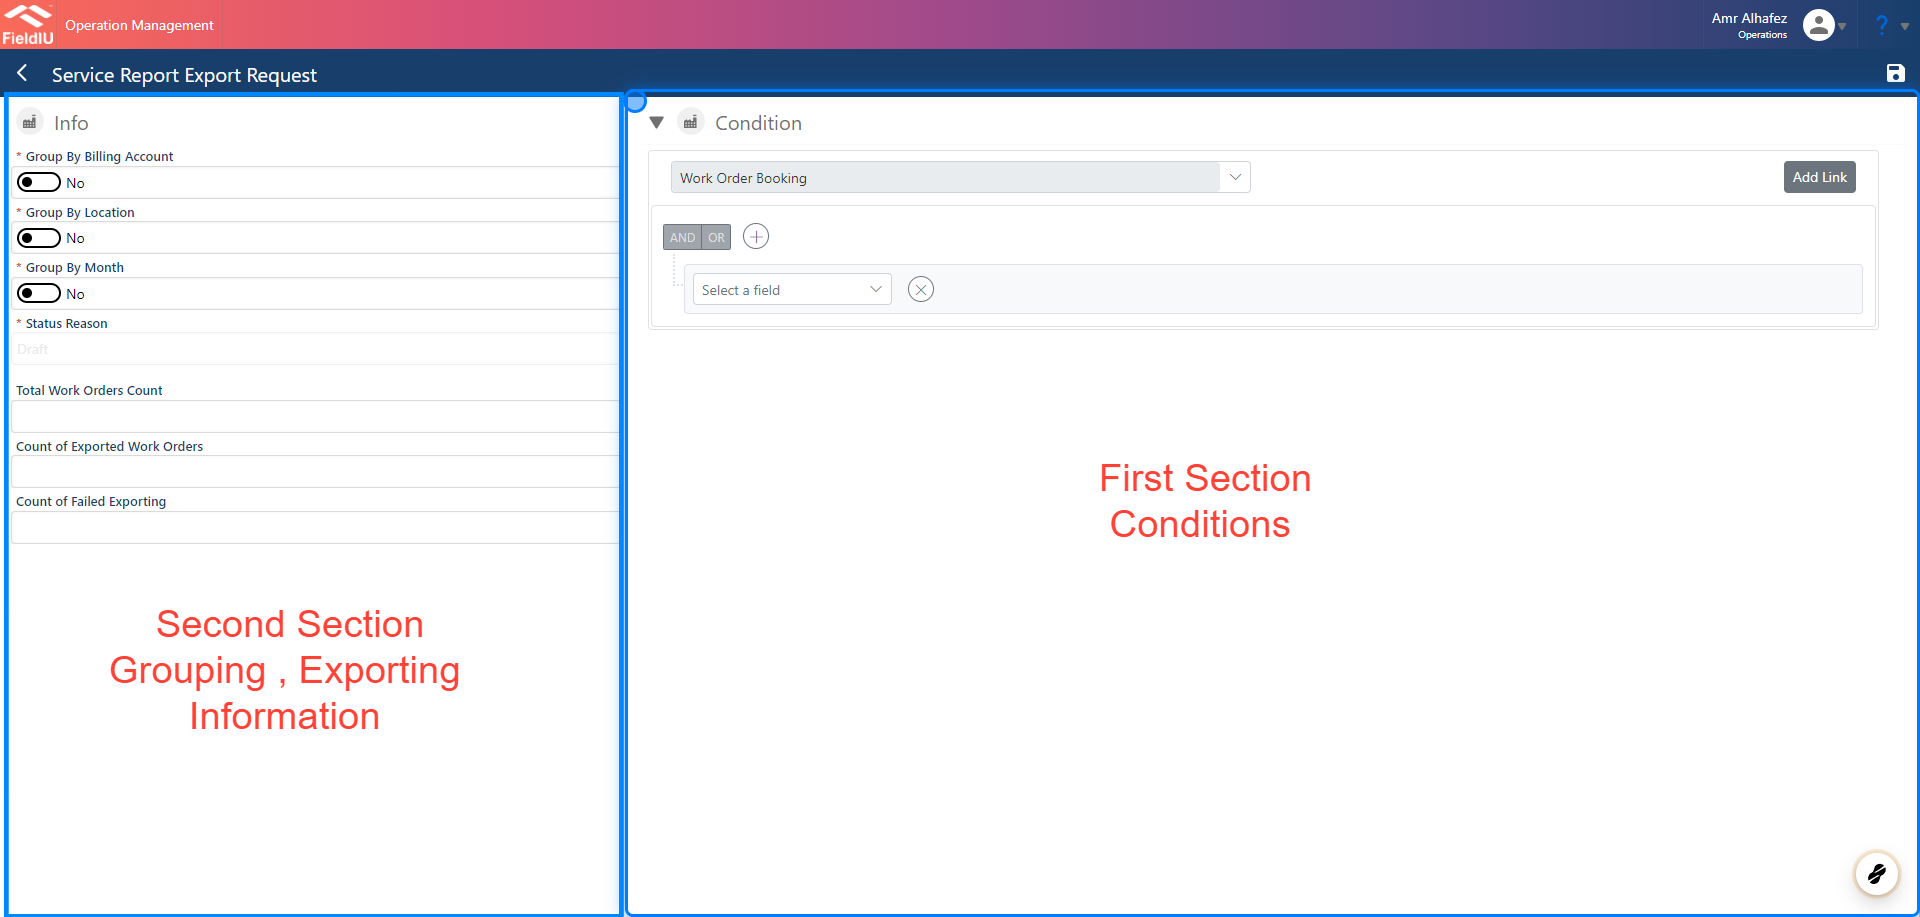
The tool window is divided into two sections:
First Section:
- Condition Section: Here, you can set the conditions for your report.
Second Section:
-
Export Information: This area provides details about the export.
-
Grouping: Specify how you want the data to be grouped.
-
Export Button: Click this button to generate your report.
💡 Let's Dig in
We will provide an example to show how it works. In this example, we want a report for services performed from the beginning of September until today for a specific customer. Here’s how we will set the condition:
3. Conditions
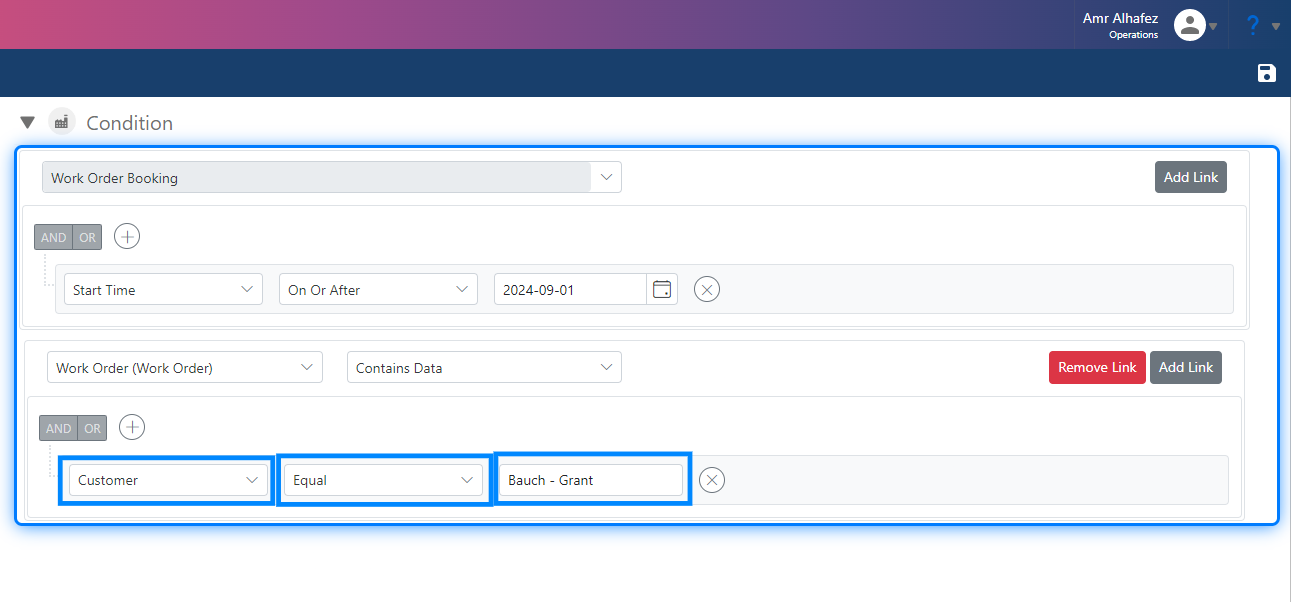
First, the Work Order Booking table will appear, allowing us to select the conditions we want. We store services in the Work Order Booking system, with each visit or service recorded as a booking.
For our example, we need to set the following conditions:
-
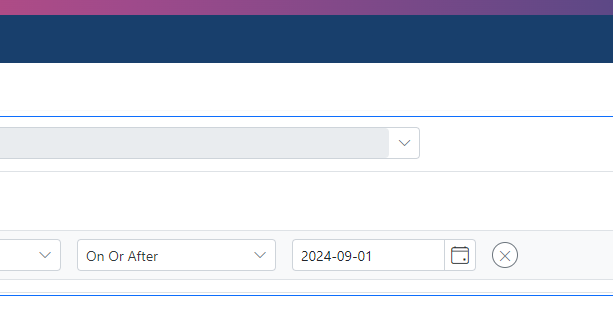
Field: Select "Start Time" to apply the condition for filtering the data.
-
Operator: Choose "On or After."
-
Value: Enter the date value, which in this example is September 1, 2024.
💡 Linking
Since the Work Order Booking table does not include a customer field, we need to retrieve this information from another related table that includes customer names. Therefore, we will need to link the Work Order Booking table to the relevant table that contains the customer information.
4. Link
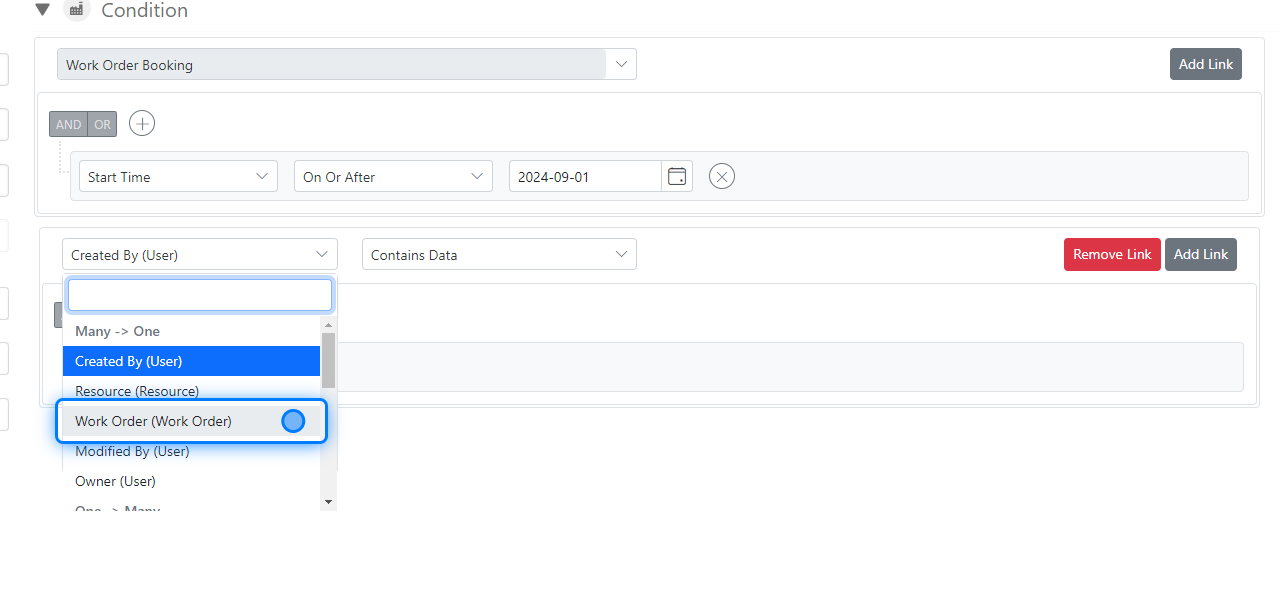
Click on "Add Link"

5. Select Work Order
6. Selecting The Customer
For the condition related to "a specific customer," follow these steps:
-
Field: Select the "Customer" field.
-
Operator: Choose "Equal."
-
Value: Select the specific customer.
⚠️ Linking
You can add or remove links as needed, but for our example, we only require these two conditions.
7. Grouping
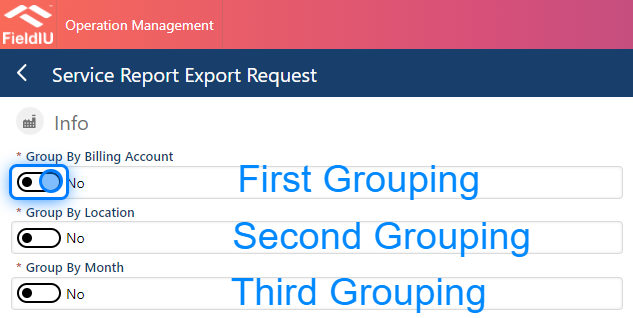
Grouping helps you organize the reports, and there are three stages of grouping:
-
Case Zero: If no grouping options are selected, all reports will be placed in a single folder.
-
Case One: If you select "Grouping by Billing Account," the system will create a folder for each billing account and place the reports inside the respective folders based on billing accounts.
-
Case Two: If you select "Group by Location," the system will create a folder for each service location and place the reports inside the corresponding folders. Additionally, if "Grouping by Billing Account" is also selected, the location folders will be organized within each billing account folder.
-
Case Three: If you select "Group by Month," the system will create a folder for each month and place the reports from that month into the respective folders. Additionally, if "Group by Location" is also selected, the monthly folders will be organized within each location folder.
8. Status Reason
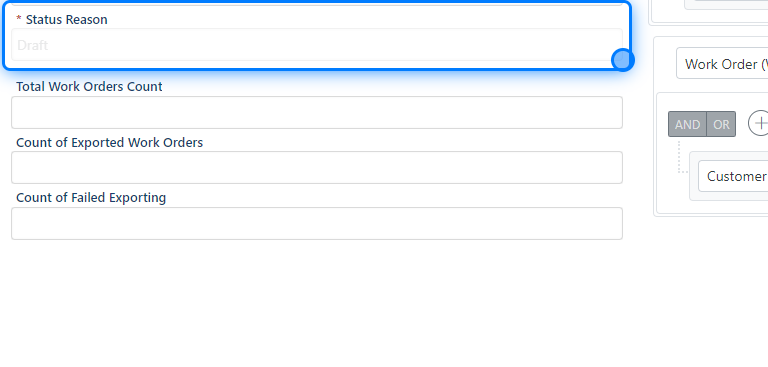
Status Reason will indicate the status of the report exporting process. The reports will not be available for download immediately after initiating the export; there will be a delay as the server processes the export.
9. All Set
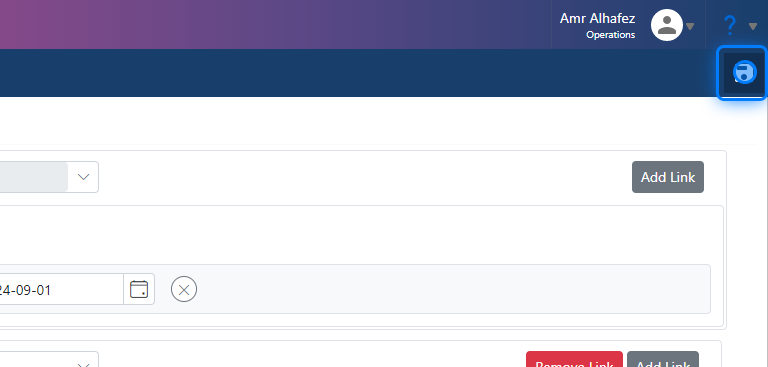
Once you set the conditions and grouping options, you need to save the report before you can export it.
10.
After saving, the export button will appear, allowing you to proceed with the export.
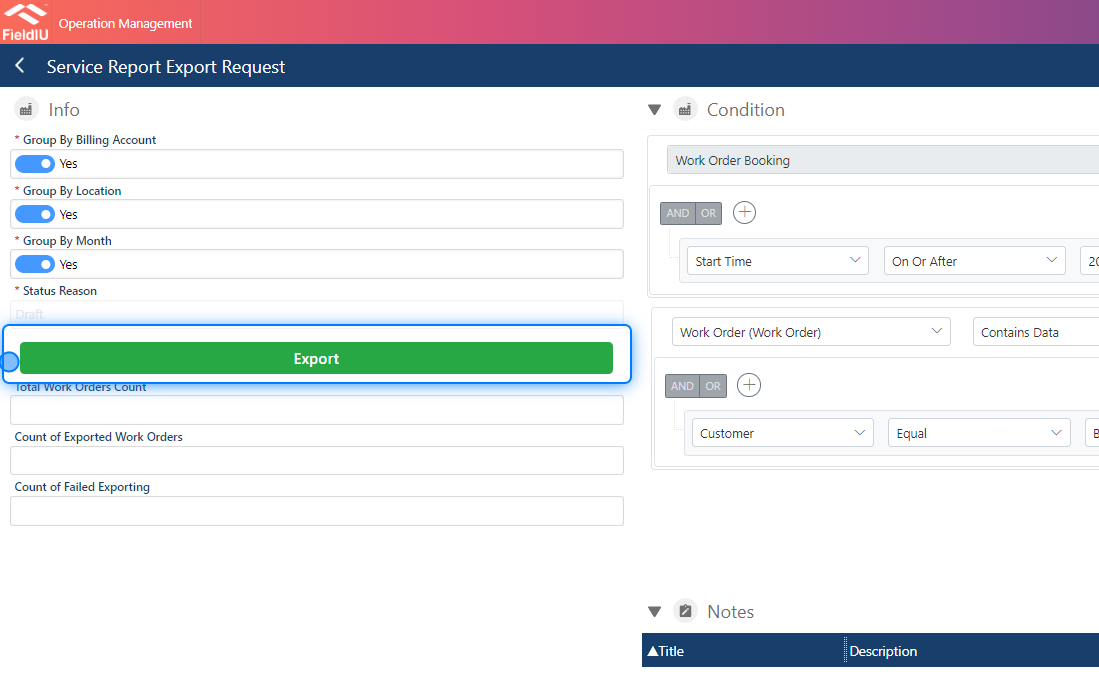
11. Clicking On Export
After clicking the Export button, a confirmation message will pop up. The page will then appear as it is, and you will need to wait until the server completes the processing.
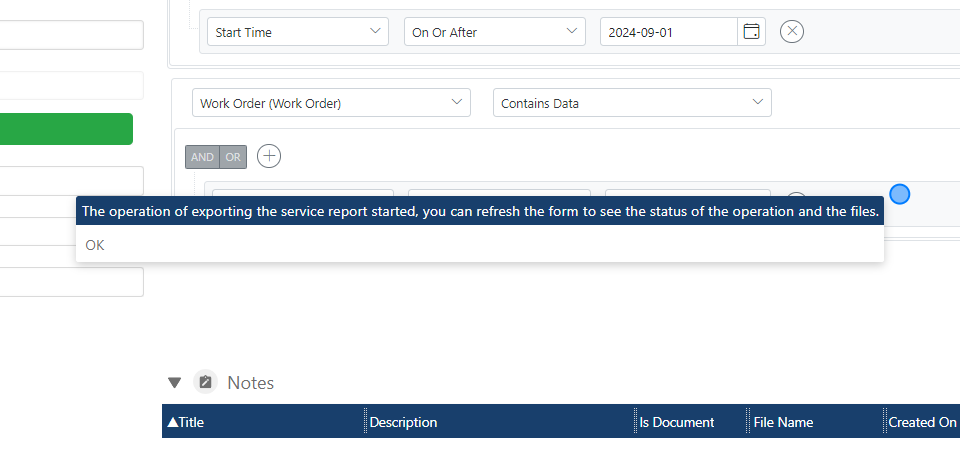
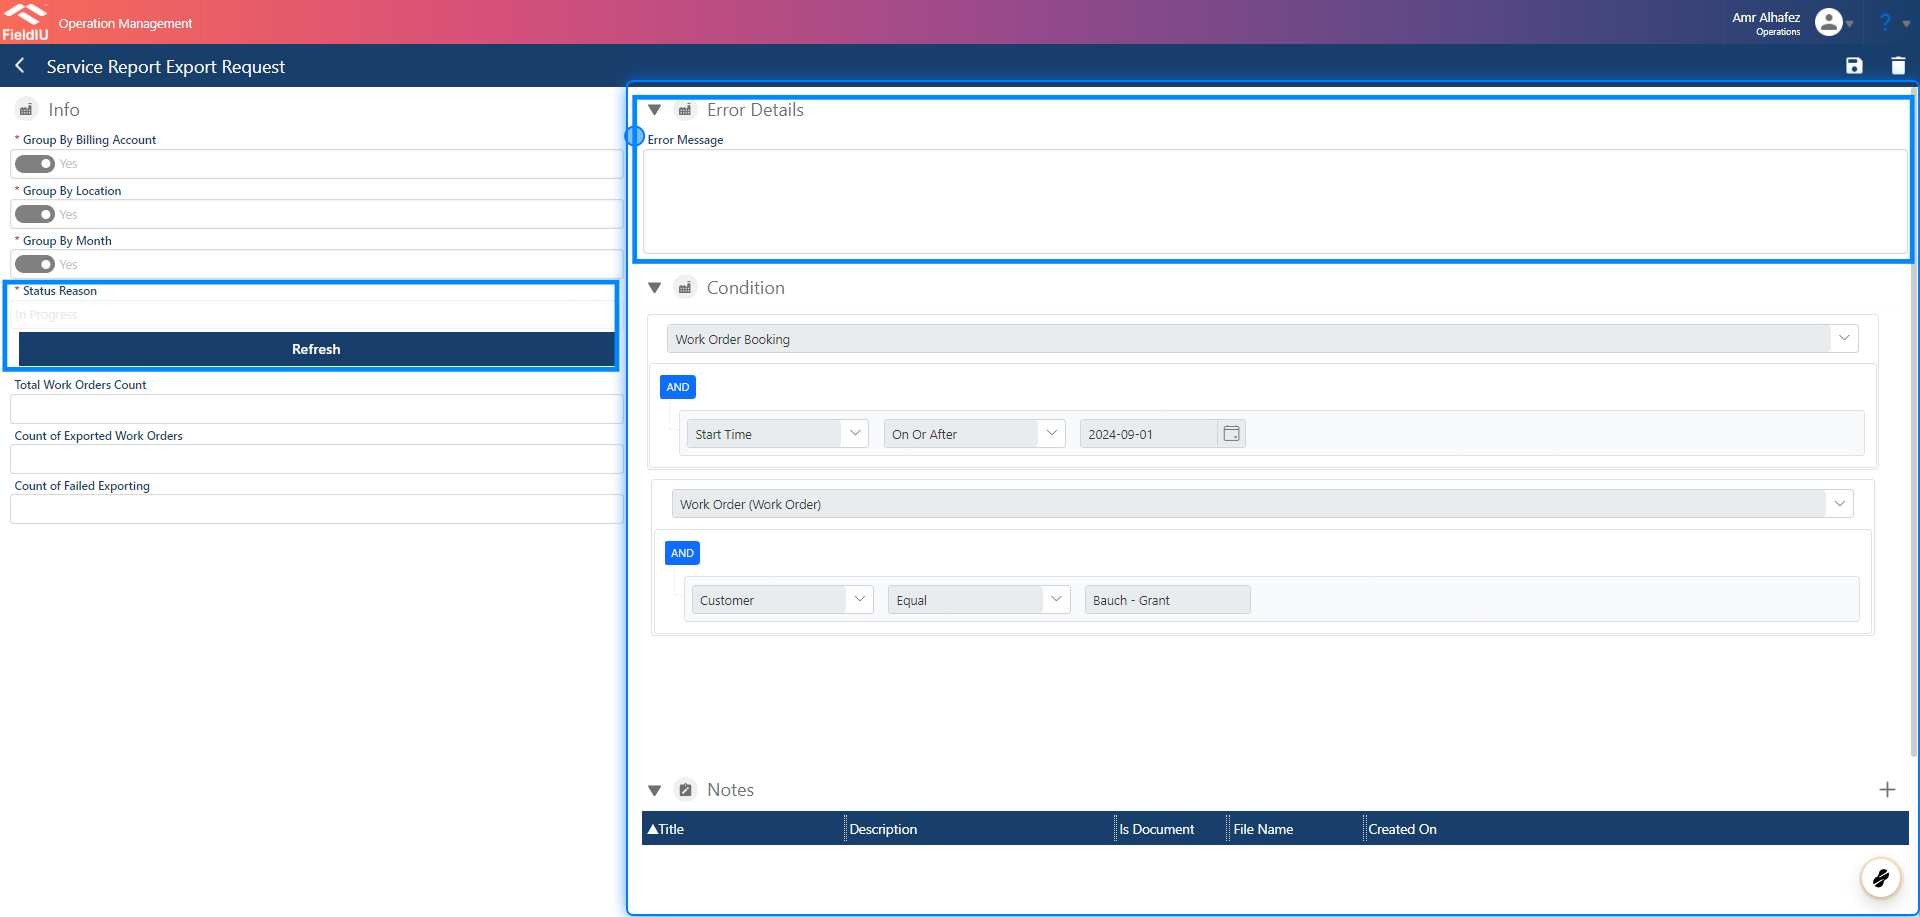
12. Waiting The Results
You will now see a new section called "Error Details," which will display any errors if they occur. The Export button has changed to "Refresh," allowing you to monitor the status, which will initially show as "In Progress."
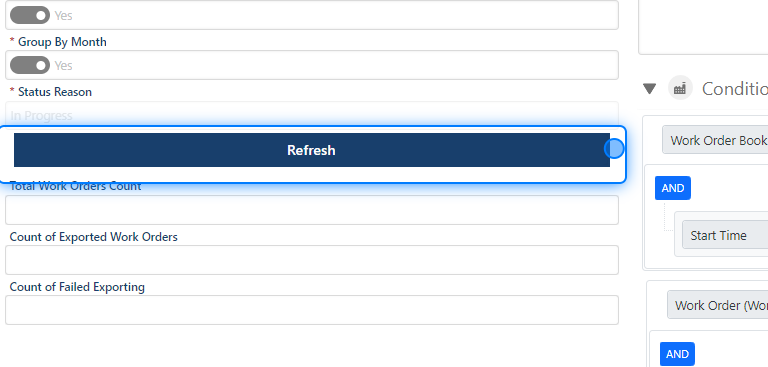
13. Click on Refresh
14. Download The Reports
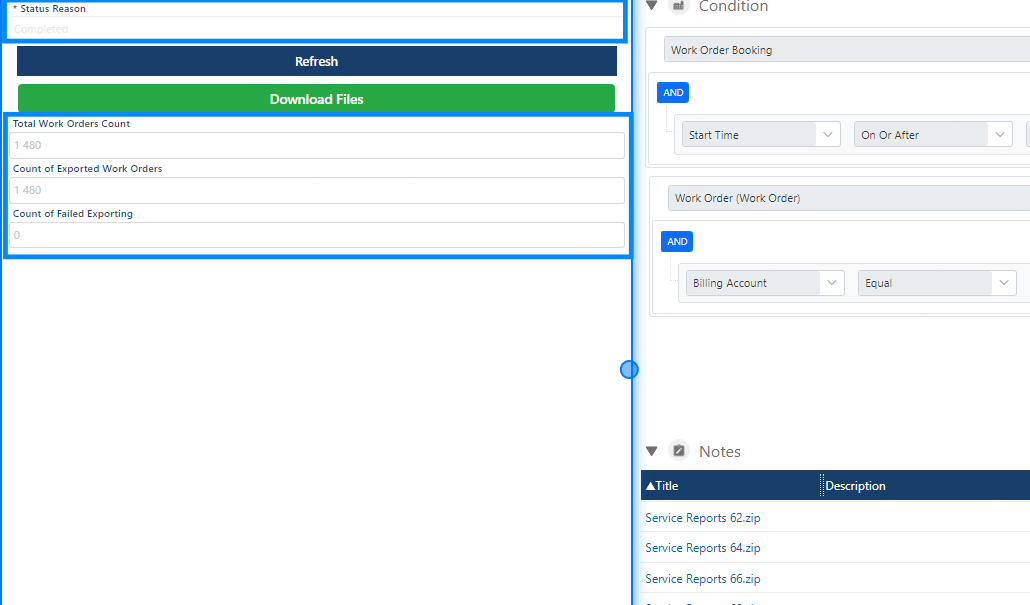
When the server completes exporting the reports, the exporting process status will change to "Completed," and a "Download" button will appear. Additionally, you will see the totals of the work orders counted and the total number of exported reports.
15. Click on Download Files
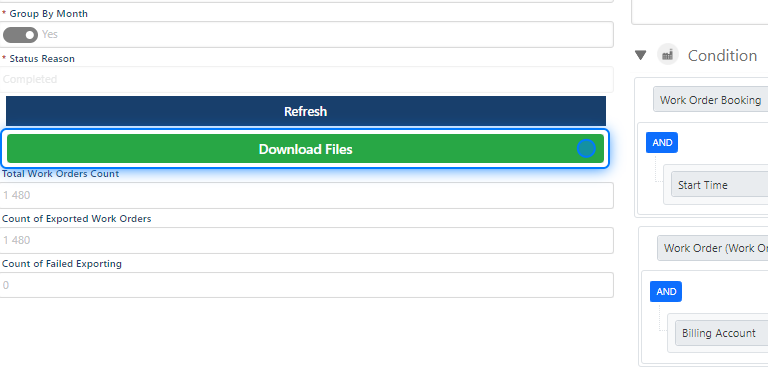
Simply click on "Download Files", and the browser will start downloading the reports.
16. Progress Bar
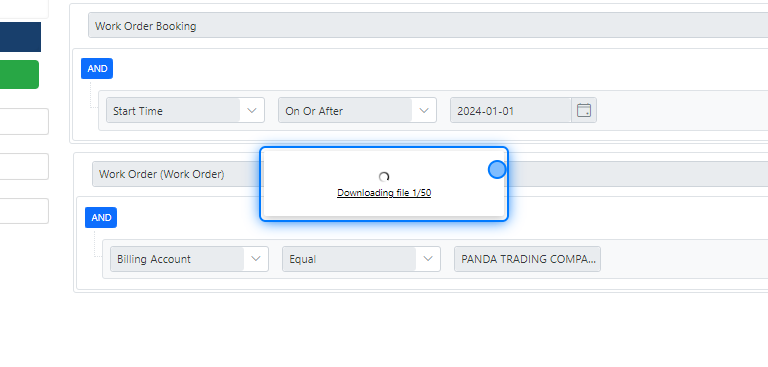
You can now track the progress of the downloaded files.
 �����������������������