

Report Automation
💡 What is Report Automation
This feature is specifically for Work Orders and Services. It will help you send automated emails to the owners of these Work Orders or to specific contacts.
1.
Access Report automation
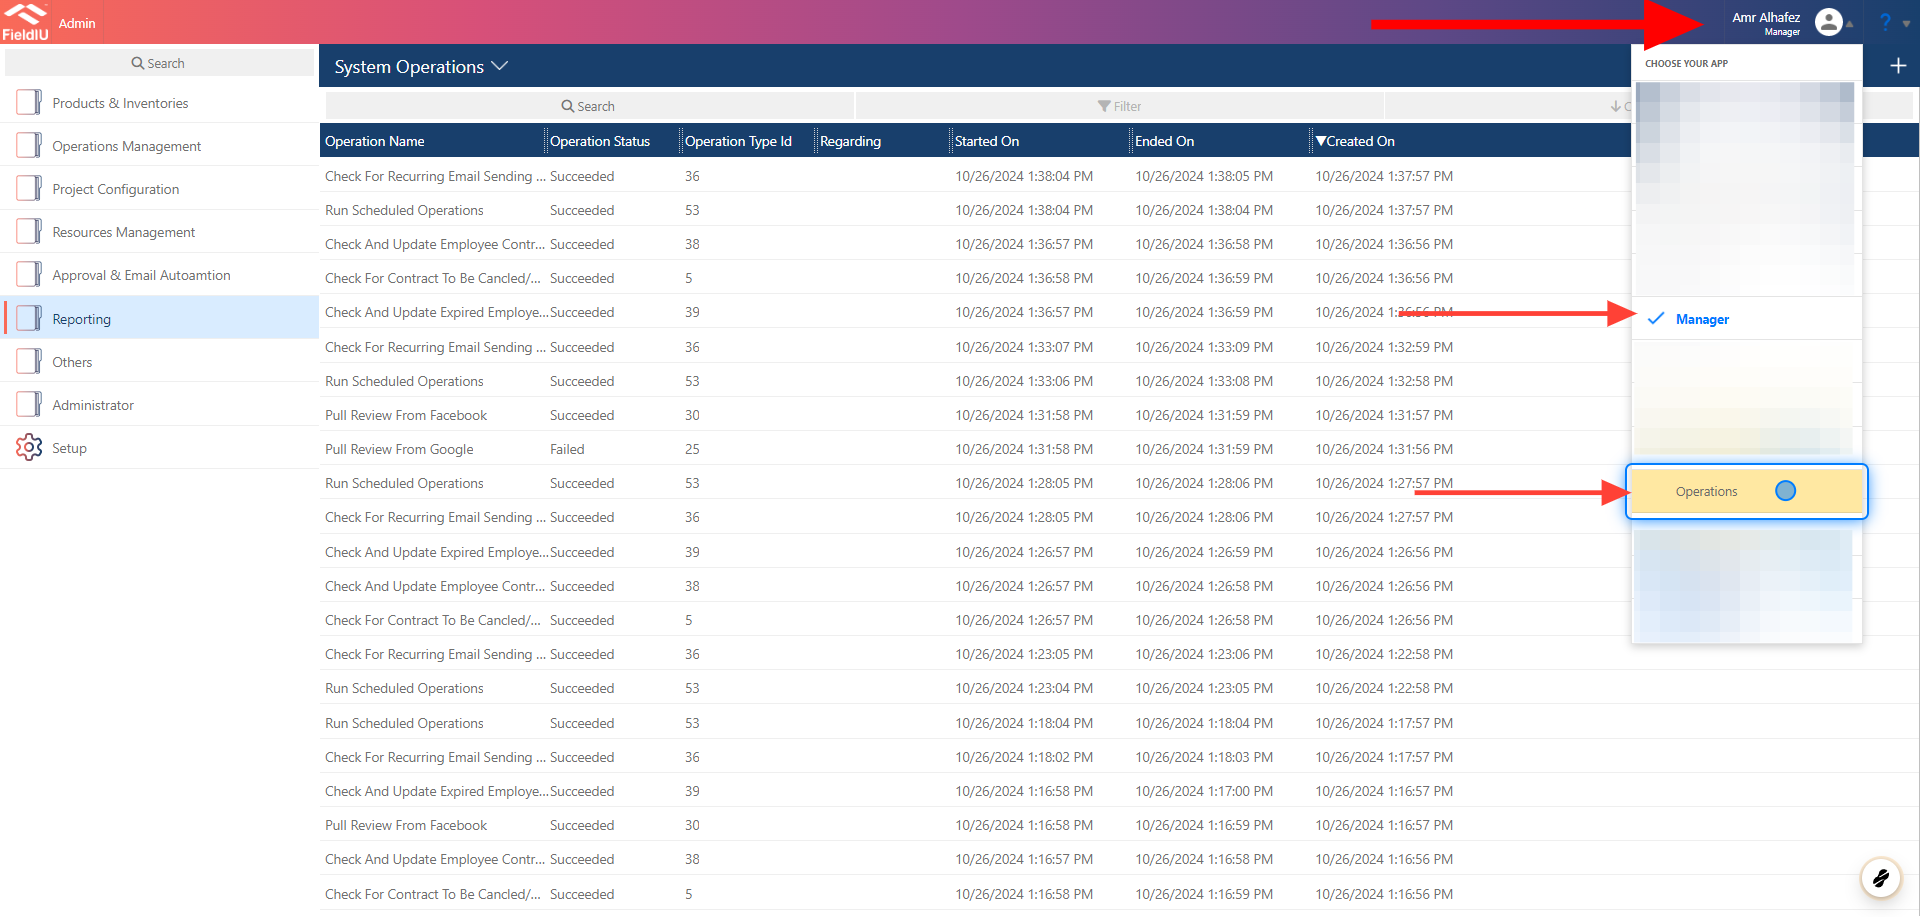
2. Access
To access the Email-sending automation, you need to open the Operation App Or Manager App.
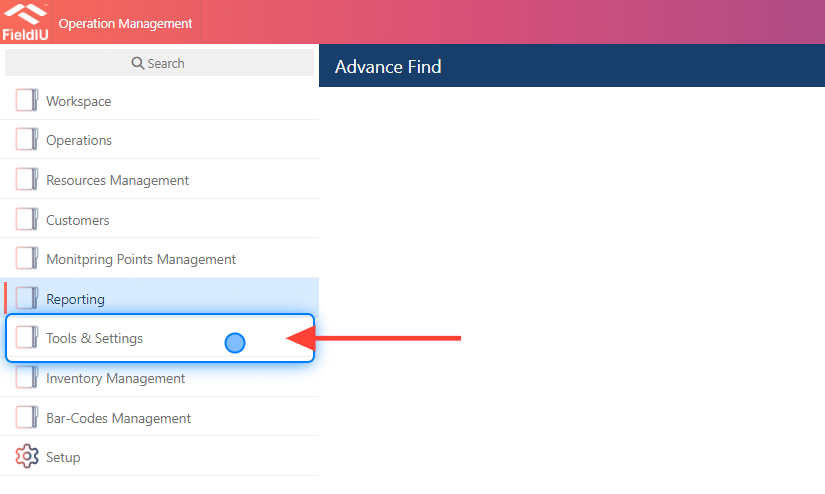
3. Click On Tools & Settings
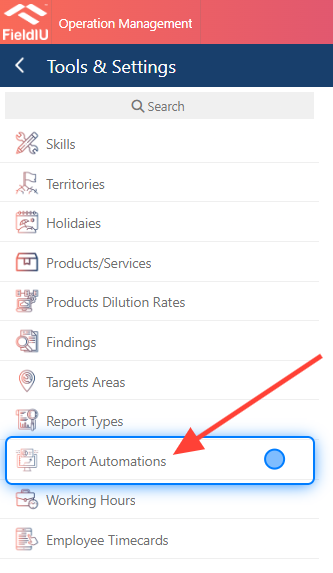
4.
What Inside ?
5. Main Information Section
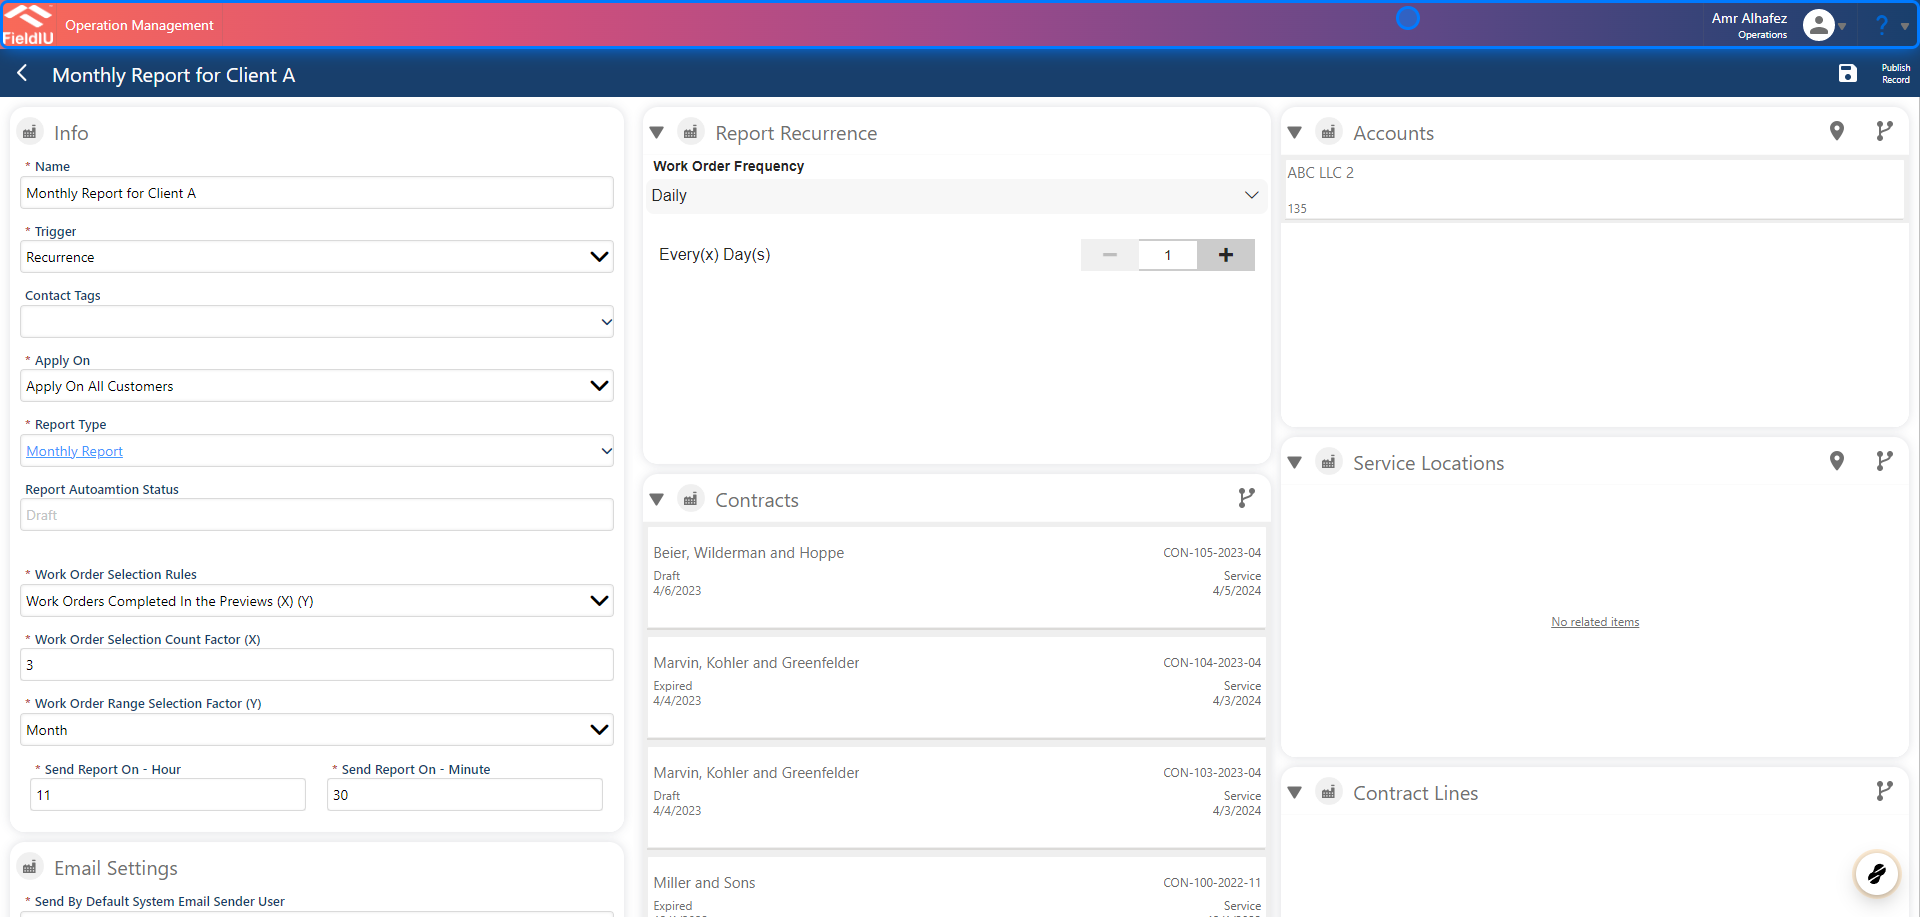
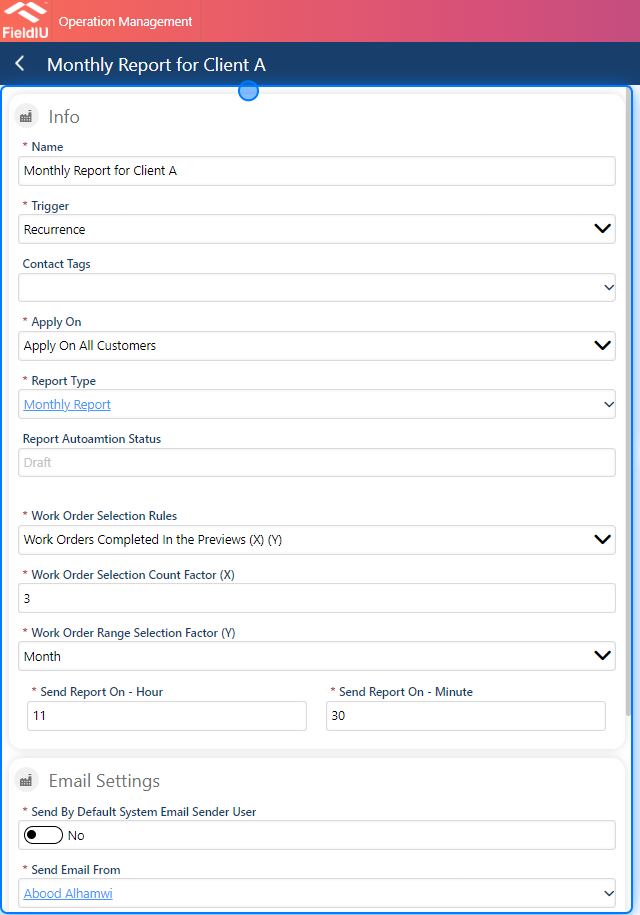
In this section, we need to insert the main data for the automation, including the following:
-
Name
-
Trigger
-
Delay
-
Report Type
ETC..
6. Trigger
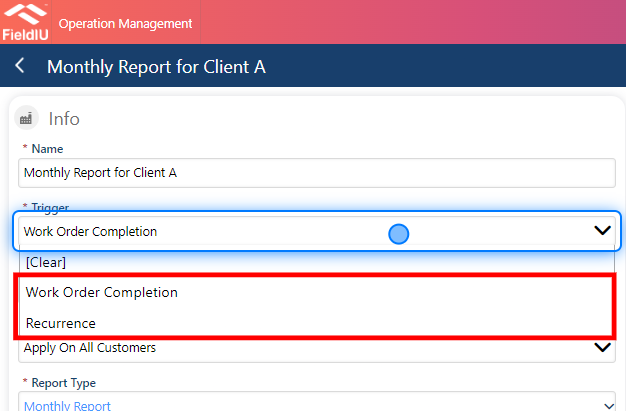
We have two types of triggers:
-
Recurrence : This trigger is applied on specific dates, which we will set up in later steps.
-
Work Order Completion : This trigger activates once the work order status changes to "Completed."
Trigger Recurrence
7. Apply On & Contact Tags
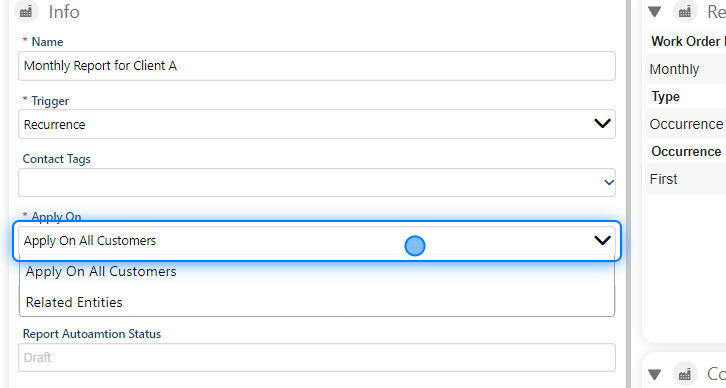
After selecting the trigger, you need to choose the customers for whom you want to send the report. You can apply it to:
-
All Customers
-
Related Entity ( Check Step #13 )
Additionally, you can use the Contact Tag to specify individual contacts.
💡 What Are Contact Tags?
When a user creates a contact, there is a field to add tags for that contact. For example, if you add a contact who is the CEO of a company, you can tag that contact as "CEO." This tagging system allows you to easily categorize contacts and use these tags later for sending emails or for any other functions that require tags.
You can also refer to the contact documentation for more information.
8. Report Type
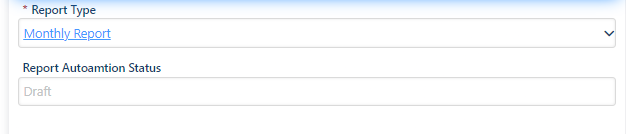
From this selector, you can choose the report you want to send to the customers. You have two options:
-
Document Report : You can create this report directly within the system.
-
Report Editor : Use the administrator tools to create a custom report.
For more information, please refer to the Document Reports & Reports Editor documentation.
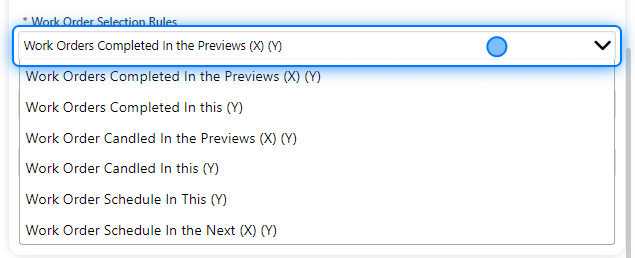
9. Work Order Selection Role
Here, you can select the role of the work order. As you can see, we have the following options:
-
Work Orders Completed in the Previous X Y
-
Work Orders Completed in This Y
-
Work Orders Canceled in the Previous X Y
-
Work Orders Canceled in This Y
-
Work Orders Scheduled in This Y
-
Work Orders Scheduled in the Next X Y
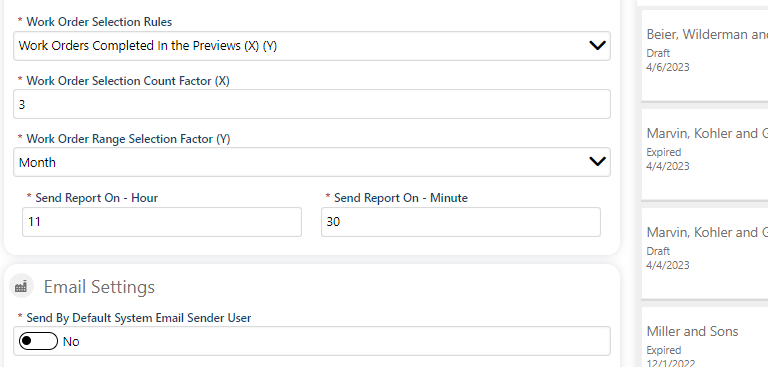
In this context, X represents the number, and Y indicates the period. For example, for "Work Orders Completed in the Previous 2 Days," X = 2 and Y = Days. You can assign values for X and Y from the form in the next steps.
10. Count & Selection Factor
As we discussed earlier, we need to select the values for X and Y for the Work Order Selection Role.
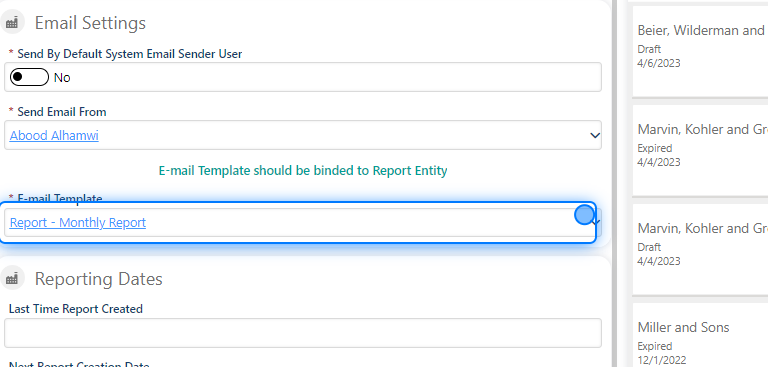
11. E-mail Template
You also need to select the email template.
For more information, please refer to the Email Template documentation.
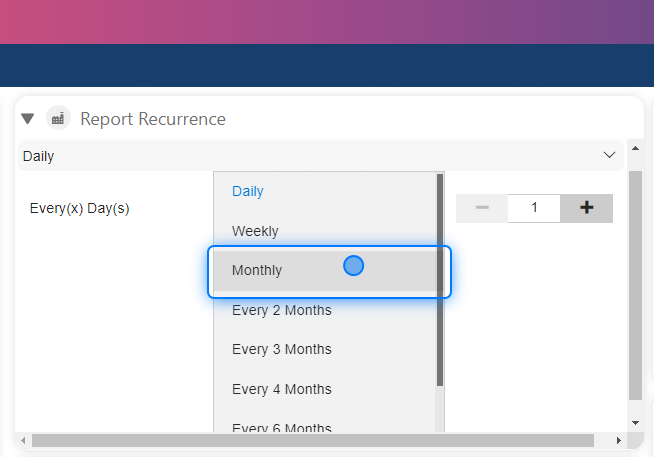
12. Report Recurrence
You can select the frequency, choosing from options such as:
-
Daily
-
Weekly
-
Monthly
-
Every 2 Months
-
Every 3 Months
-
Every 4 Months
-
Every 6 Months
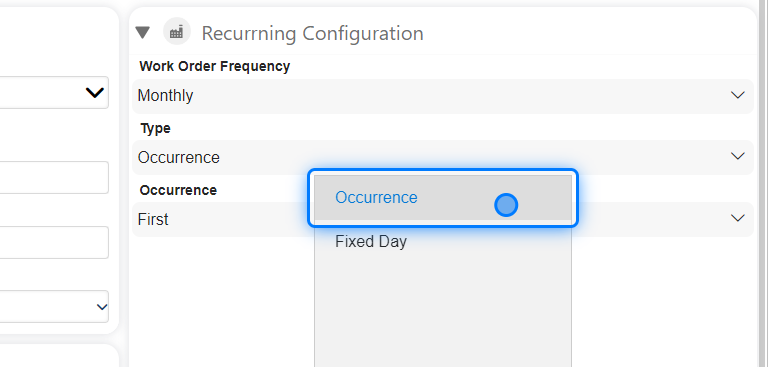
13. Type
There are two types of recurrence:
-
Occurrence
-
Fixed Day
If you select Fixed Day , you can specify a day (e.g., 'Day 6'), meaning the trigger will activate on that day each month. For example, if set to 6, it will trigger on the 6th day of each month.
14. Occurrence
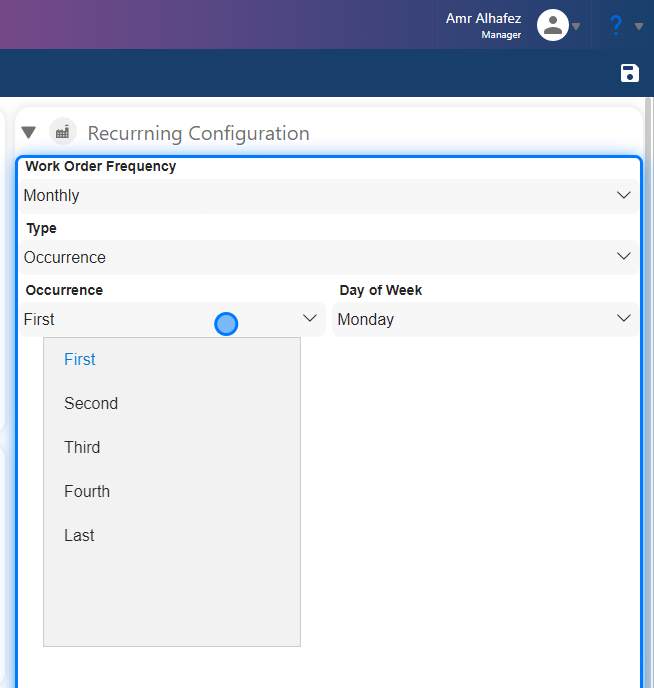
When we select Occurrence , we can ensure the email is not sent on off days, or we can specify a particular day within a specific week of the month. The occurrence options include:
-
First
-
Second
-
Third
-
Fourth
-
Last
Then, select the specific day. For example, choosing 'First Monday' will trigger the email on the first Monday of each month.
Work Order Completion
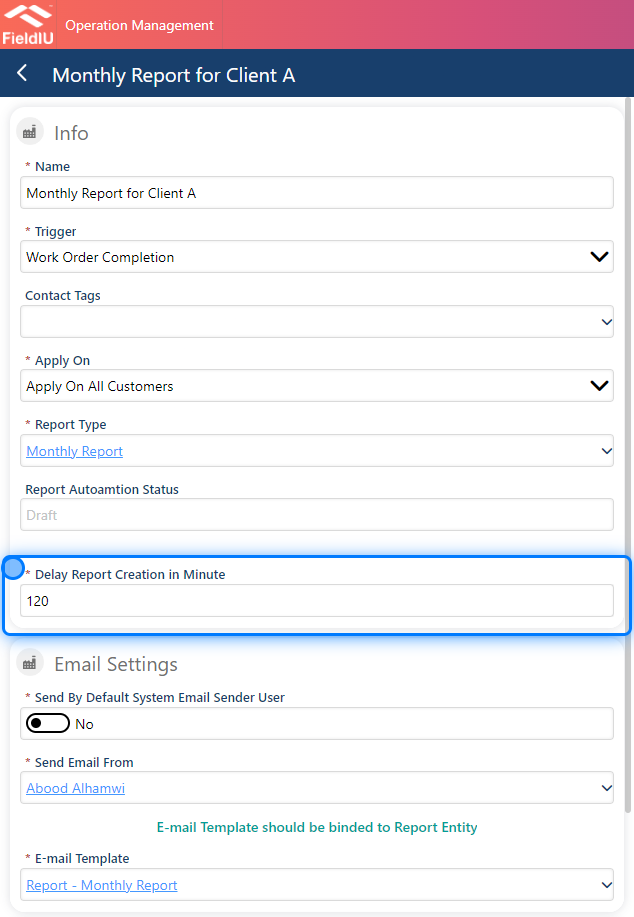
15. Delay Report Creation In Minute
When we select "Work Order Completion" as the trigger, the recurrence trigger items, such as the Report Recurrence section and Work Order Selection Role, are not visible. This is because the report will be sent only once the work order status changes to "Completed."
However, there is one additional input: the Delay Report Creation (in minutes) field. You can set the number of minutes you want to delay the report. This feature is useful because sometimes workers may not complete all the work order details in the system but need time to finalize their entries. In certain cases, they might have to mark the work order as completed before finishing their inputs.
A recommended delay is 120 minutes (2 hours).
Report Setting Sections
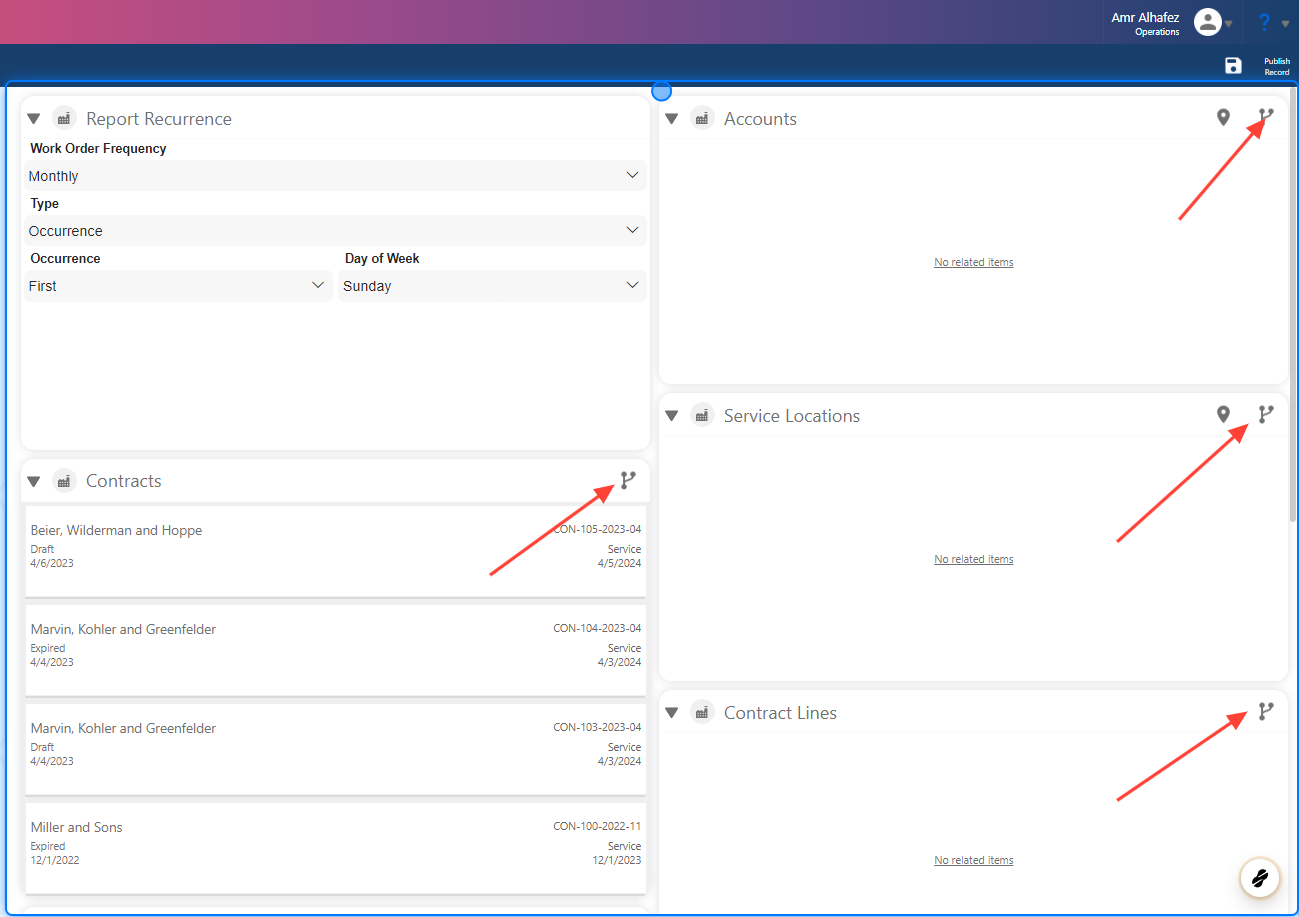
16. Specification ( Related Entities )
You can select the linked accounts, service locations, contracts, or contract lines to assign this automated report to them. It’s simple " just click on the link icon and choose the options you want " .
17. BCC Users
Here’s a polished version of your text:
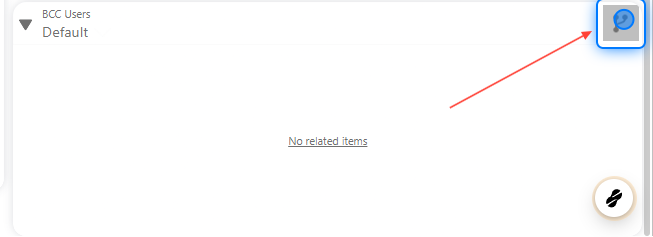
You can add BCC users in the sent emails by selecting the user or contact from the BCC Users section.
18. Work Order Type
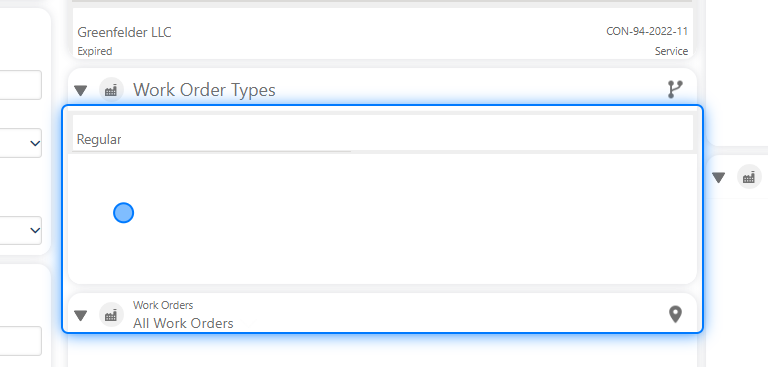
You need to select the work order type to be used for this report. Typically, this is set to "Regular Work Orders."
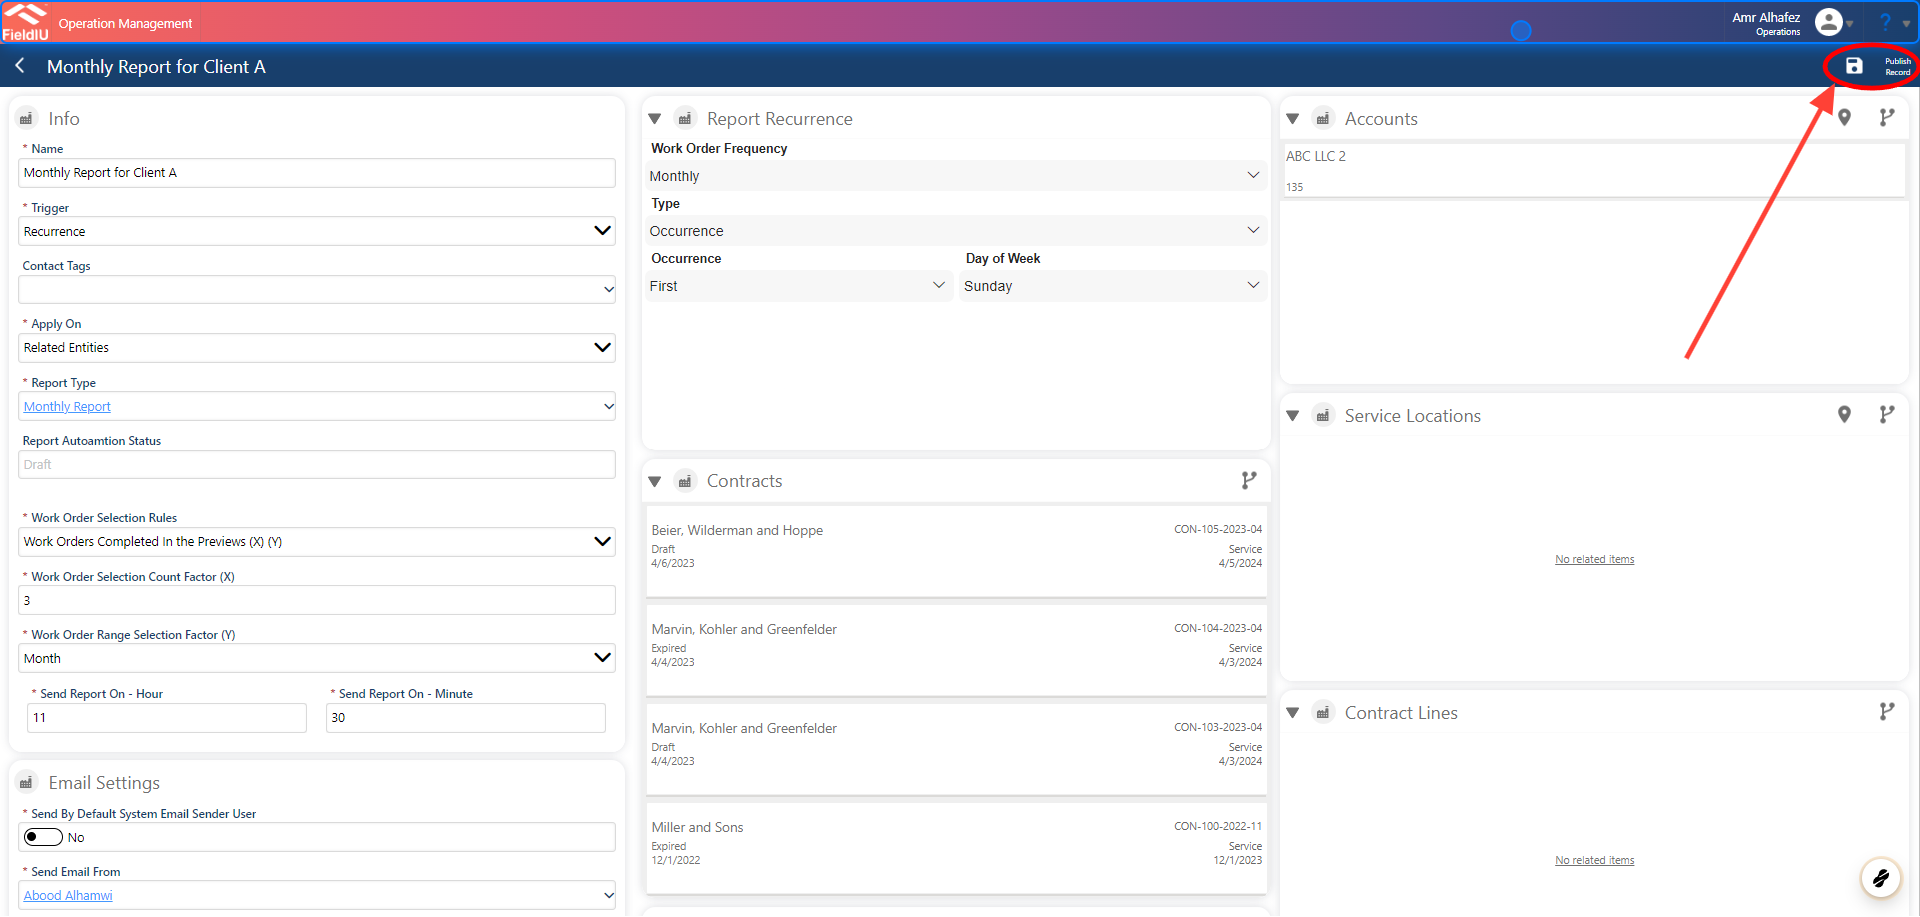
19. Save & Publish
 �����������������������