

Reporting Tool
💡 What is Reporting Tool
The Reporting Tool is designed for generating complex reports. In the normal report documents, you create reports for a single record only. However, with the Reporting Tool, you can generate reports for multiple work orders or service locations simultaneously, and you can apply filters to these work orders or service locations.
This tool is specifically for reports related to work orders and service locations.
⚠️ Report Type
It's very important to read the report type documentation to understand the entire process. The report type documentation is part of the Reporting Tool documentation, and it should not be overlooked.
Access To Reporting Tool
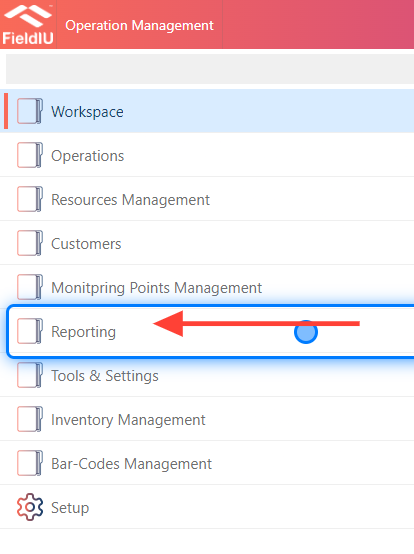
1. Reporting
From the side navigation, select Reporting .
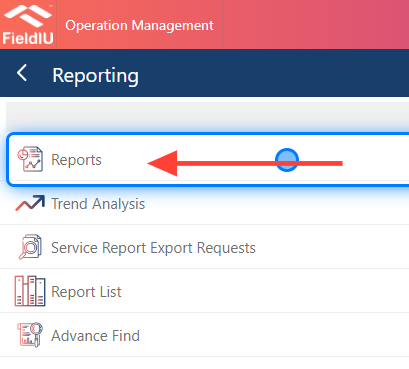
2. Click on Reports
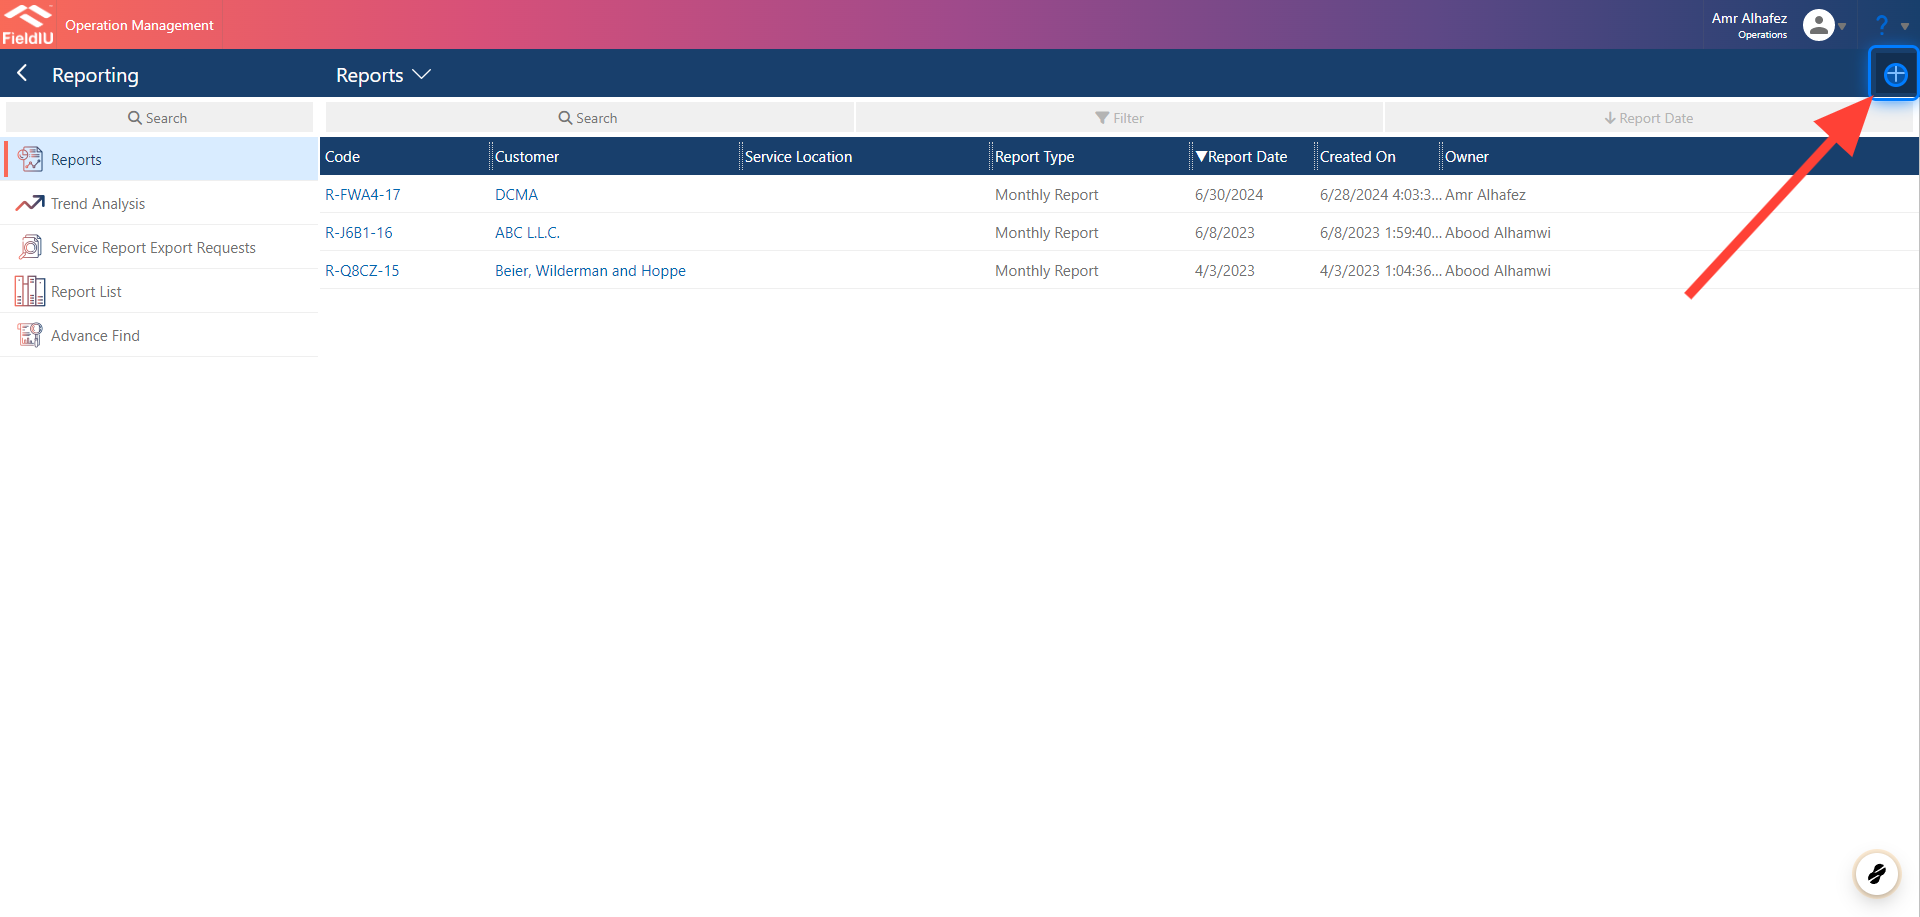
3. Reports Main Screen
Here, you can see all the reports you’ve created, and you can either edit them or create a new report.
What's Inside ?
4. Reports Main Screen
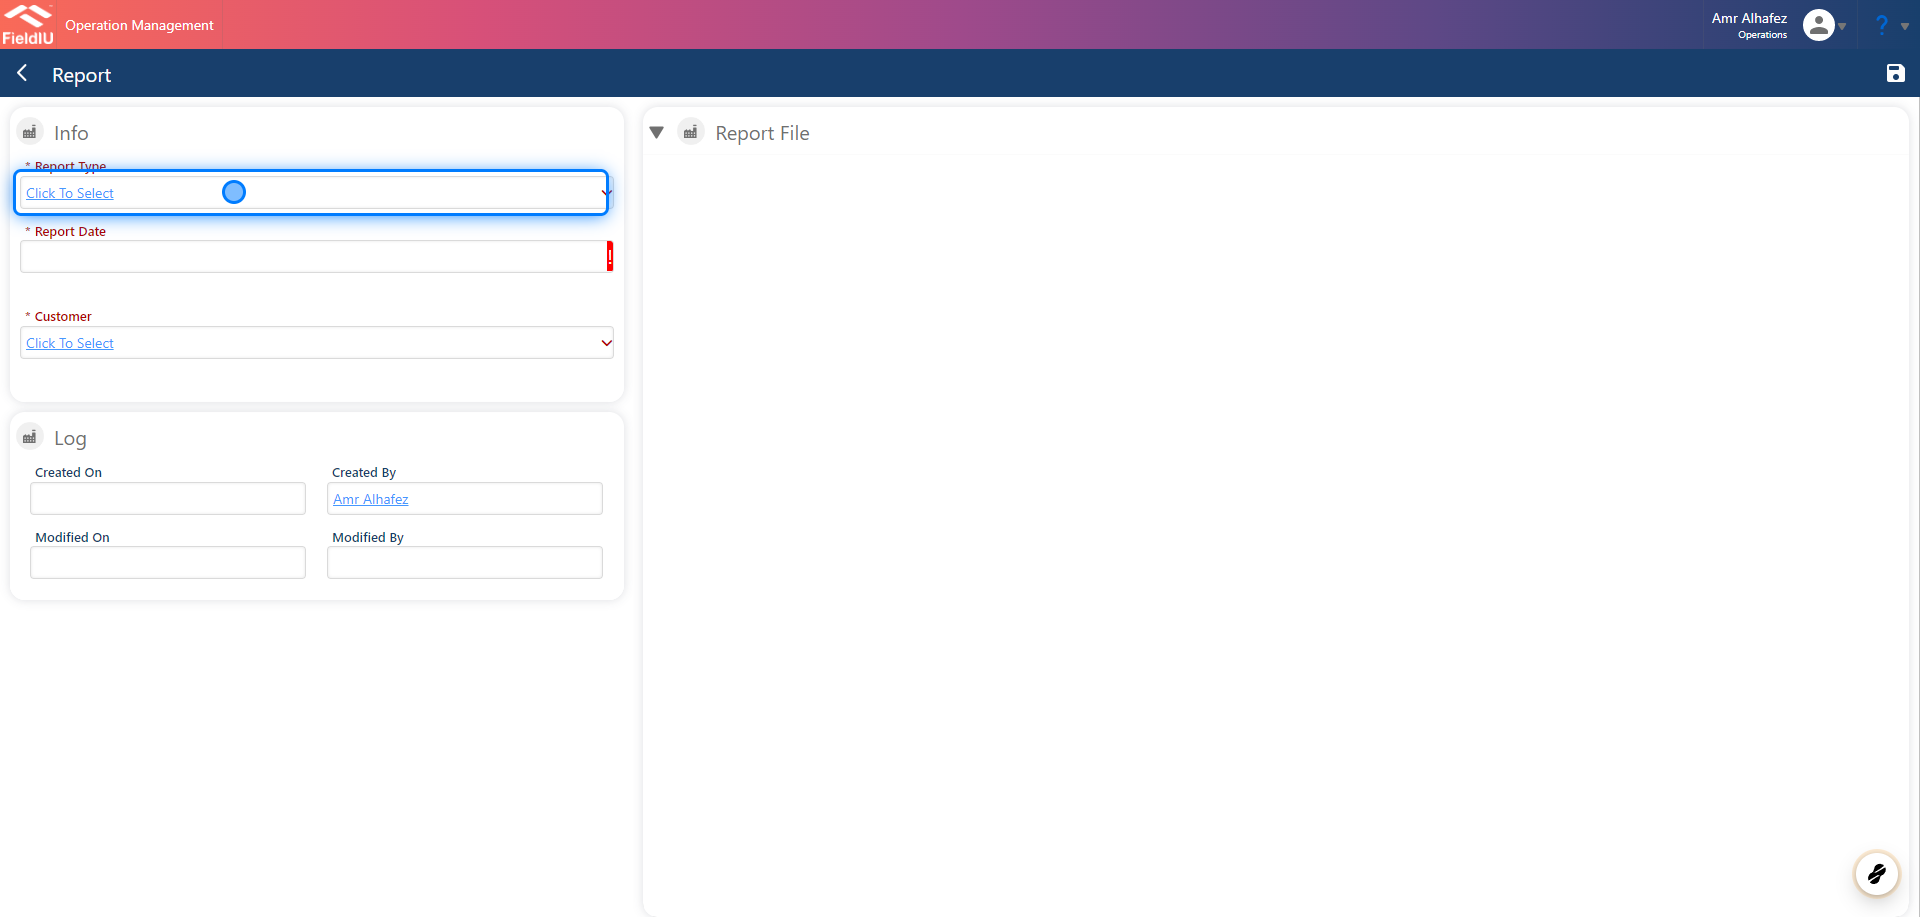
There are three sections in the Reports screen:
-
Main Information
-
Report File
-
Work Orders
The Work Orders section will not appear until you save the report.
Information Section
5. Report Type
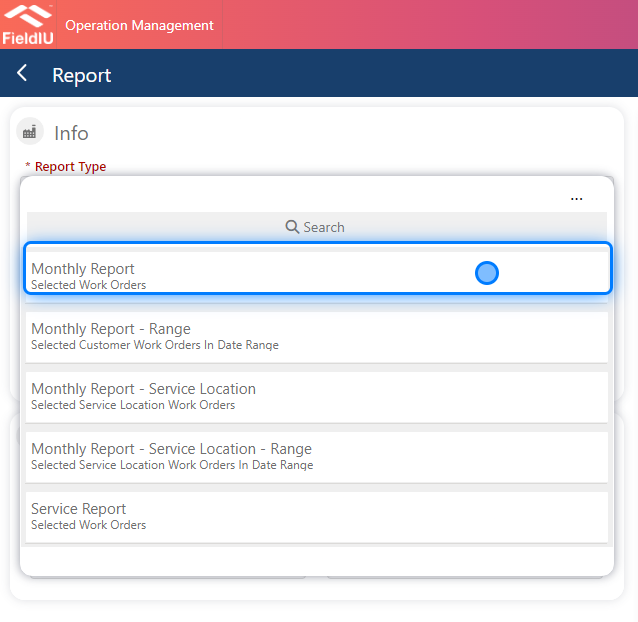
In the Report Type section, you need to select the report type you want to generate. You can refer to the documentation for the report types you created previously.
We will select the Monthly Report as the report type for our example.
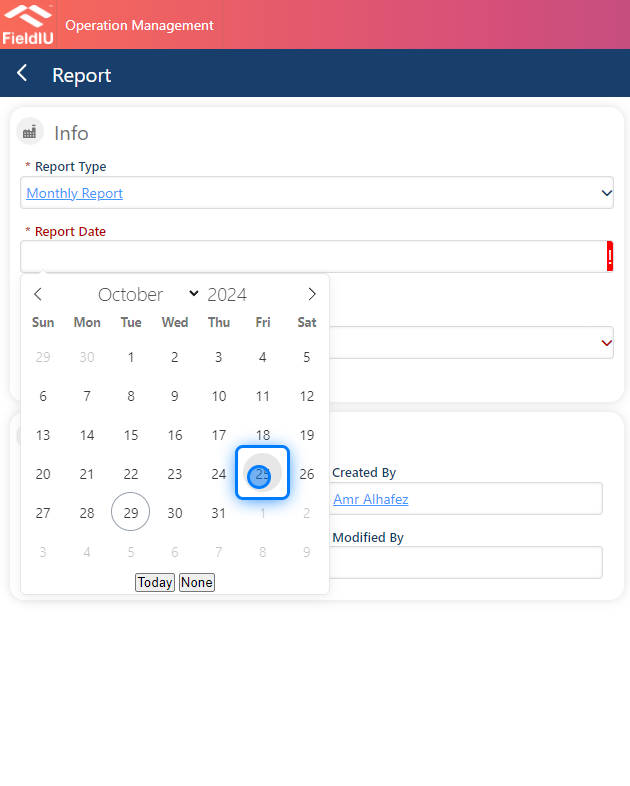
6. Report Date
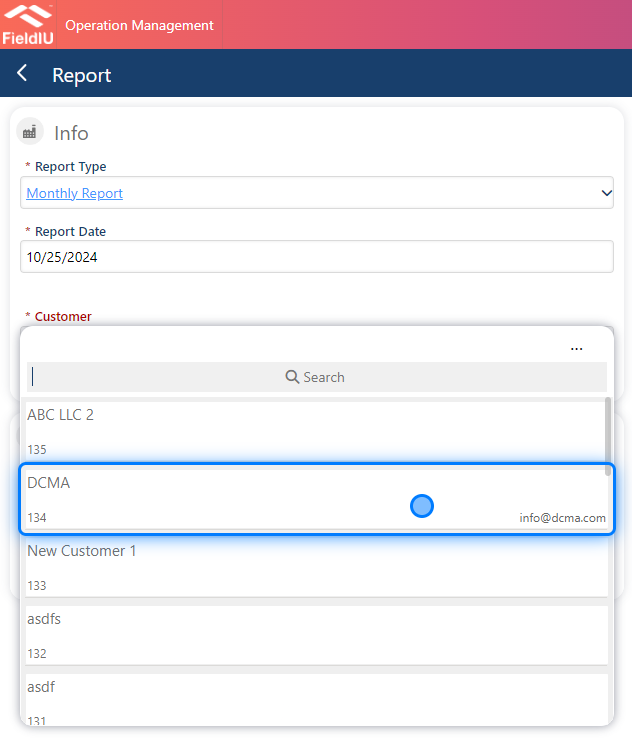
7. Customer
Here, you select the customer for whom you want to generate the report.
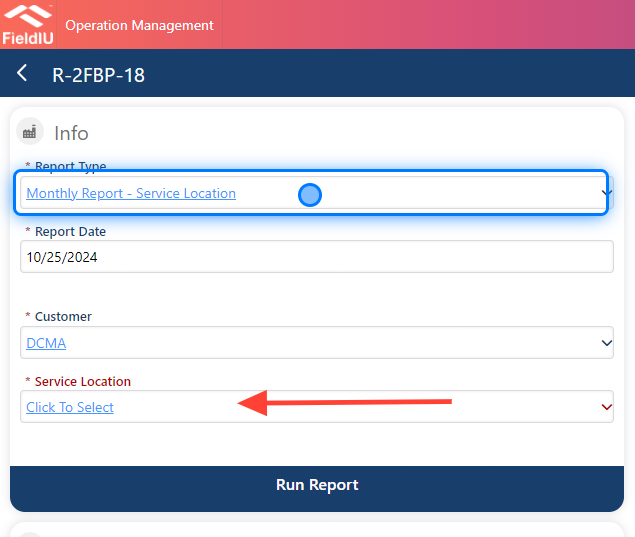
8. Service Location
If the report type is for a service location, you will also need to select the service location you want to include.
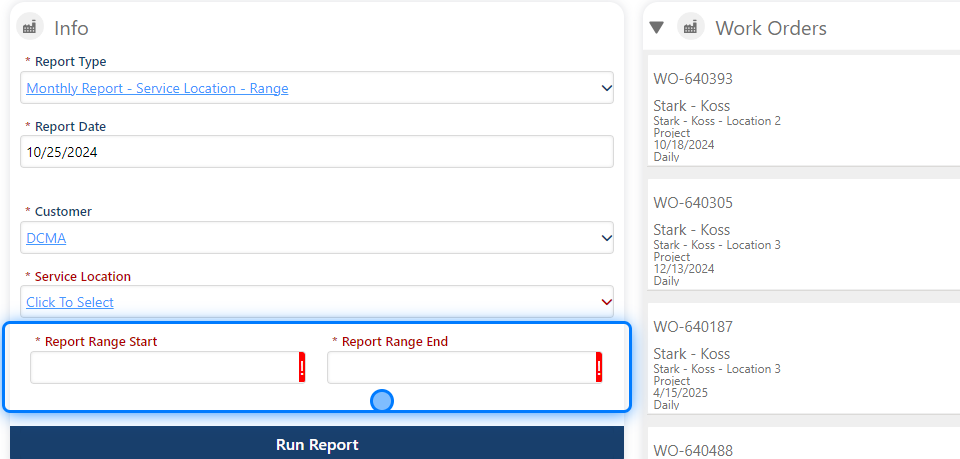
9. Date Range
If we selected a date range in the report type, we will also need to specify the date range.
⚠️ Report Type
It's very important to read the report type documentation to understand the entire process. The report type documentation is part of the Reporting Tool documentation, and it should not be overlooked.
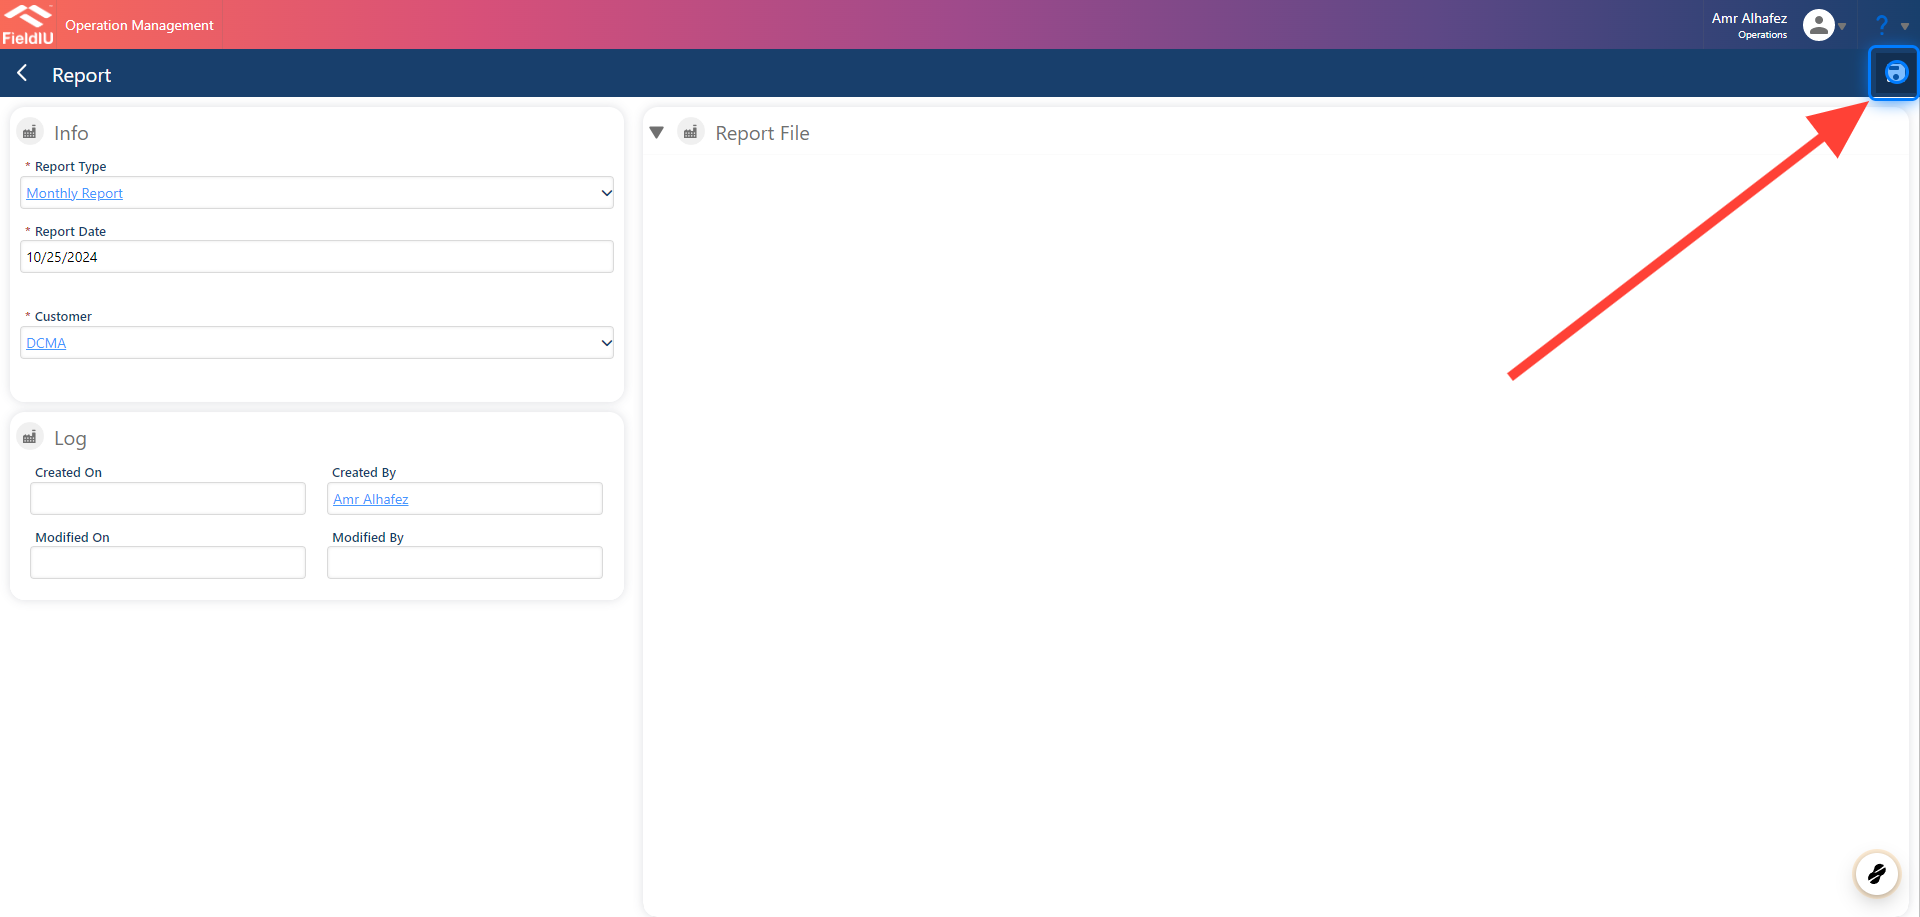
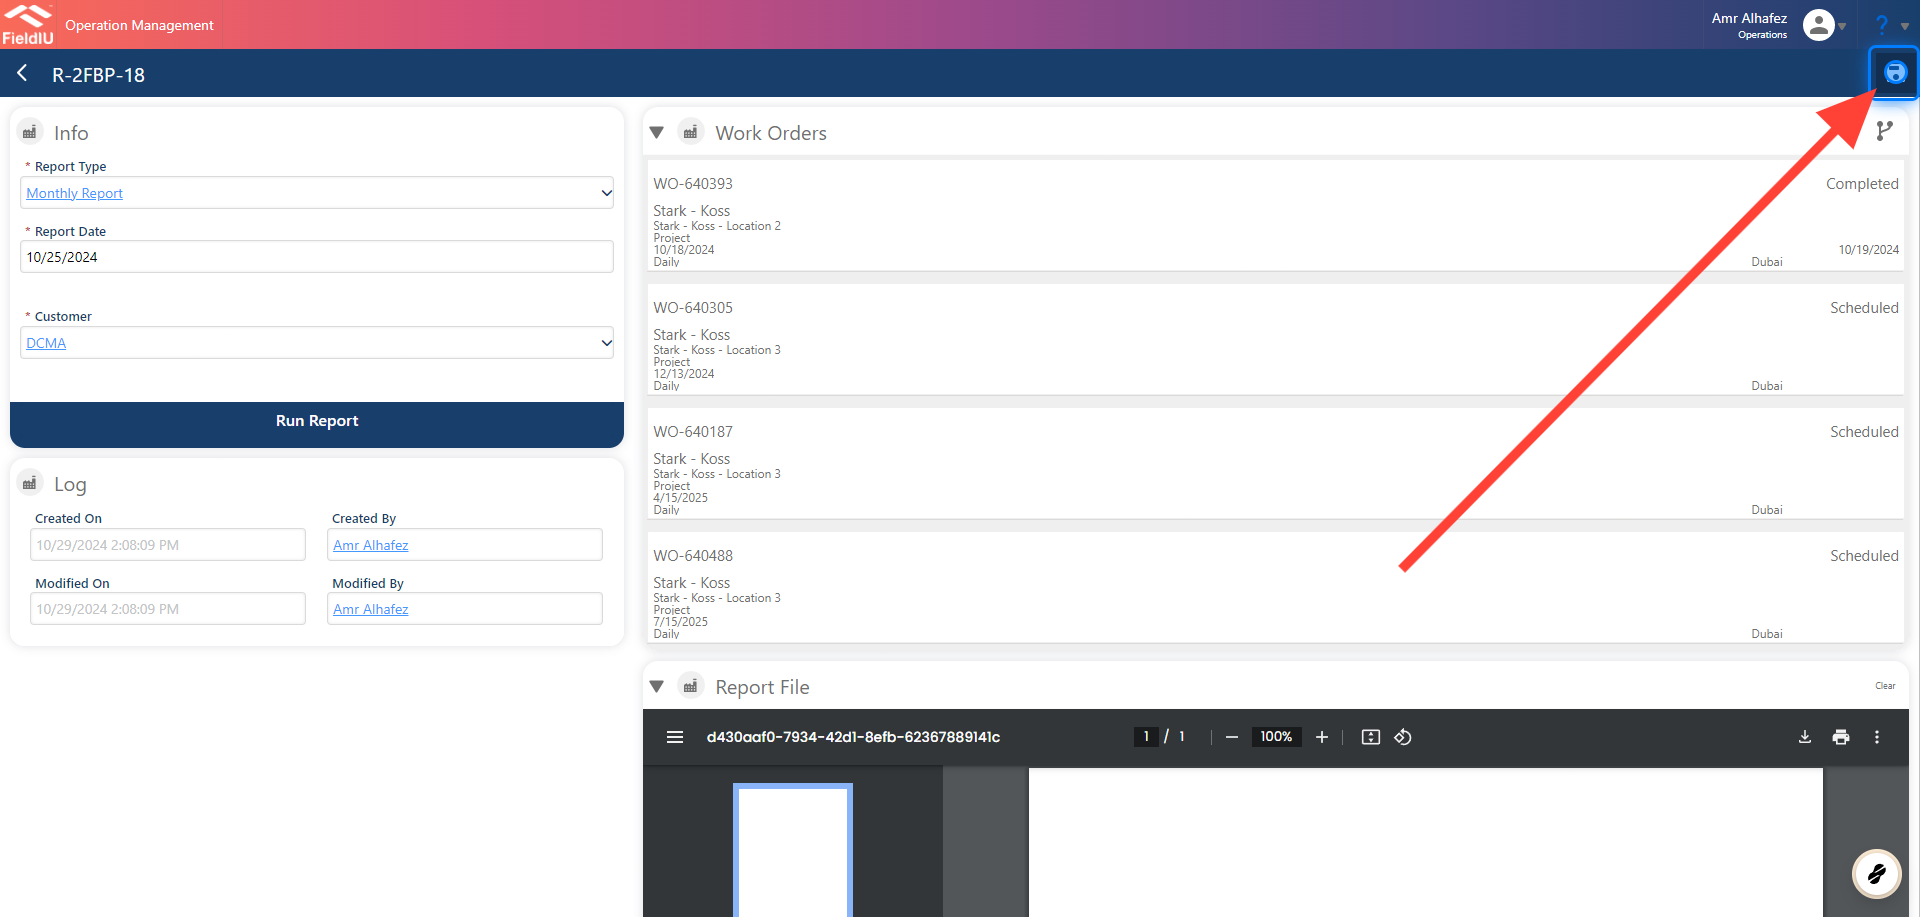
10. Save
Selecting Work Orders
11. Work Orders
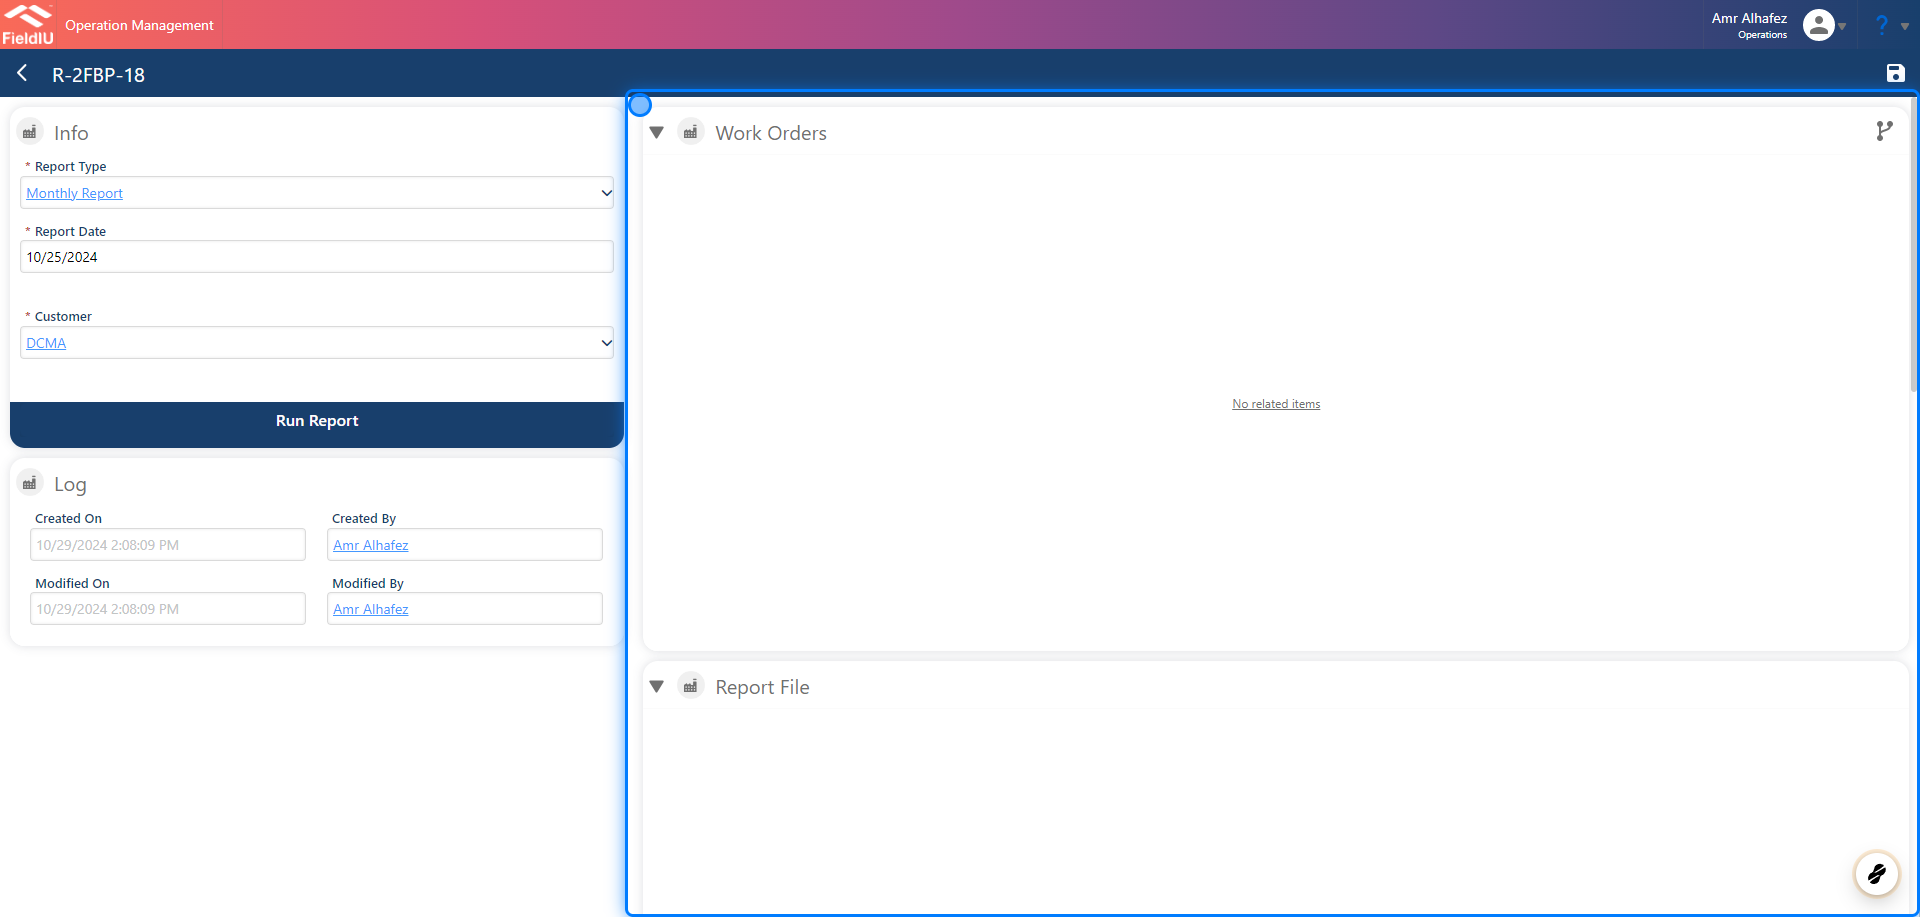
Once we have saved the report, as mentioned before, a new section for work orders will appear.
12. Click On Link Icon
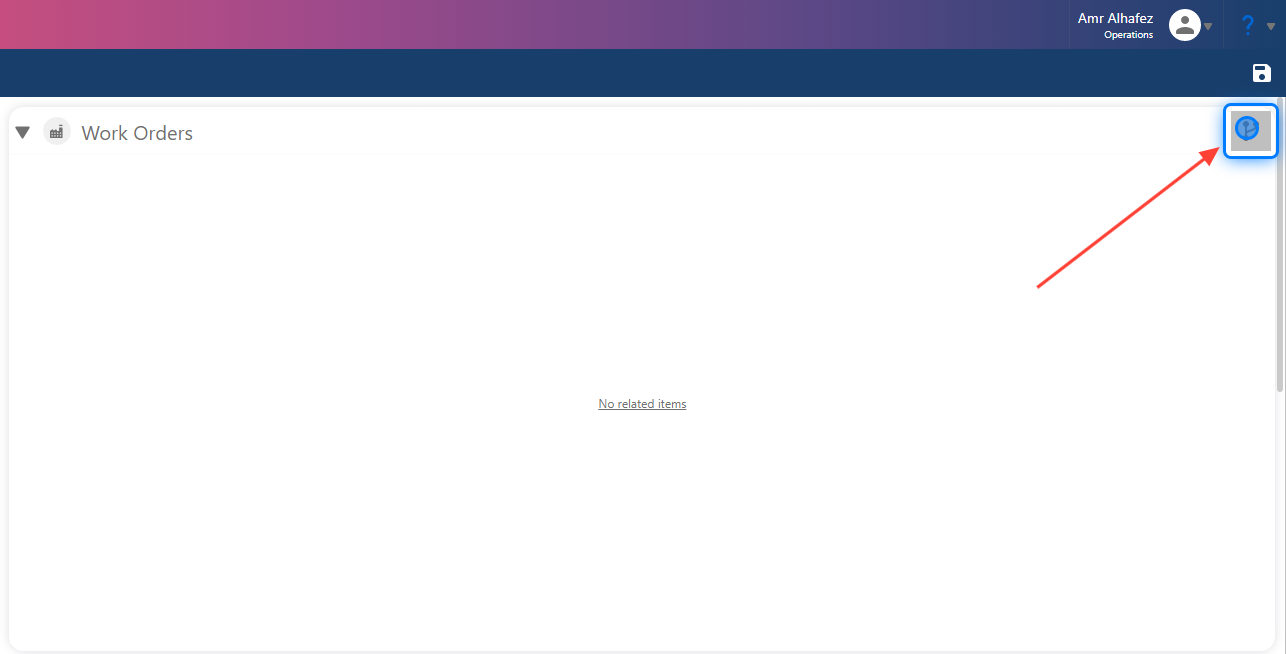
To select the work orders you want to include in the report, you need to choose them from the available options.
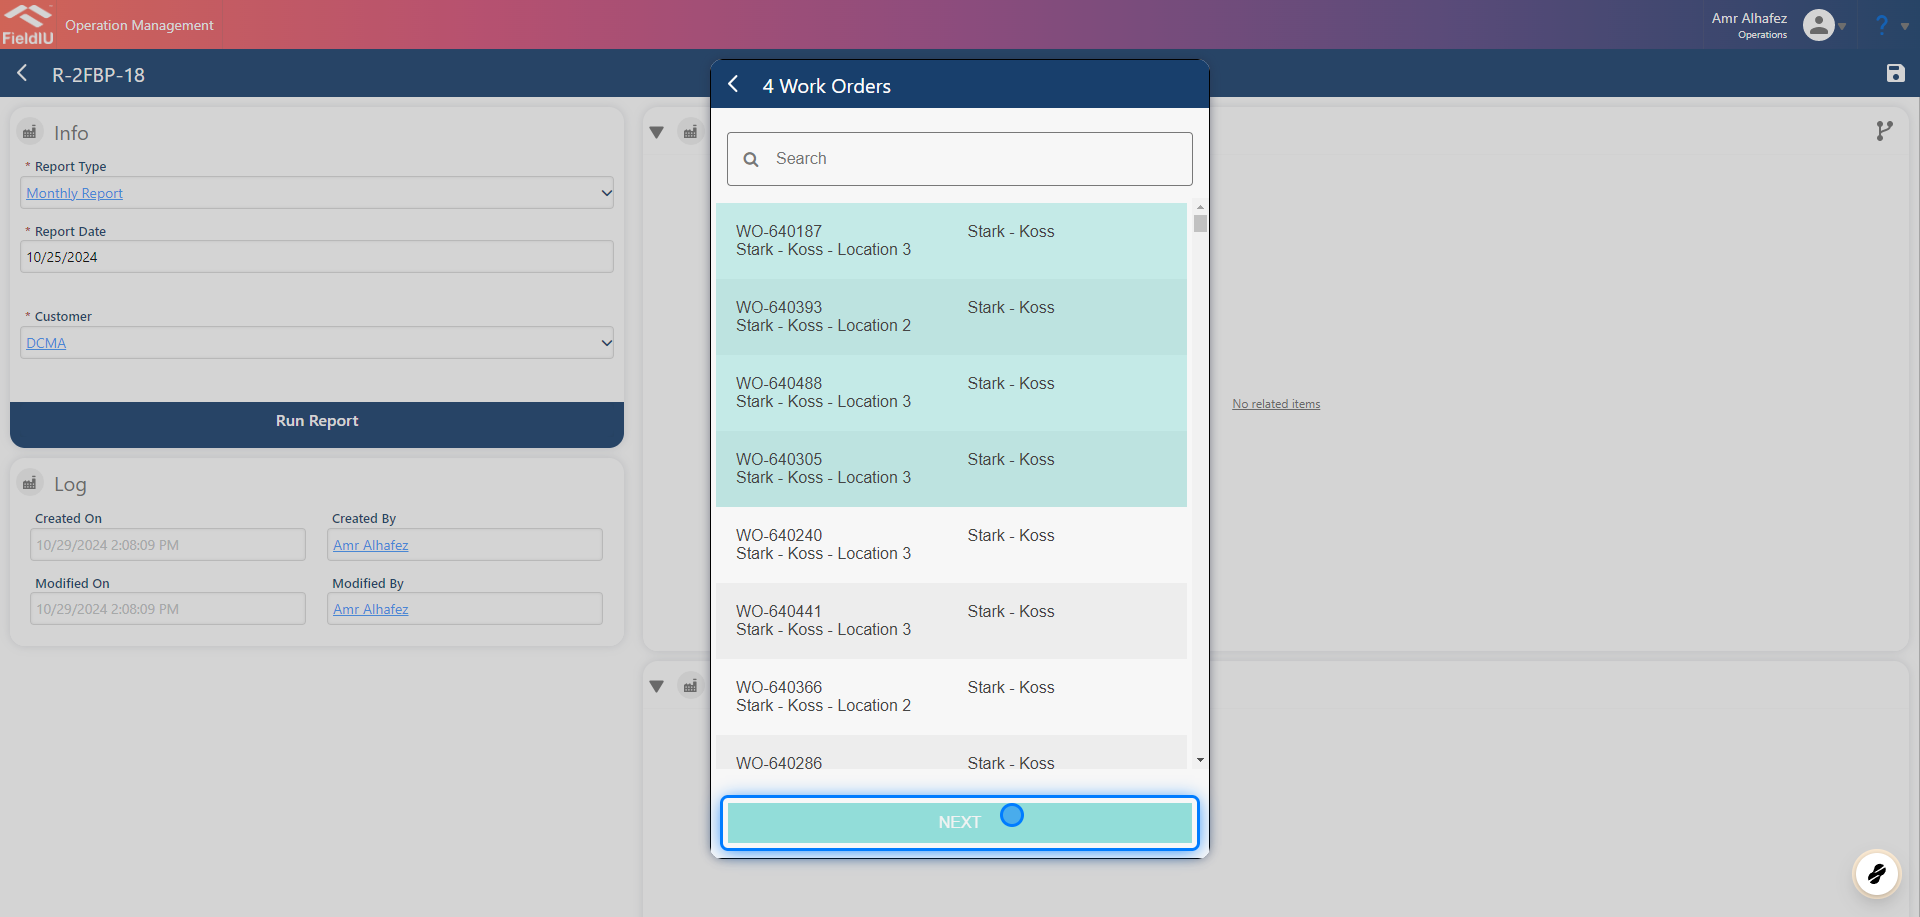
13. Select Work Orders
Once you click on the link icon, a new window will pop up for you to select the work orders. The selected work orders will be highlighted in green. After you finish selecting, click on Next .
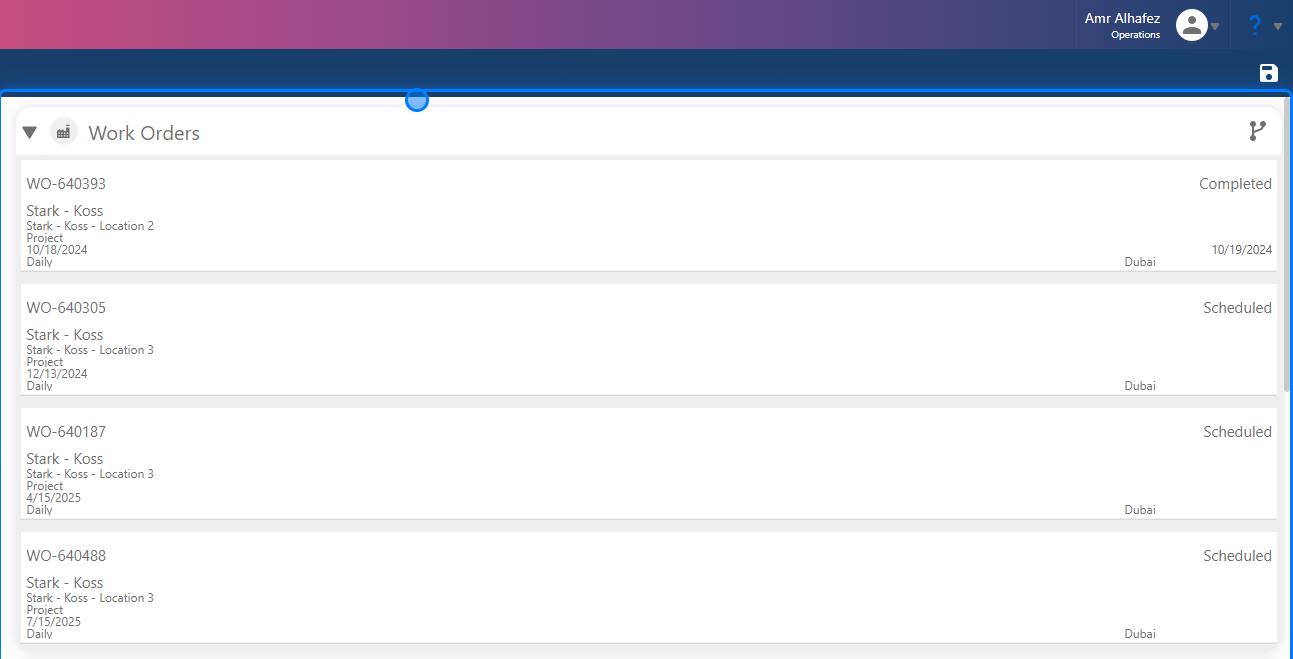
14. Preview
As you can see, all the selected work orders now appear in the Work Orders section.
Result
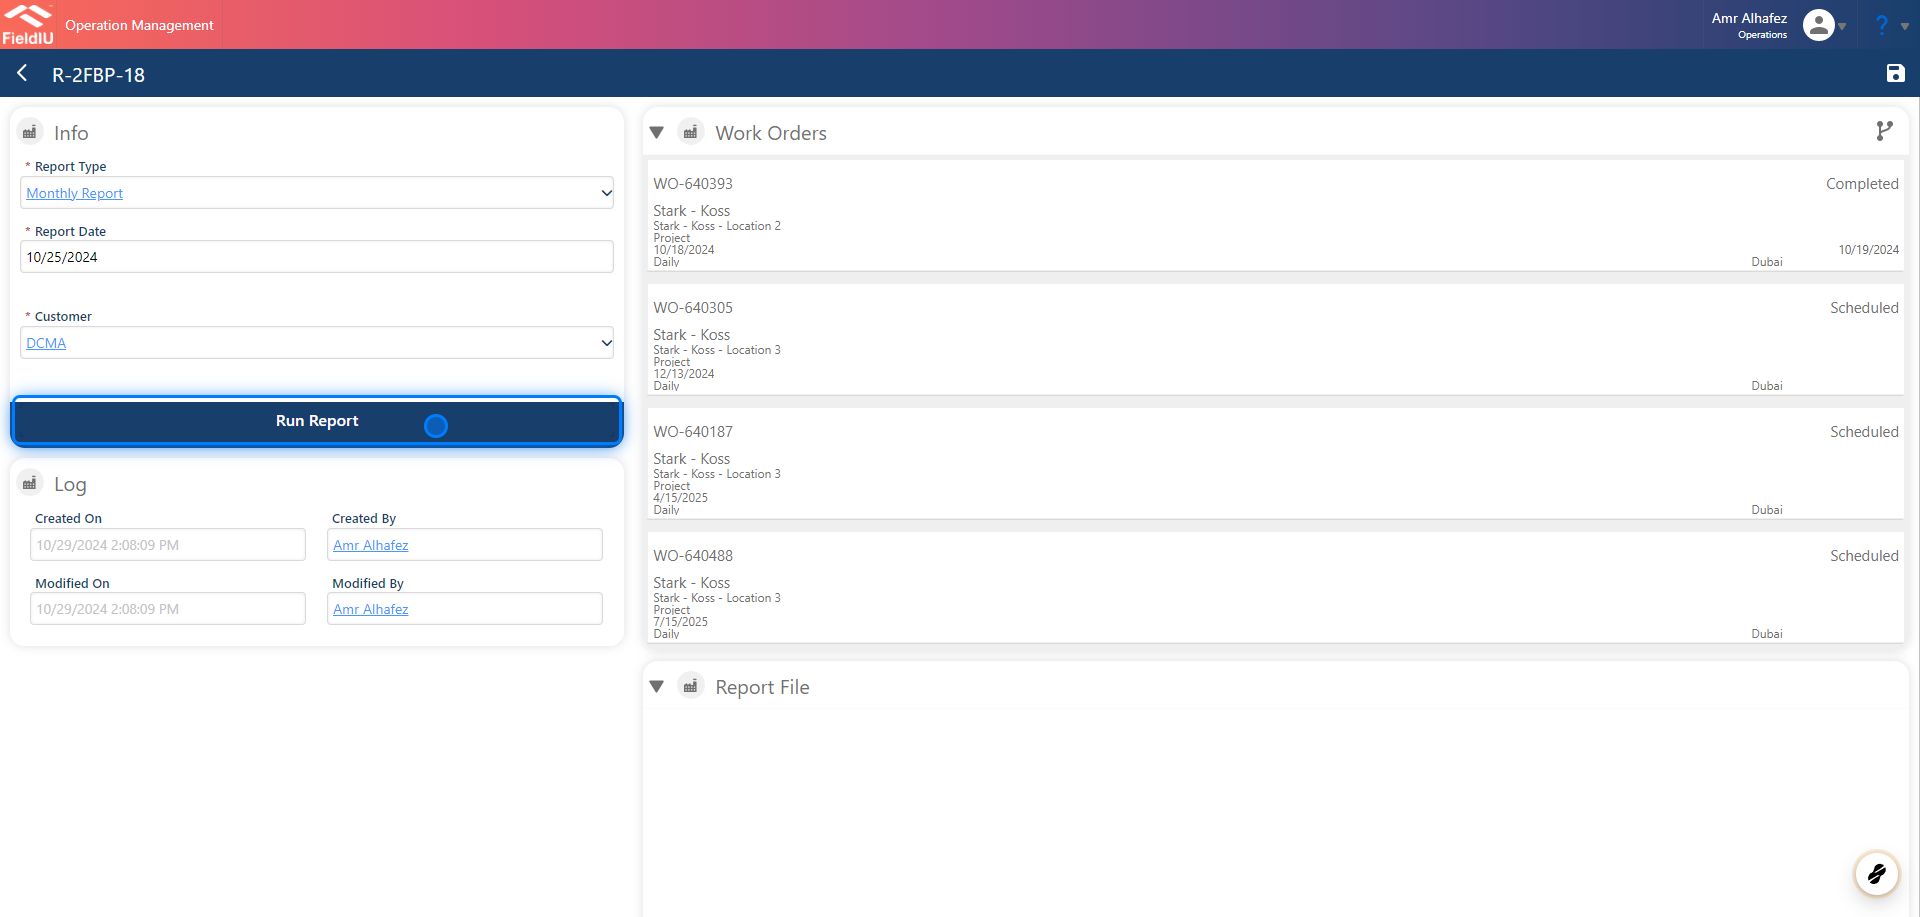
15. Click on Run Report
After setting up all the information and selecting your work orders, you can generate the report by clicking the Run Report button.
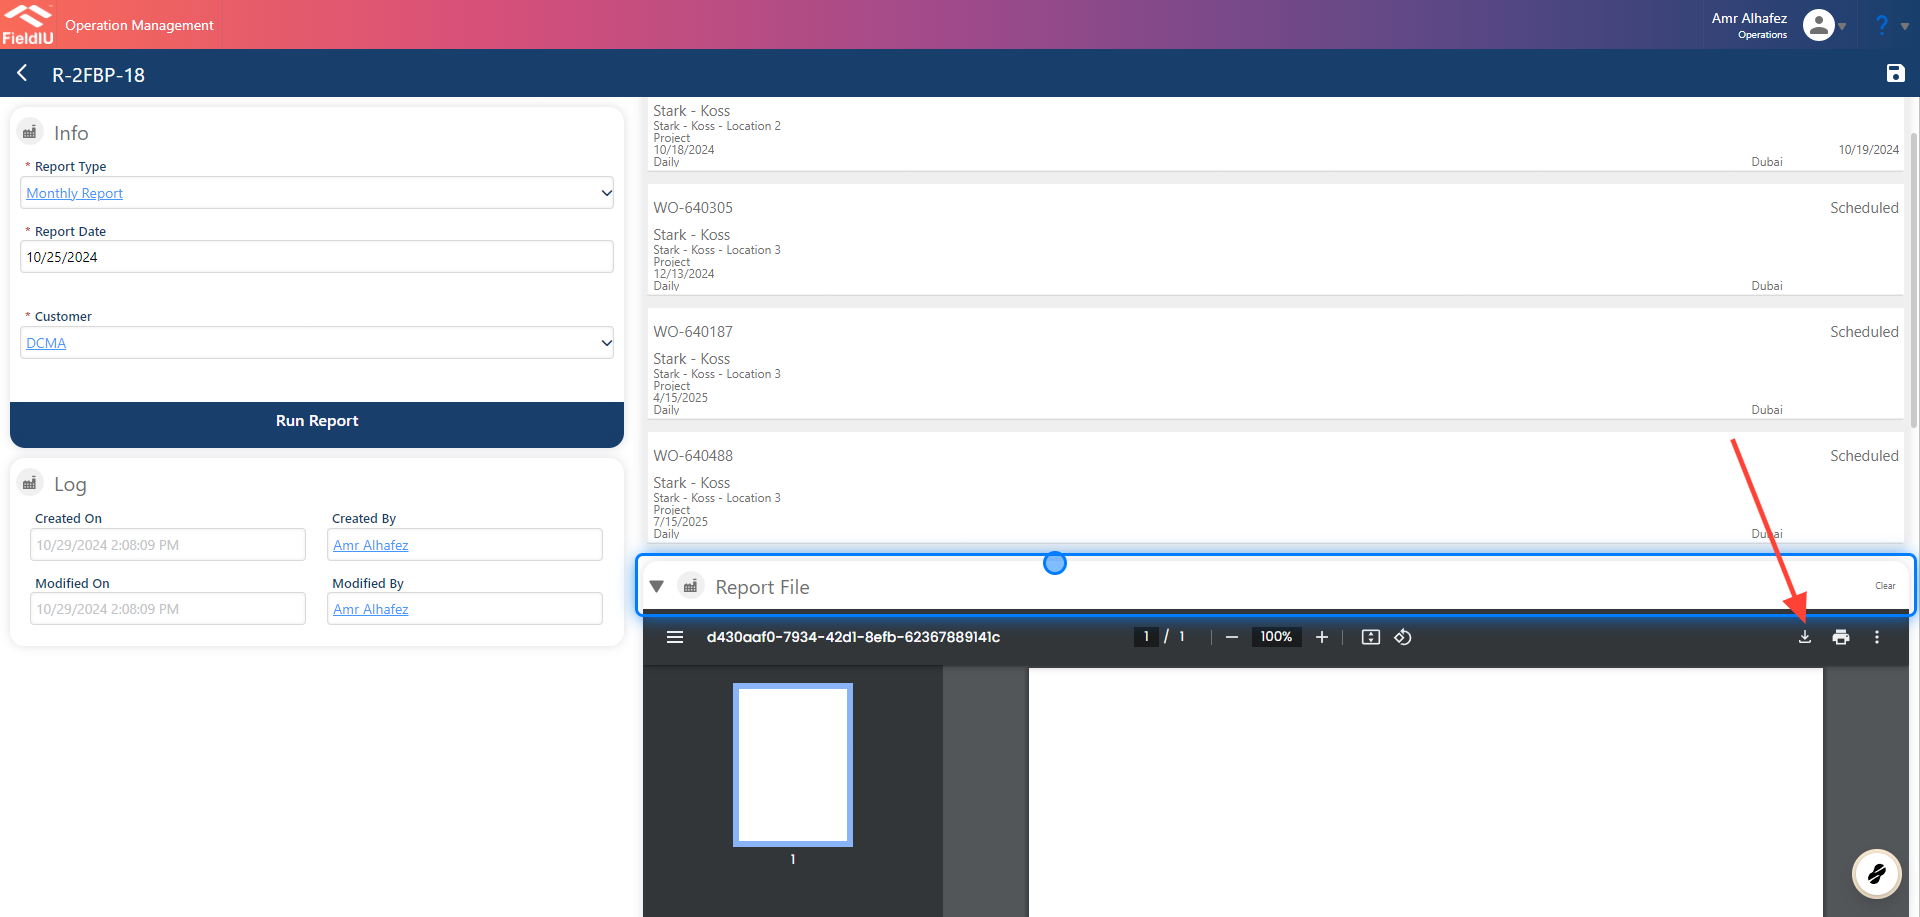
16. Generated Report
The generated report will appear in the Report File section, where you can download it from there.
17. Don’t forget to save your changes!
 �����������������������