

Sending automation
💡 What is sending automation
Email-sending automation is a helpful tool that allows you to create automated emails ,SMS and WhatsApp, and send them to specific contacts, users, or customers. You can set the automation to recur at specified intervals or trigger it based on specific entity events.
Access Sending automation
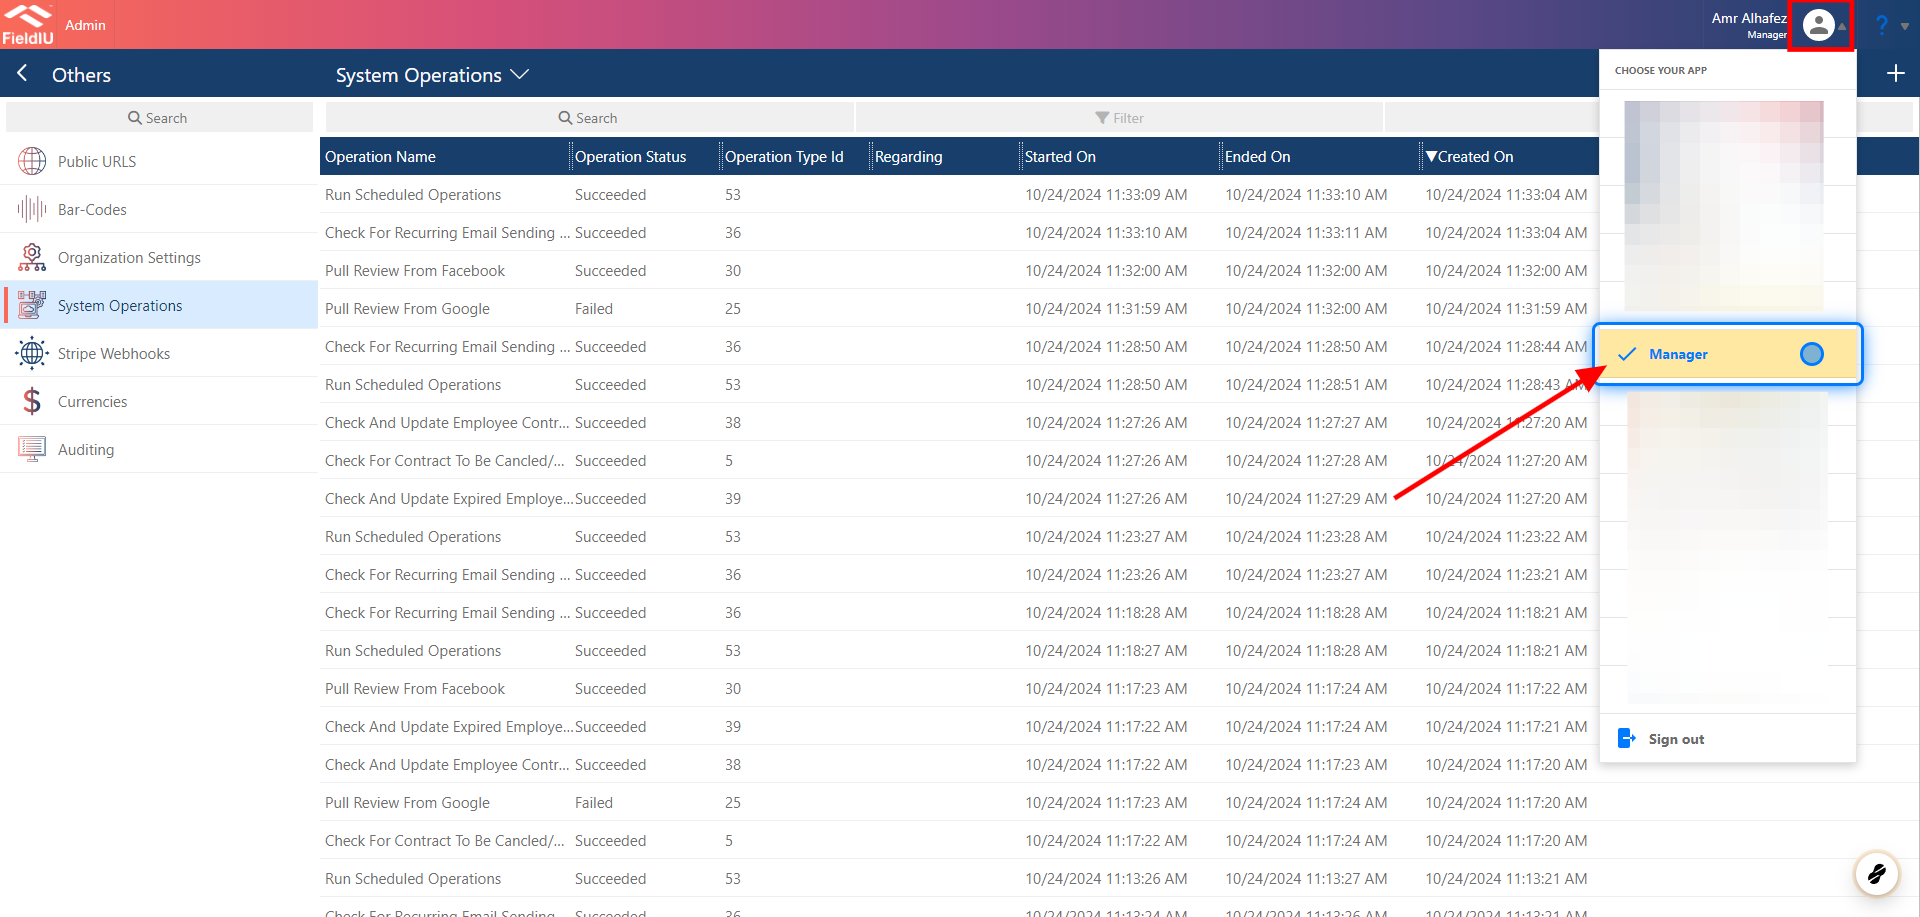
1. Manager App
To access the Email-sending automation, you need to open the Manager App.
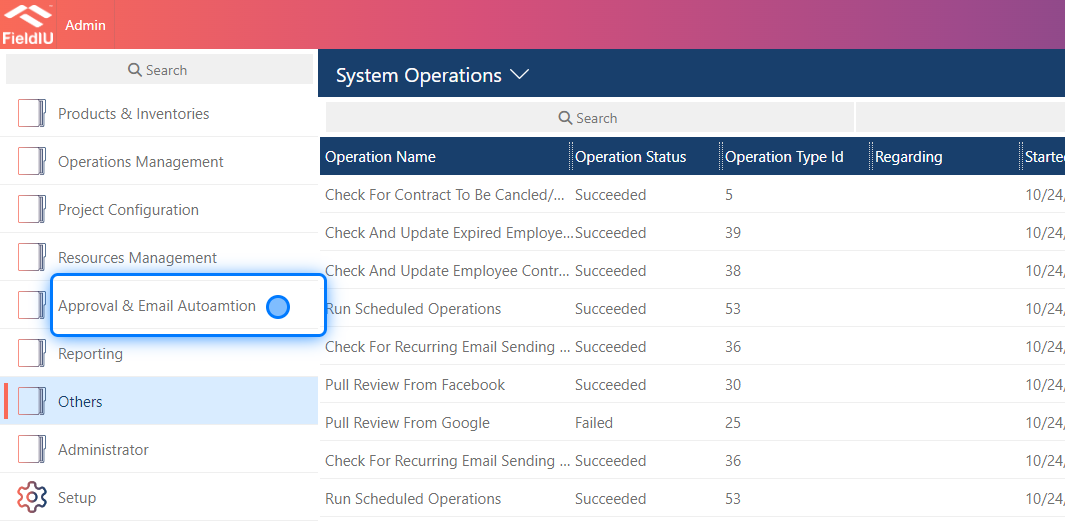
2. Click on Approval & Email Autoamtion
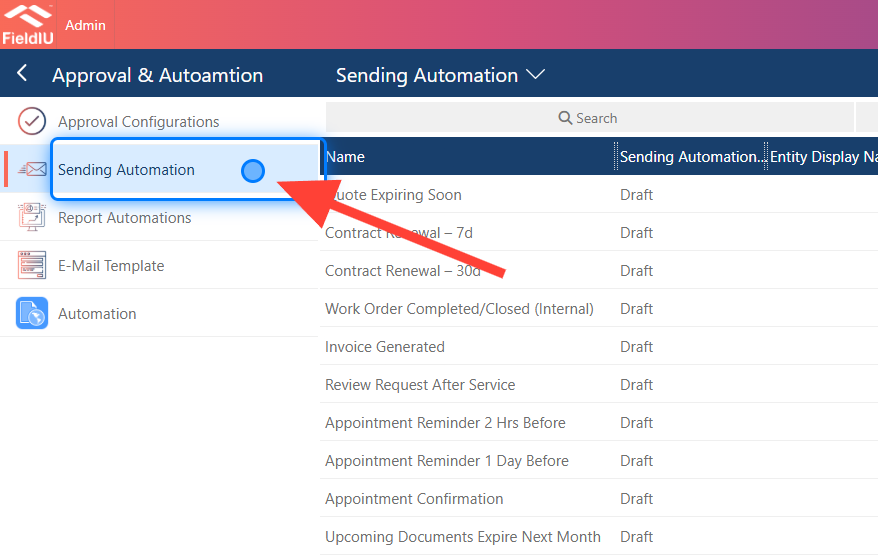
3. Click on Sending Automation
Explaining & Creation
4. Main Screen
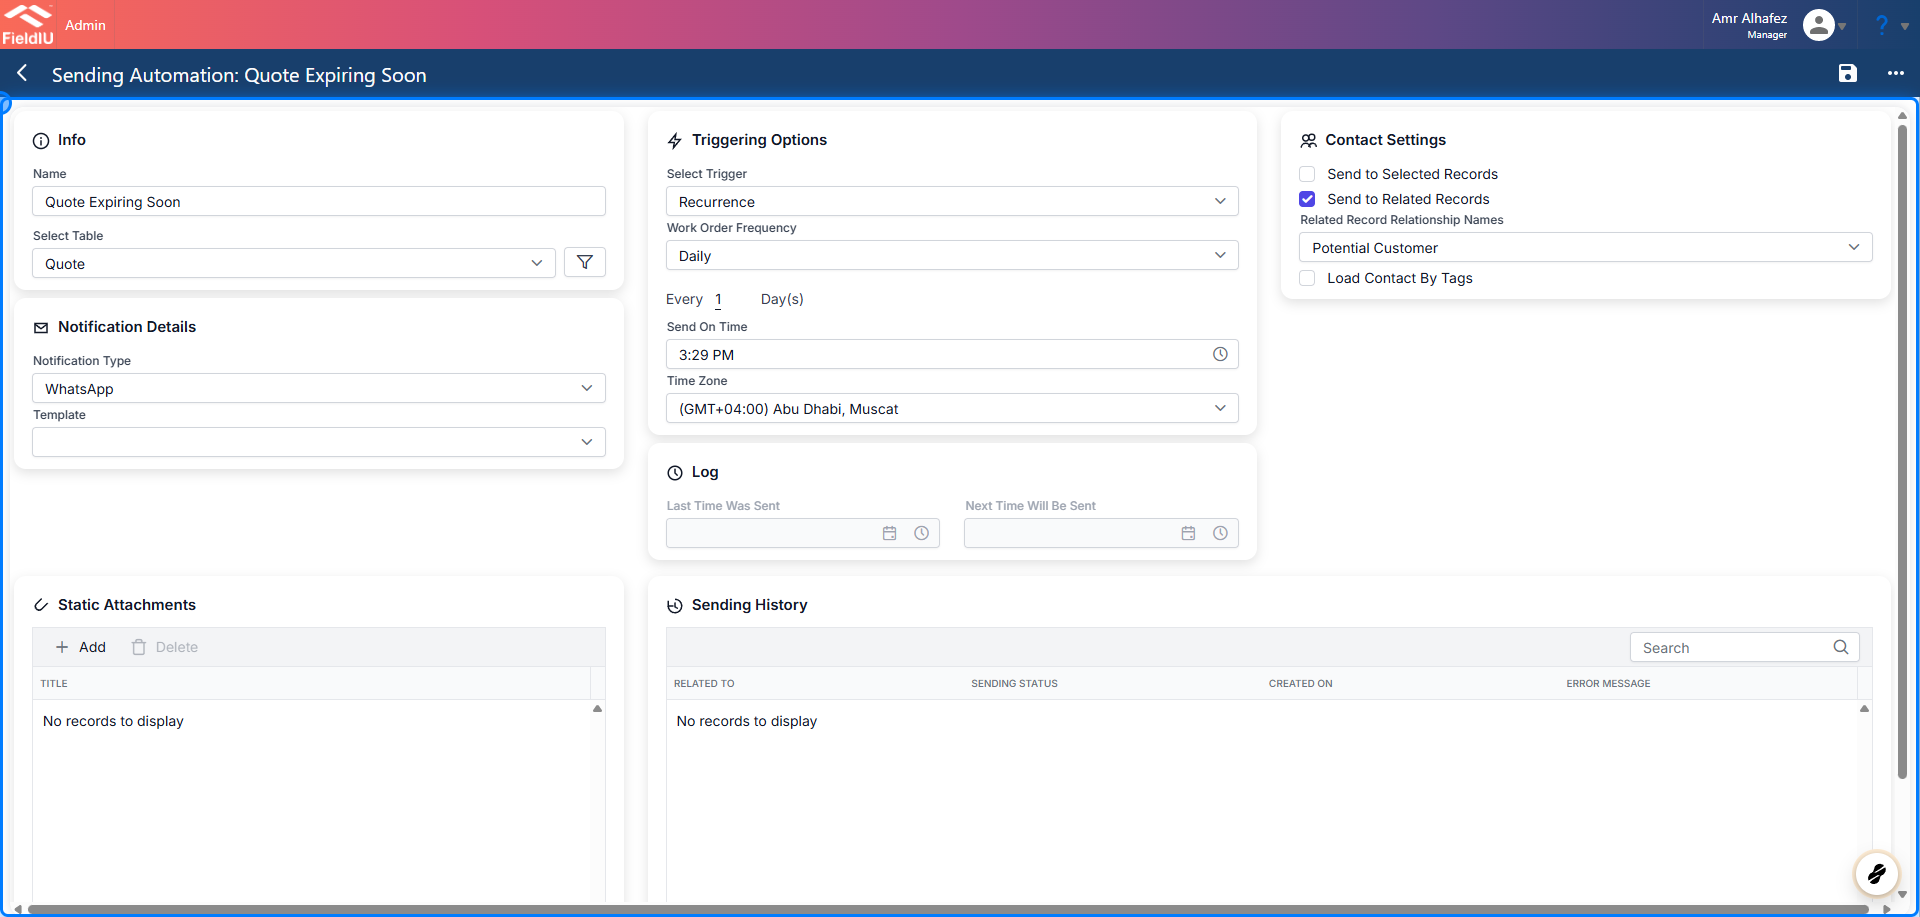
This screen has several sections, with the main ones being:
-
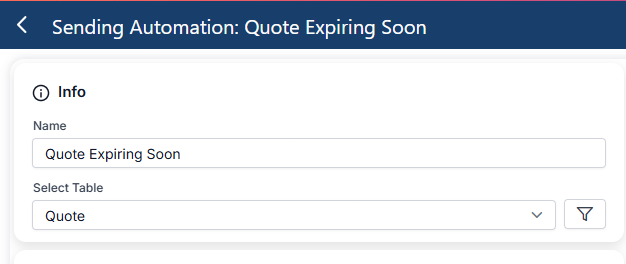
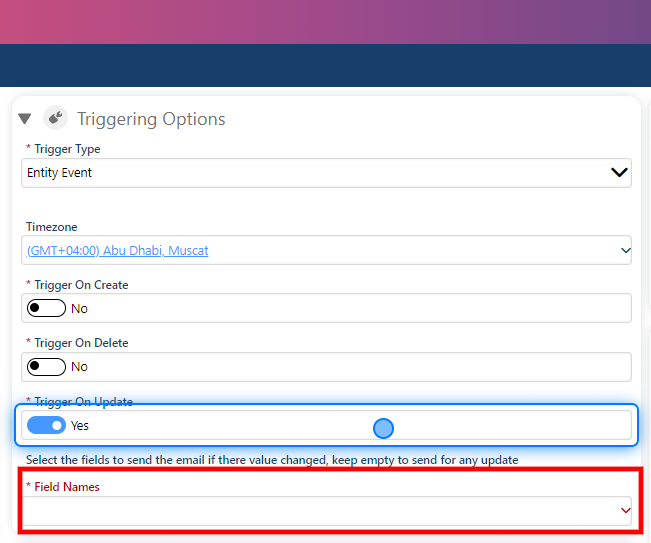
Information Section : Here, you enter the function name and select the entity you want to trigger and pull information from " You can use Filters On The Entity ".
-
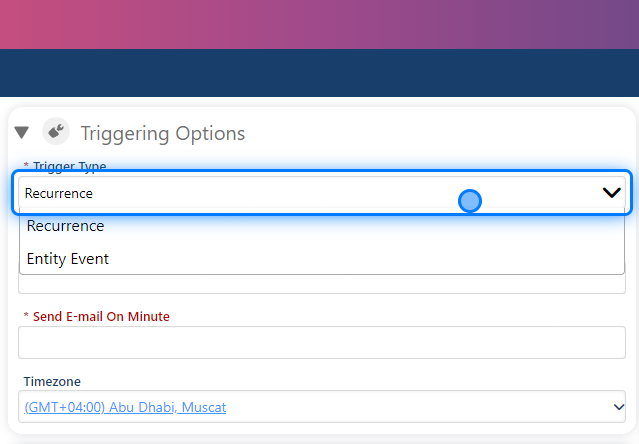
Triggering Options Section : In this section, you specify when the email will be triggered, choosing either a recurrence type or an entity event.
-
Notification Details : Where you configure the content and format and what service you want to use for the automation "Email , SMS And WhatsApp".
-
Contact Settings : Where you define the recipients of the email.
-
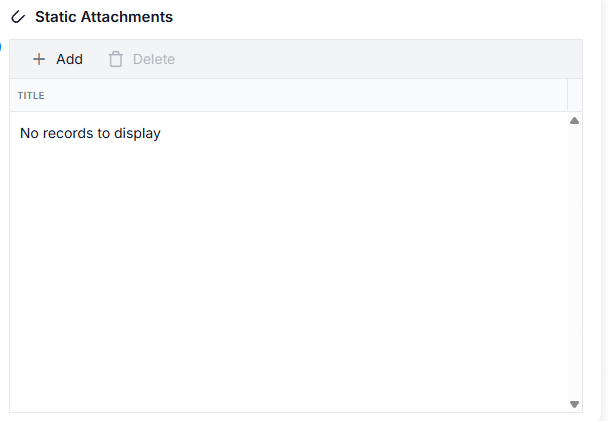
Static Attachments: Where You Can Attach Any File To Be Send .
5. Information section
Here, you will:
-
Insert the automation name
-
Select the entity
-
Set condition criteria"
6. Triggering Options
In the Triggering Options section, you will set the following:
-
Trigger Type : Choose either Recurrence or Entity Event.
-
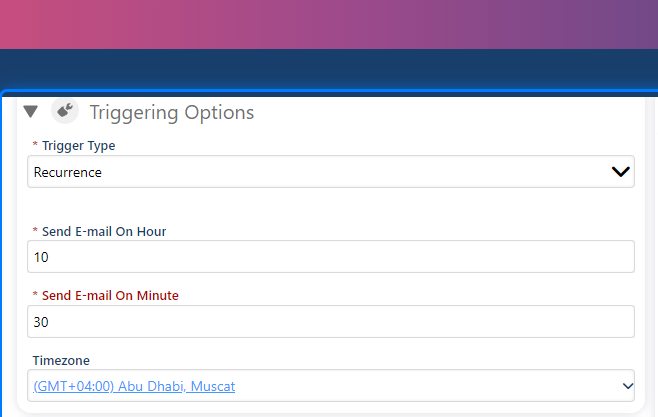
Send Email on Hour : Specify the hour the email should be sent.
-
Send Email on Minute : Specify the exact minute the email should be sent.
7. Set Timing Hours & Minutes
Set the timing for the email by specifying the Hours and Minutes at which it should be sent.
8. Recurring Configuration
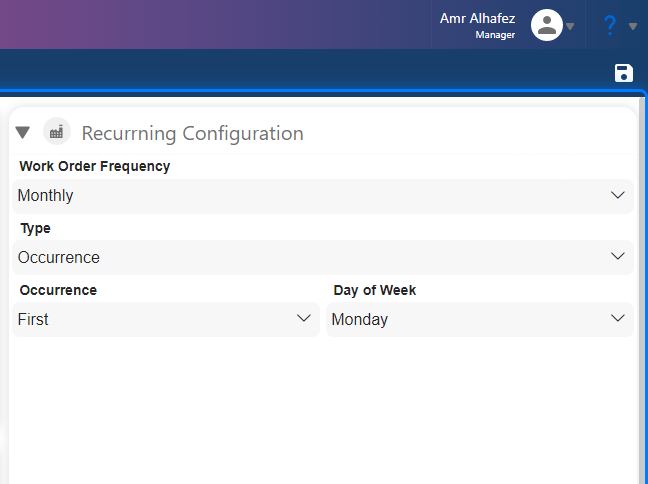
Once you select 'Recurrence' in the Triggering Options, the Recurring Configuration section will appear to configure the recurrence settings.
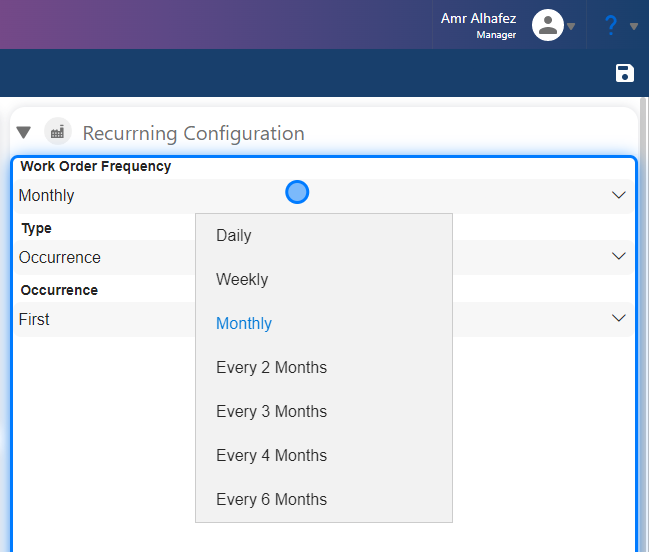
9. Frequency
You can select the frequency, choosing from options such as:
-
Daily
-
Weekly
-
Monthly
-
Every 2 Months
-
Every 3 Months
-
Every 4 Months
-
Every 6 Months
10. Type
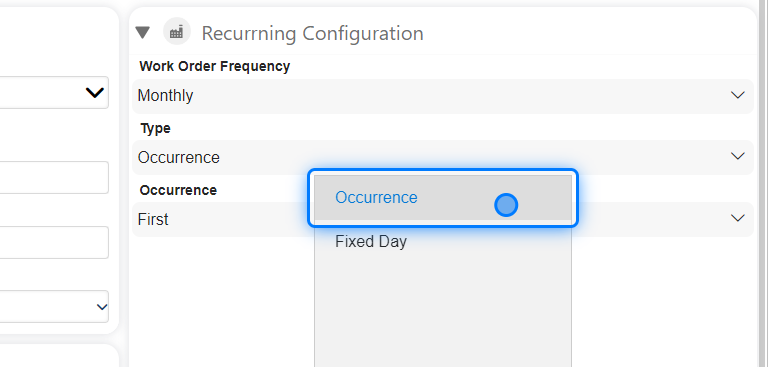
There are two types of recurrence:
-
Occurrence
-
Fixed Day
If you select Fixed Day , you can specify a day (e.g., 'Day 6'), meaning the trigger will activate on that day each month. For example, if set to 6, it will trigger on the 6th day of each month.
11. Occurrence
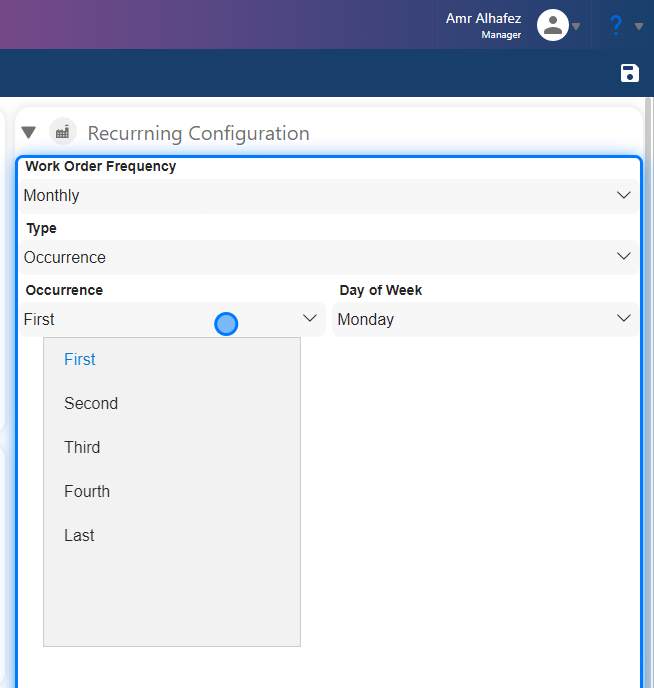
When we select Occurrence , we can ensure the notification is not sent on off days, or we can specify a particular day within a specific week of the month. The occurrence options include:
-
First
-
Second
-
Third
-
Fourth
-
Last
Then, select the specific day. For example, choosing 'First Monday' will trigger the email on the first Monday of each month.
12. Entity Event
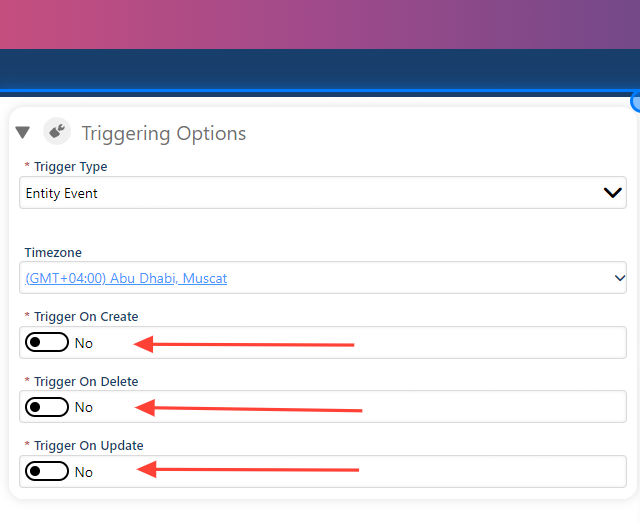
If we select Entity Event in the Triggering Options section, we must specify the event type:
-
On Create
-
On Delete
-
On Update
13. On Update
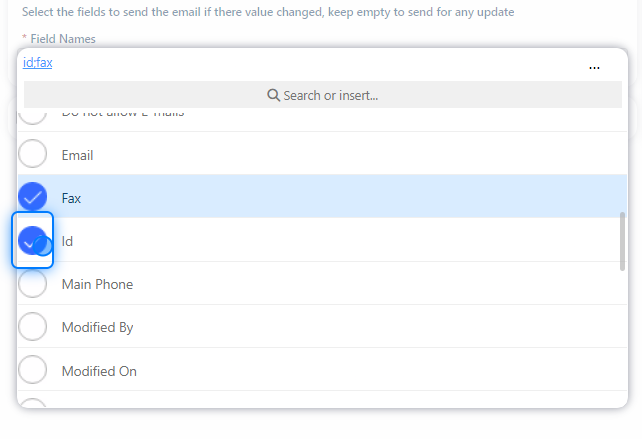
When you assign "On Update" as "Yes," a new field will appear for you to select which field in the entity needs to be updated.
14. Select the Entity
You can multi-select fields, so when any of them are updated, the automation will trigger.
15. Notification Details
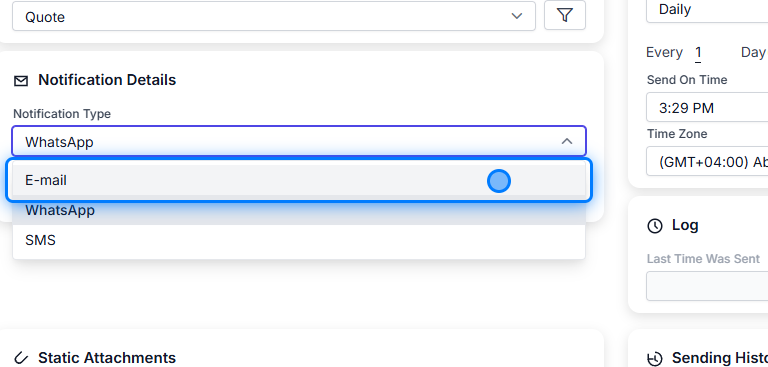
The Notification Details section allows you to choose the Notification information, such as:
-
Notification Type : Email , SMS Or WhatsApp
-
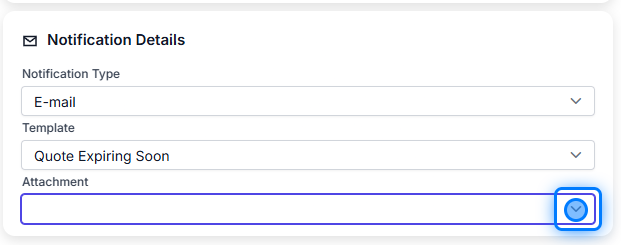
Template : This refers to the Notification template we have already created.
-
Attachment Report : You can also add reports that you have built in the system as attachments to the email.
16.
17. Static Attachments
You Can Attach Any File To Be Send .
18. Contacts Setting
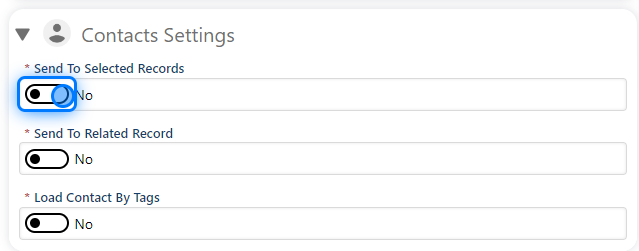
Here, you can configure the settings for the recipients of the emails. We have three options:
-
Send to Selected Records : Choose specific users or teams.
-
Send to Related Records : This option allows you to send emails to each contact related to the record; for example, this could include the customer.
-
Load Contacts by Tags : You can also load contacts based on specific tags.
19. Contacts Setting
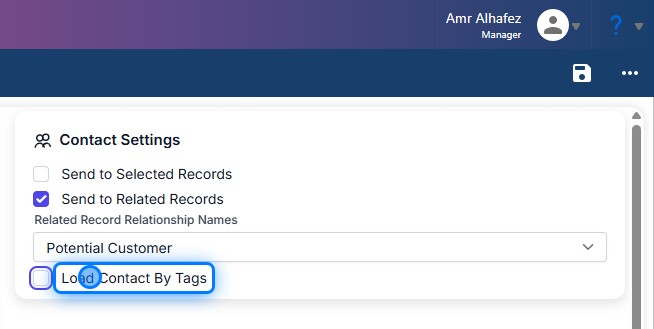
Here, you can configure the settings for the recipients of the emails. We have three options:
-
Send to Selected Records : Choose specific users or teams.
-
Send to Related Records : This option allows you to send emails to each contact related to the record; for example, this could include the customer.
-
Load Contacts by Tags : You can also load contacts based on specific tags.
💡 What Are Contact Tags?
When a user creates a contact, there is a field to add tags for that contact. For example, if you add a contact who is the CEO of a company, you can tag that contact as "CEO." This tagging system allows you to easily categorize contacts and use these tags later for sending emails or for any other functions that require tags.
You can also refer to the contact documentation for more information.
💡 Finalize
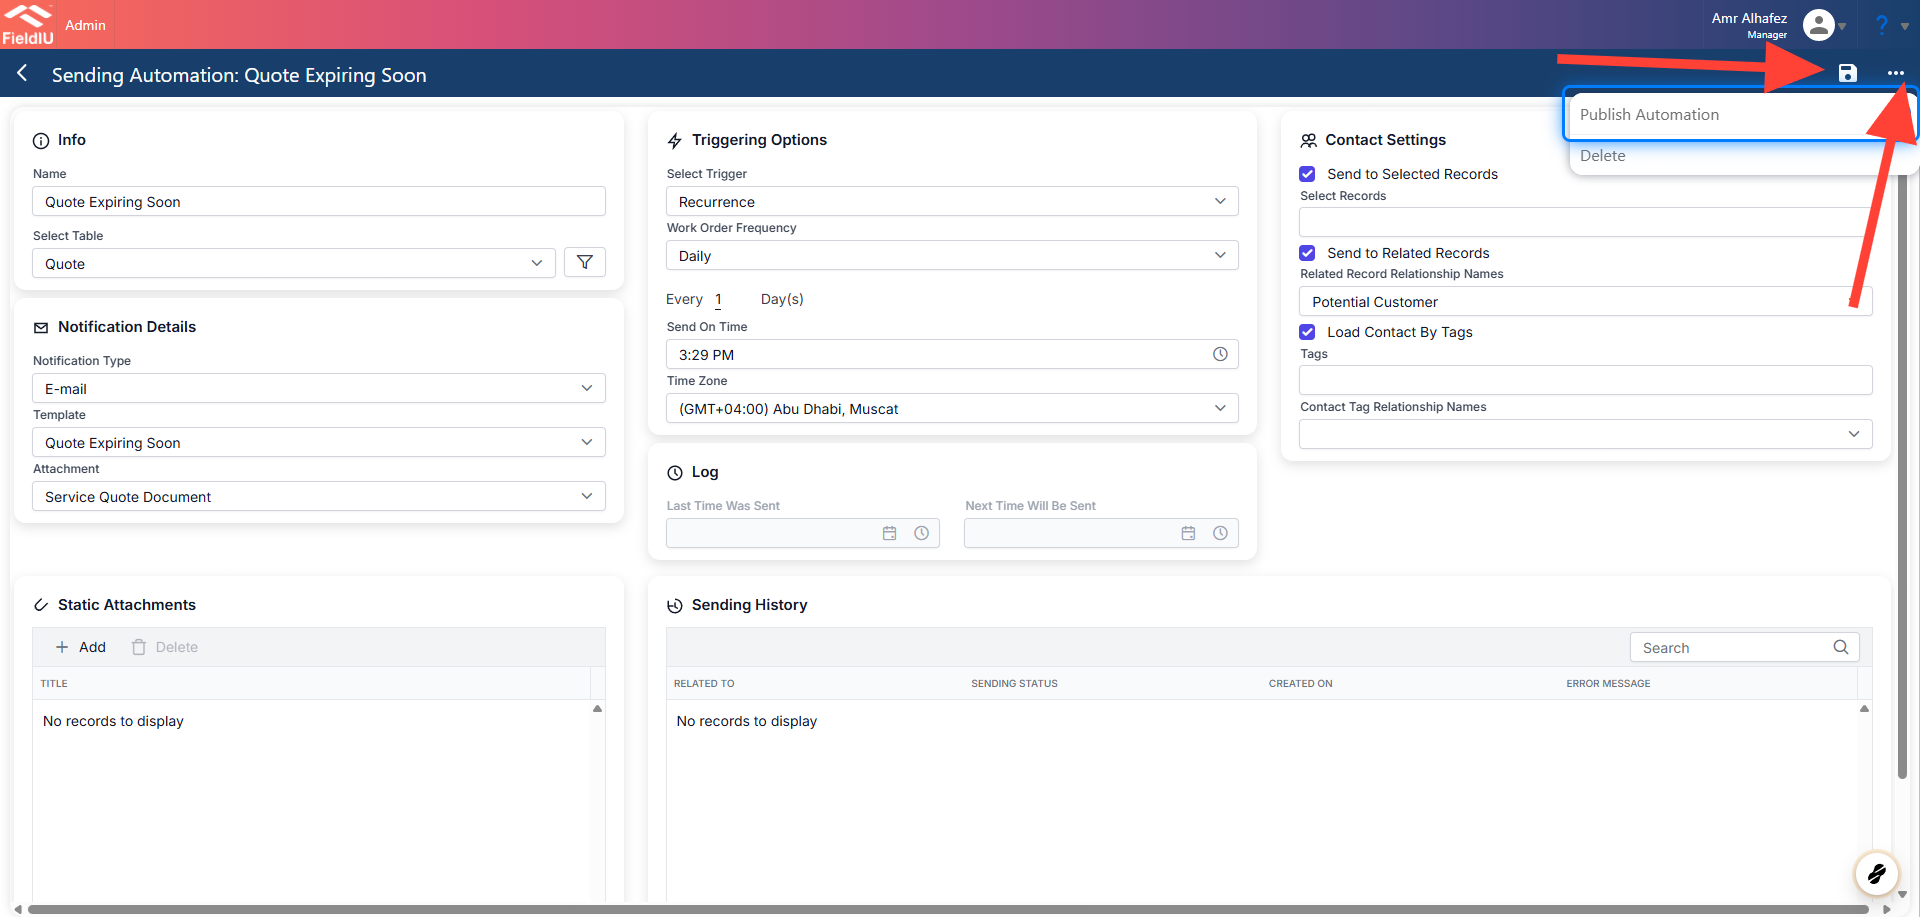
Once we finish setting up all the configurations, we are ready to publish the automation so it will work effectively.
20. Publish Automation
 �����������������������