

Floor Plan "Mobile App"
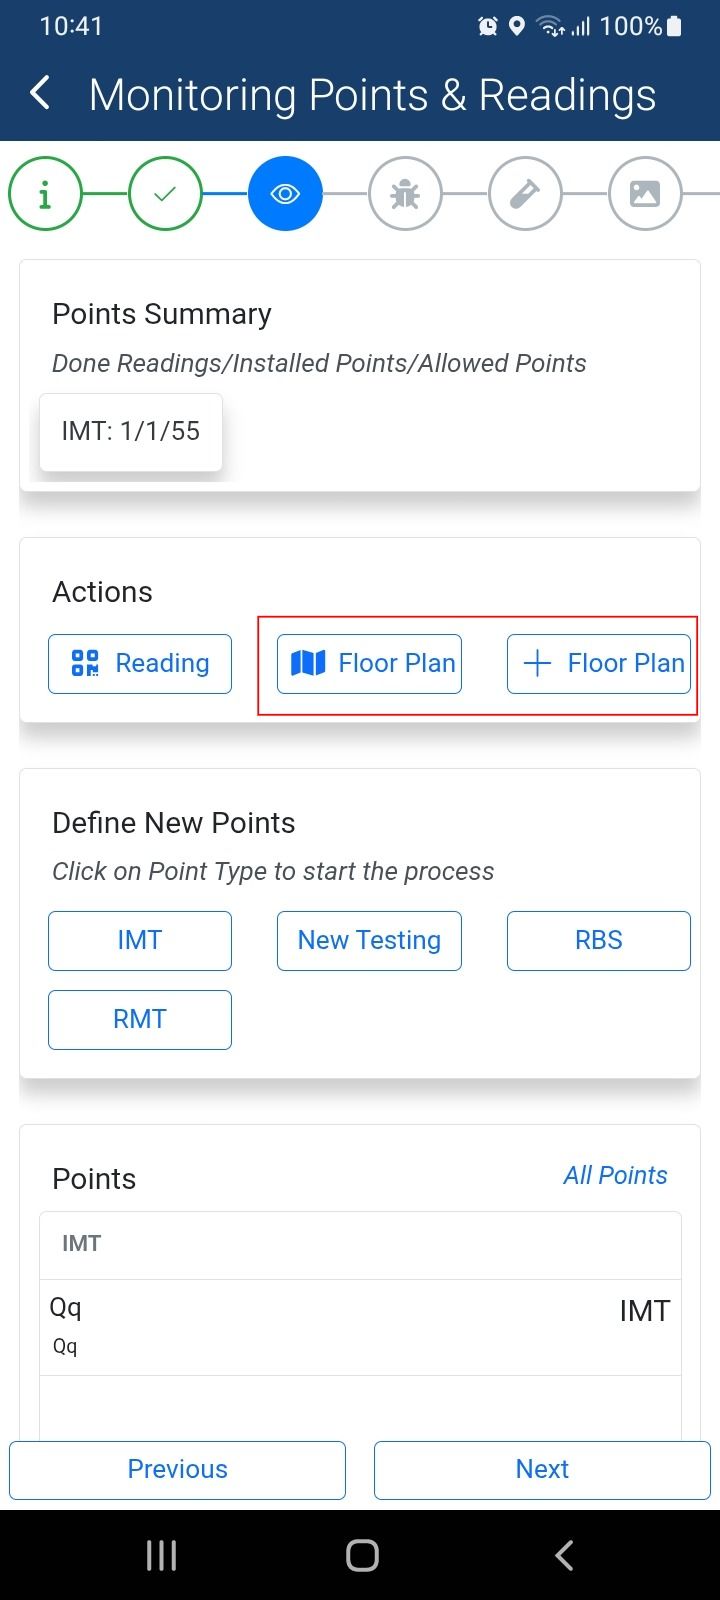
1. Where do you find it ?
The floor plan is available in the Monitoring Points & Readings window.
💡 Creating New Floor Plan
here are three ways to create a floor plan:
Import exported image from AutoCAD drawing
Sketch manually within the app
Sketch using the Map View
2. Creating New Floor Plan
Clicking the 'Floor Plan +' button opens a new window with tools for drawing the floor plan.
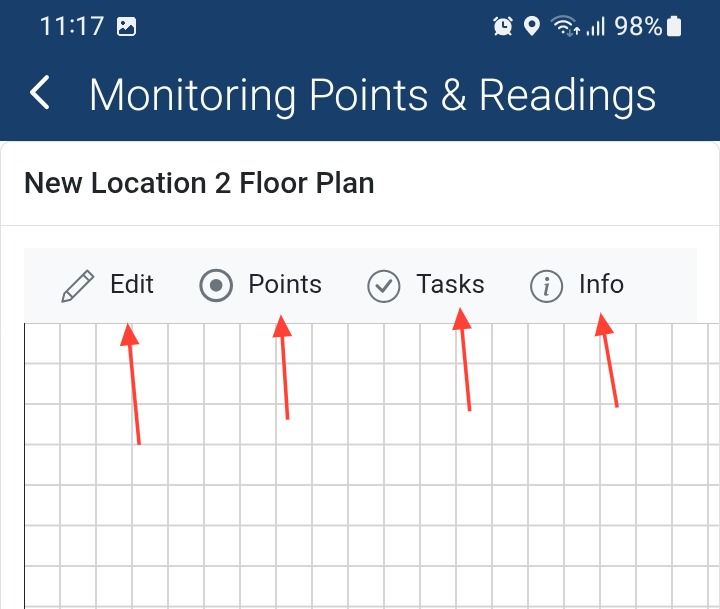
3. Sketch your Floor plan
When you click the Edit button, new tools will appear to help you sketch the floor plan,
4.
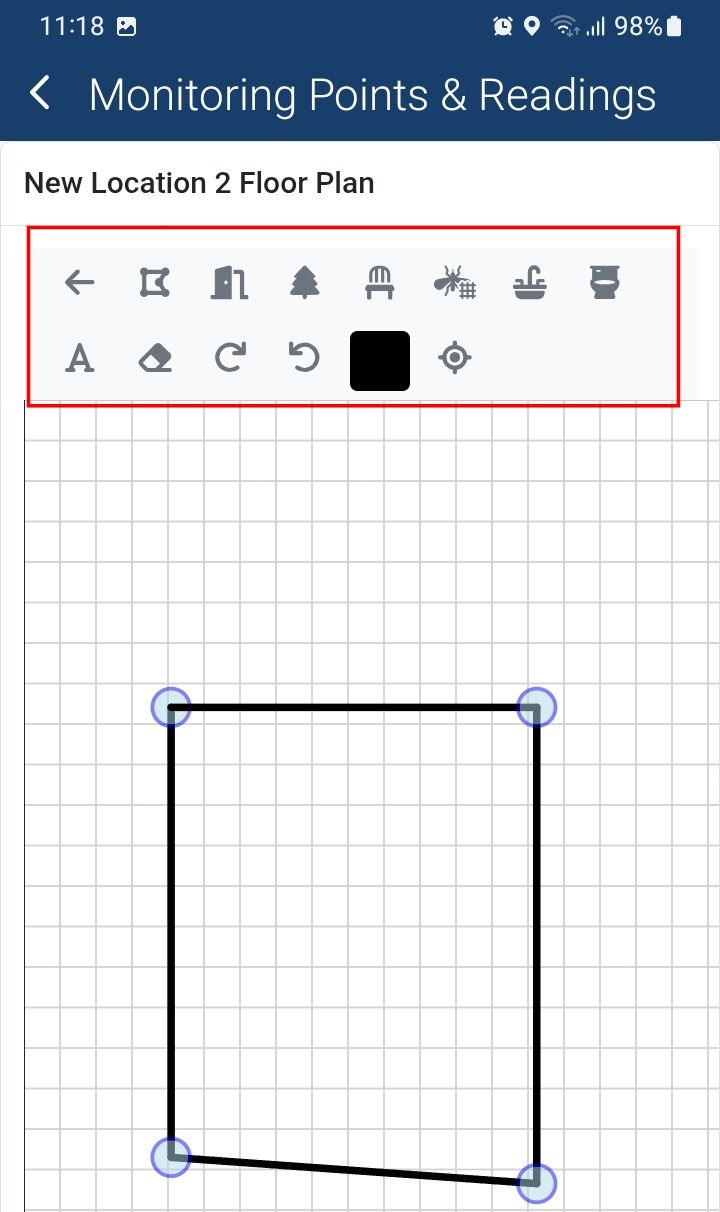
We offer a variety of sketch tools to help you create the perfect floor plan. Below is an explanation of each tool, starting from the top right:
-
Drawing Lines: Use this tool to draw lines (e.g., walls). Select the tool and click on the blank area—each click adds a point and draws a line to the next clicked point.
-
Door: Click on the drawing area to insert a door icon.
-
Tree: Click on the drawing area to insert a tree icon.
-
Chair: Click on the drawing area to insert a chair icon.
-
Fly Trap: Click on the drawing area to insert a fly trap icon.
-
Sink: Click on the drawing area to insert a sink icon.
-
Toilet: Click on the drawing area to insert a toilet icon.
-
Text: Select the text tool, click where you want to place the text, and type in your desired label.
-
Eraser: Use this tool to delete any unwanted icons or lines.
-
Right Rotation: Rotates selected objects clockwise.
-
Left Rotation: Rotates selected objects counterclockwise.
-
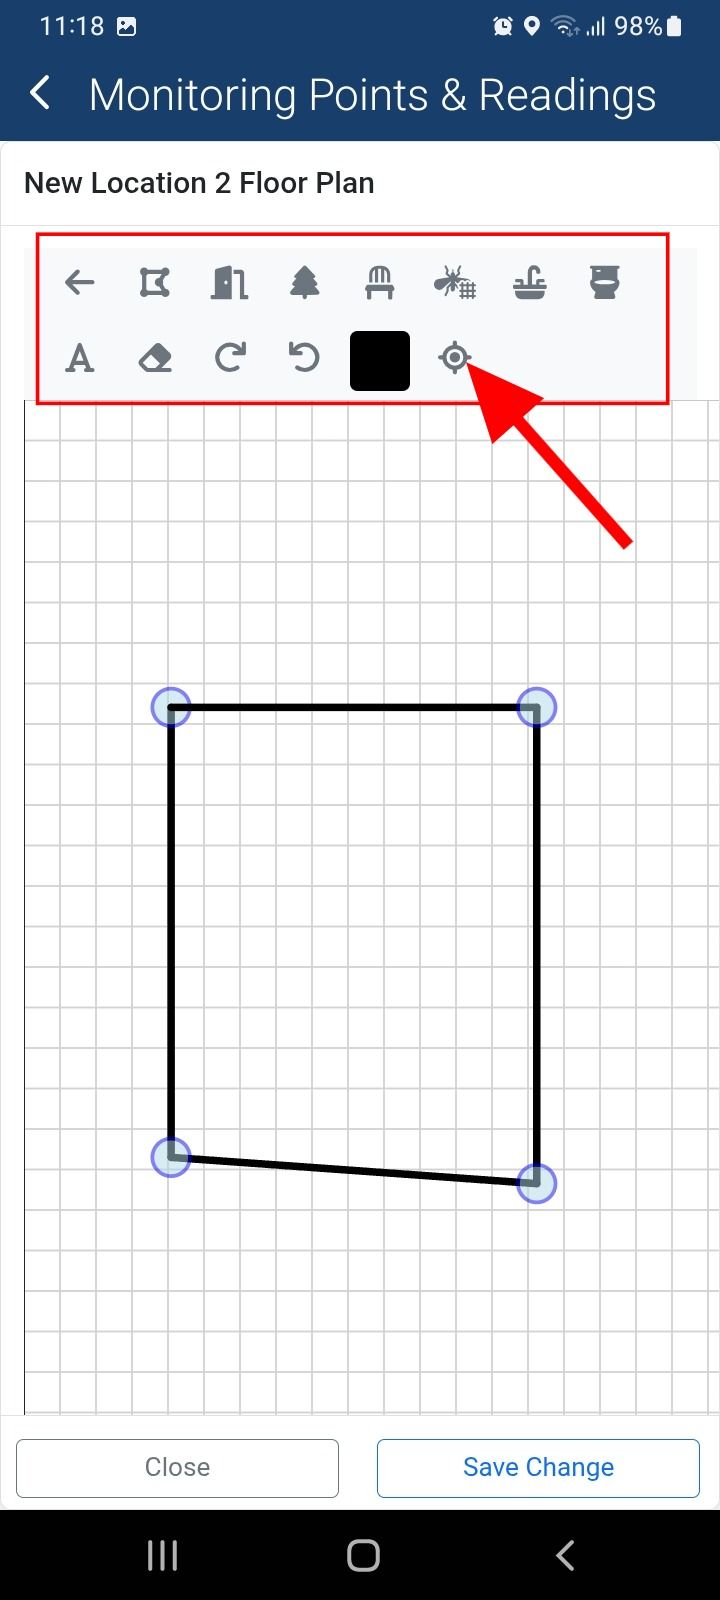
GPS: Opens the map interface so you can sketch directly on it.
5. Drawing on the map
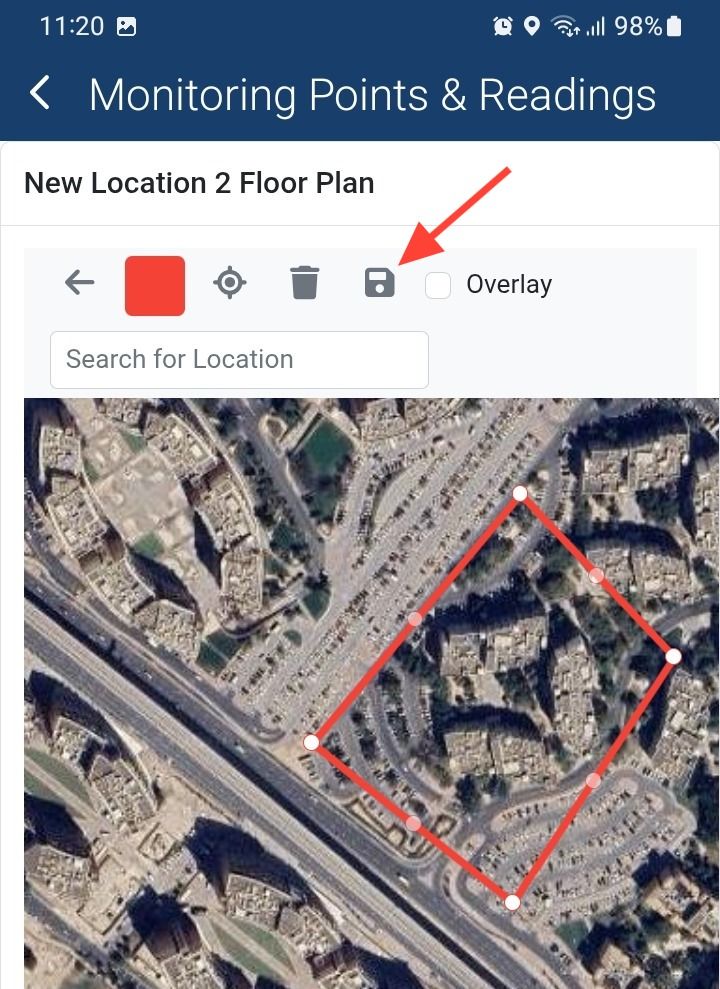
Once you click the Map icon, the map will open on the screen. You can draw on the map and add points.
Note: After finishing the drawing, don't forget to save.
View the Floor Plans & Adding Point
6. Click on the floor plan button
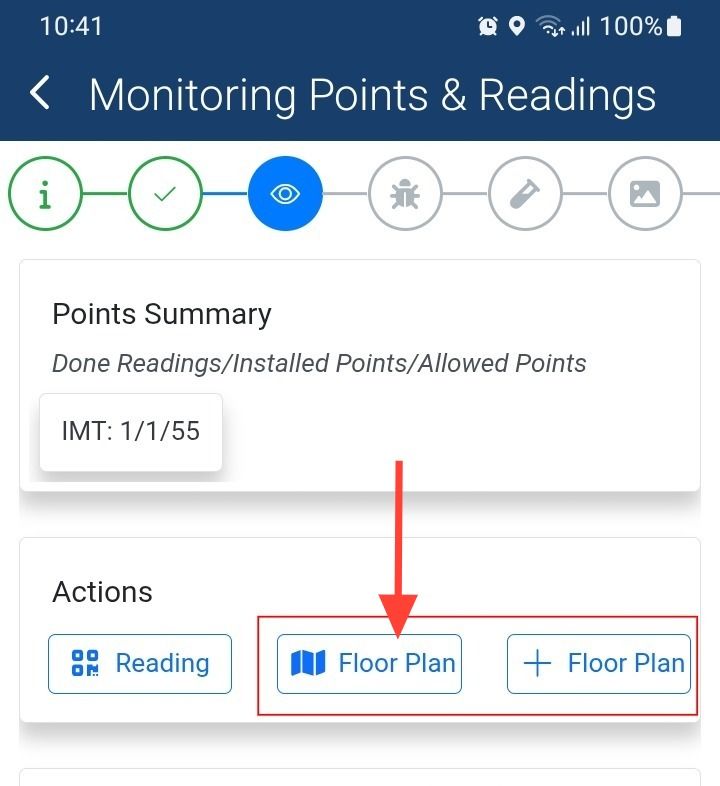
⚠️ The location can have multiple floor plan
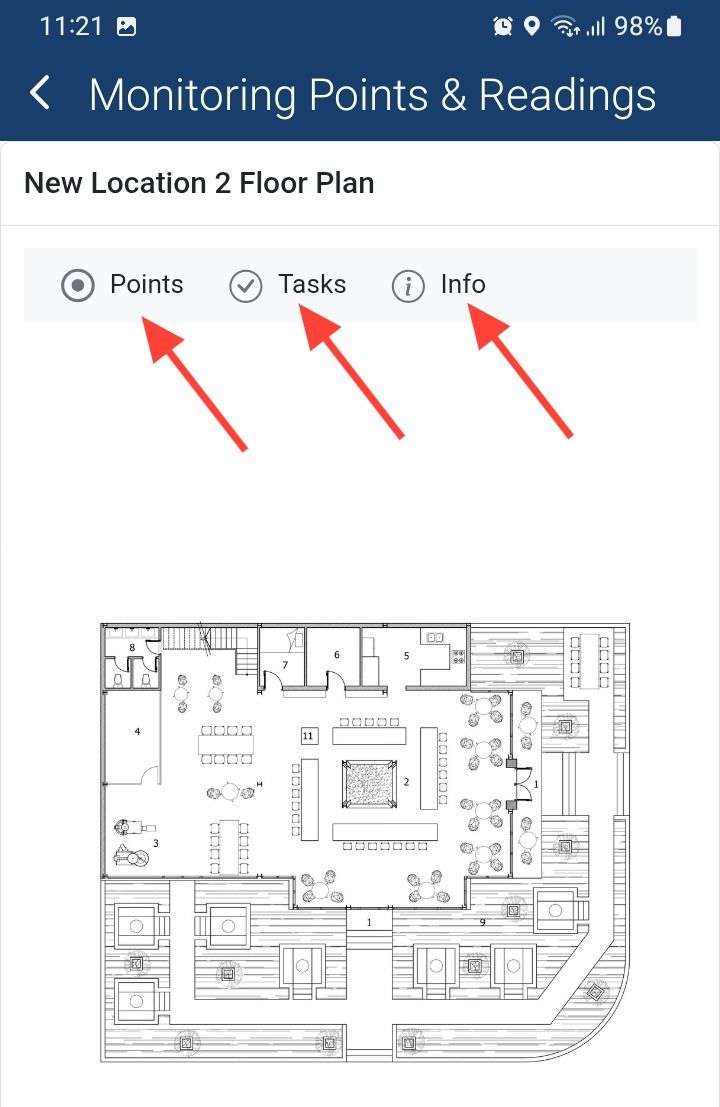
7. Insert or Add
You can select 'Points', 'Task', or 'Info' to insert or add one of them. Let's select 'Points'.
8. Adding Point
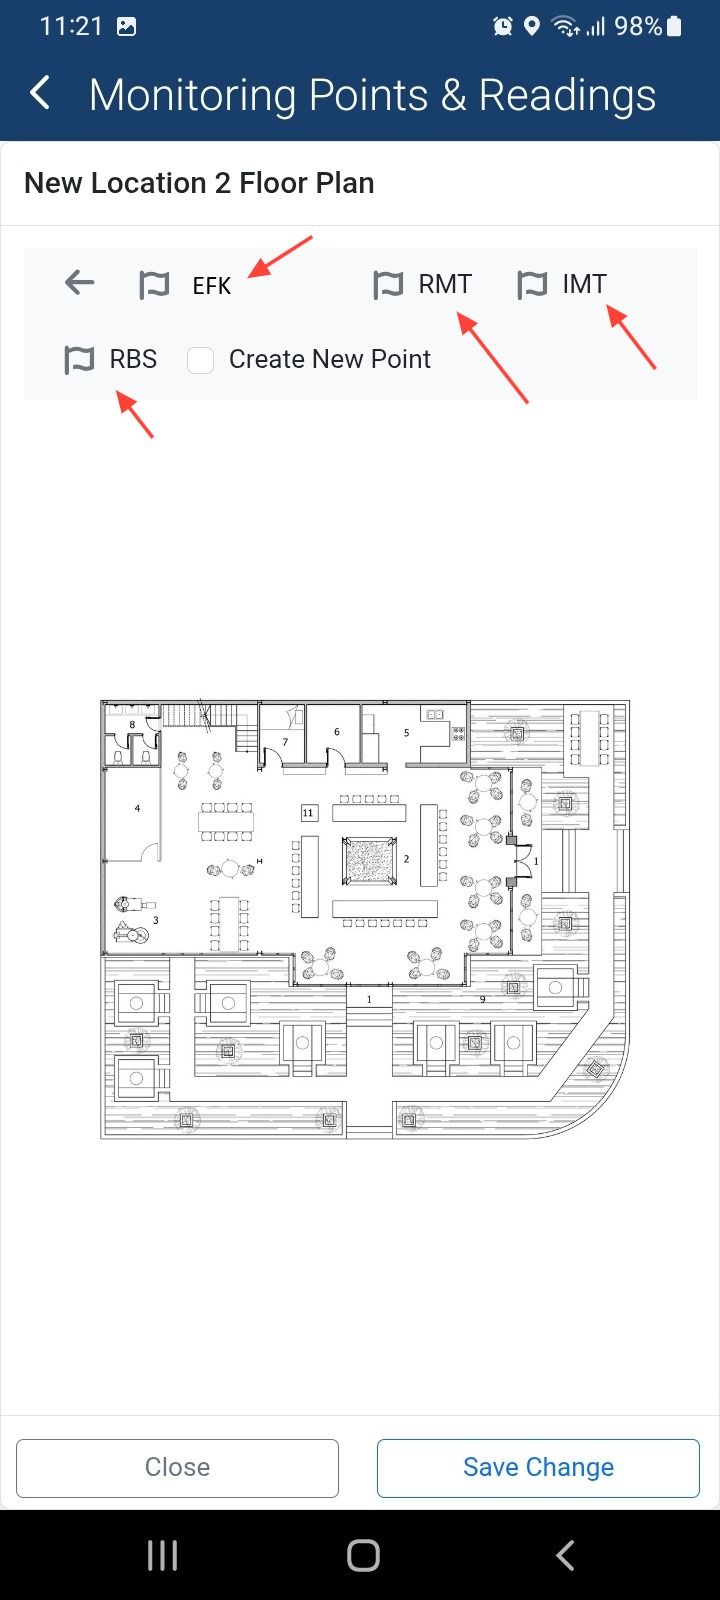
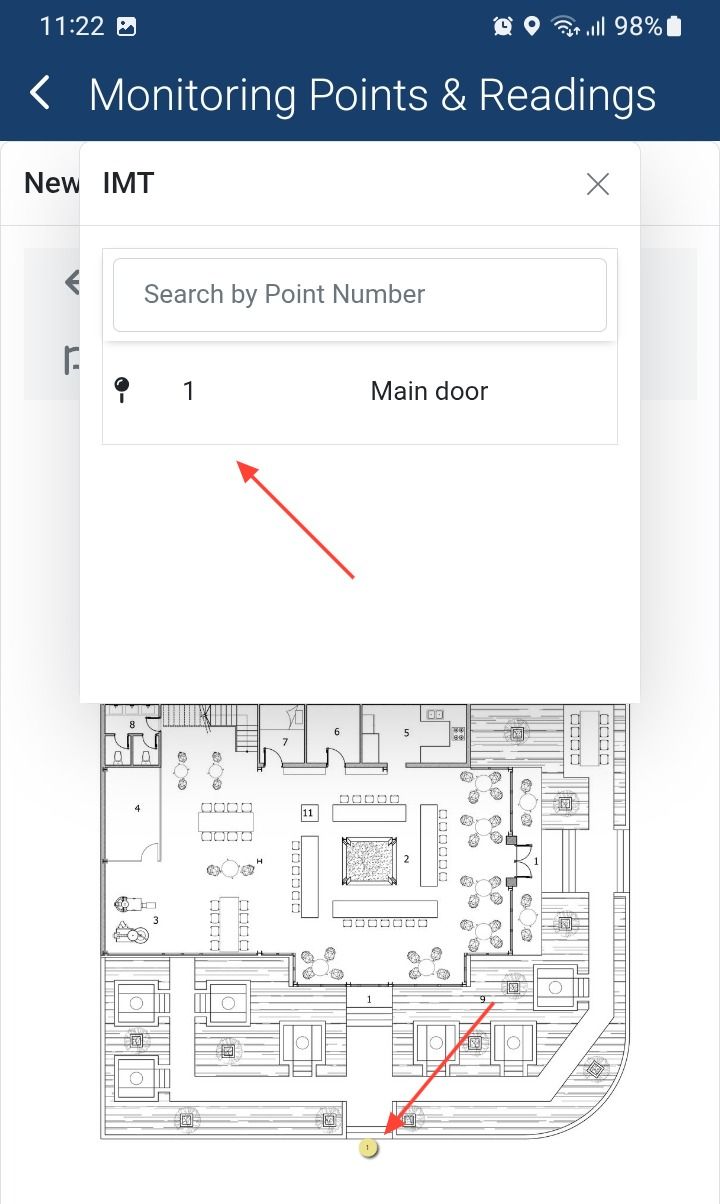
Select the point you want to insert, then drag and drop it onto the floor plan.
Note: You can check 'Create New Point' to create a new point directly from this window.
9.
💡 Note
You can check 'Create New Point' to create a new point directly from this window.
make it with it's own slide
10. Adding New Point
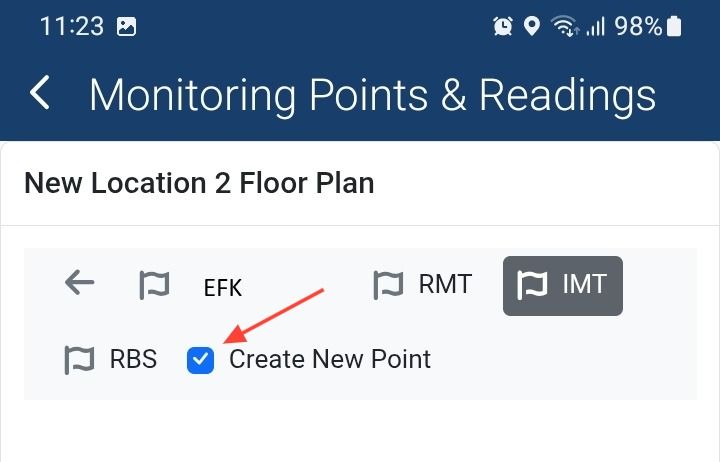
To add a new point, first check the box, select the point then click on the location where you want to define the new point.
11.
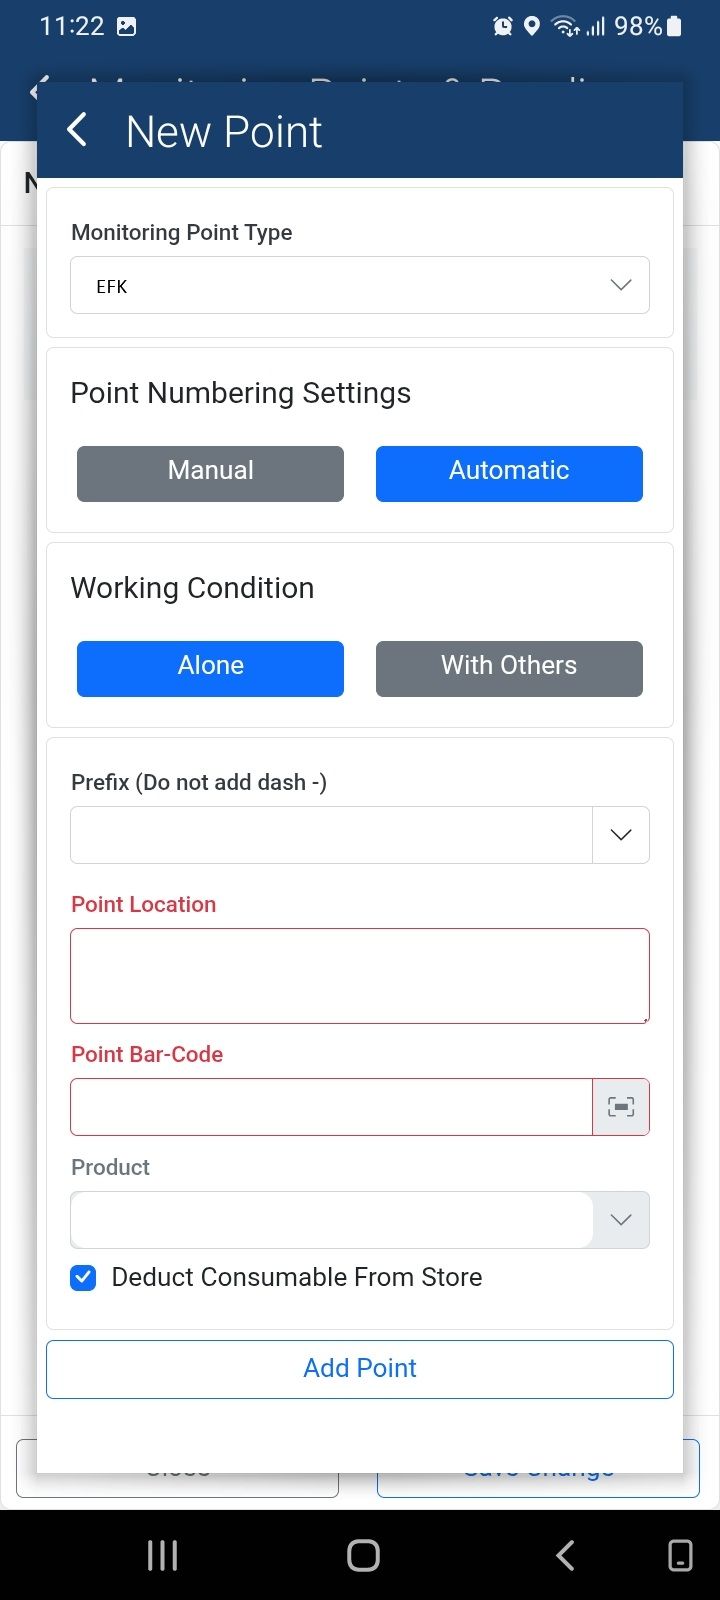
Once all the details are entered, the point will be automatically created on the floor plan.
12. Save
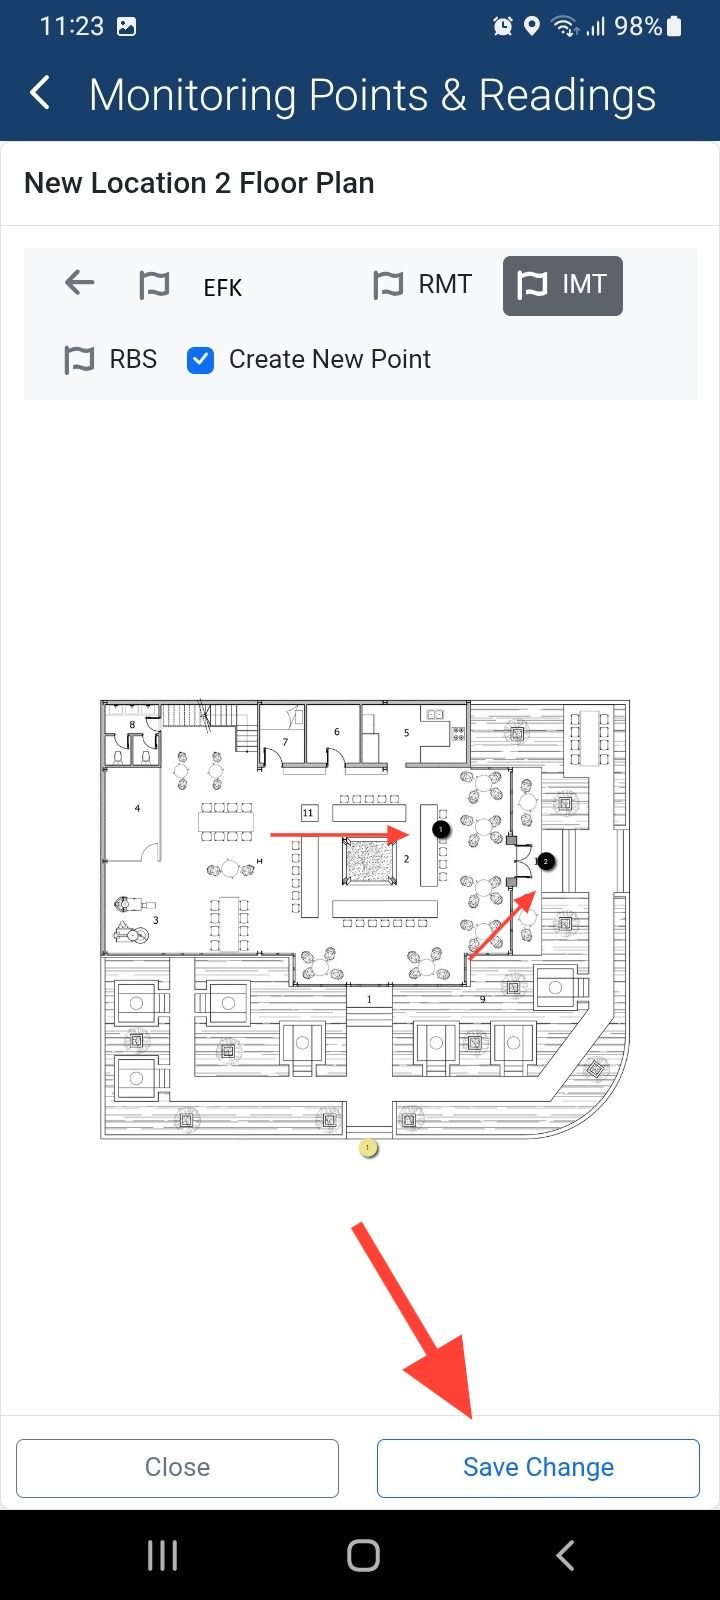
Once you finish, don’t forget to save.
 �����������������������