> ## Documentation Index
> Fetch the complete documentation index at: https://docs.fieldiu.com/llms.txt
> Use this file to discover all available pages before exploring further.
# Monitoring Points
> ### 💡 Monitoring Points
>
> Monitoring Points Tool helps you manage all your monitoring points. Let's see how it works."
## Access
### 1. Monitoring Points Types
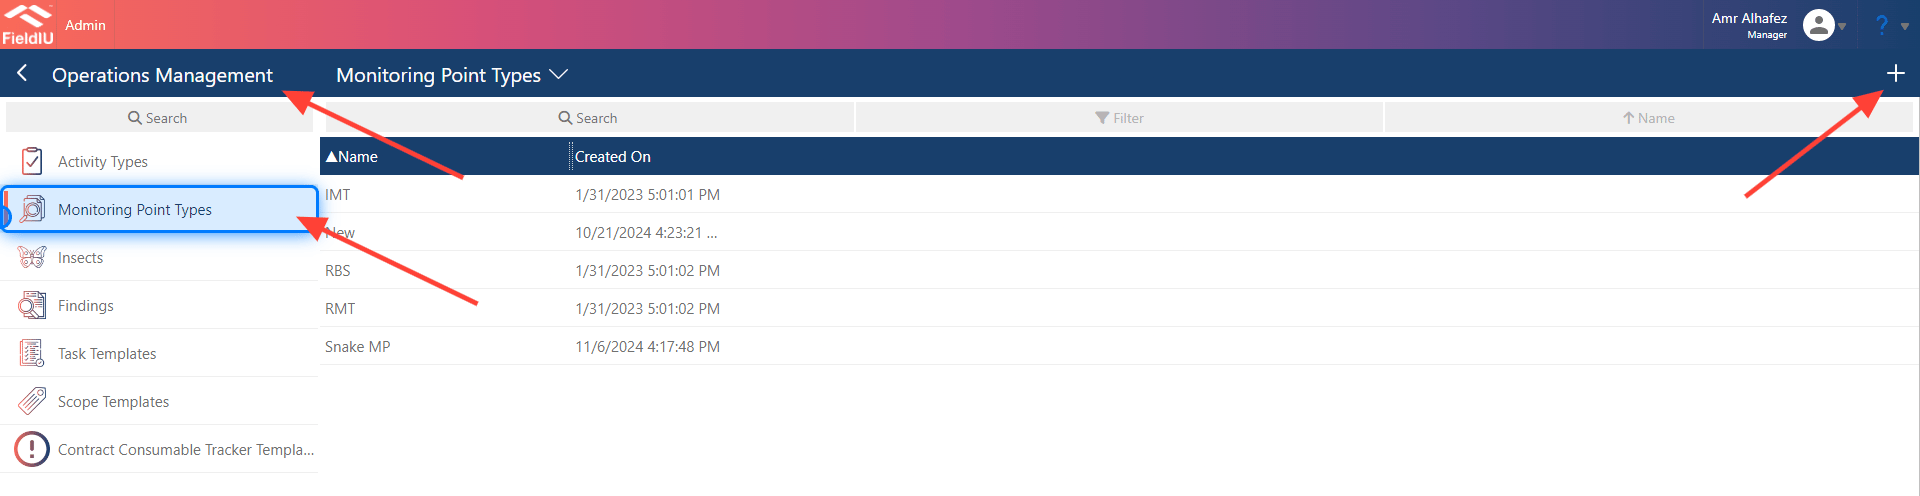
To access the Monitoring Points, click on the 'Operation Management' button in the side menu, then select the 'Monitoring Points Types' button.
This will display a list of monitoring points, and from here, you can add a new one by clicking the '+' button in the top right corner.
 ### 2. Main Information
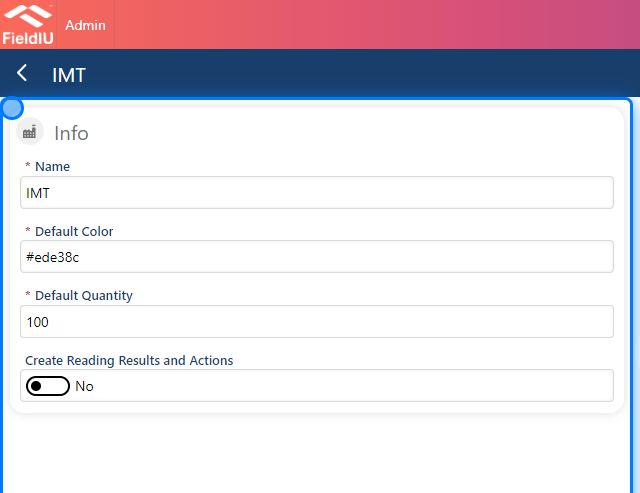
To create a new Monitoring Point, you need to fill in the main information:
* **Name** : Enter a name for the monitoring point.
* **Default Color** : Insert the hex code to set the color of the point on the floor map.
* **Default Quantity** : Specify the default quantity.
* **Create Reading Results and Actions** : You can check 'Yes' if you want to use the default reading results and actions, or check 'No' if you'd like to enter them manually. " *we will cover these details in the next steps"*
### 2. Main Information
To create a new Monitoring Point, you need to fill in the main information:
* **Name** : Enter a name for the monitoring point.
* **Default Color** : Insert the hex code to set the color of the point on the floor map.
* **Default Quantity** : Specify the default quantity.
* **Create Reading Results and Actions** : You can check 'Yes' if you want to use the default reading results and actions, or check 'No' if you'd like to enter them manually. " *we will cover these details in the next steps"*
 ### 3. Monitoring Points Details
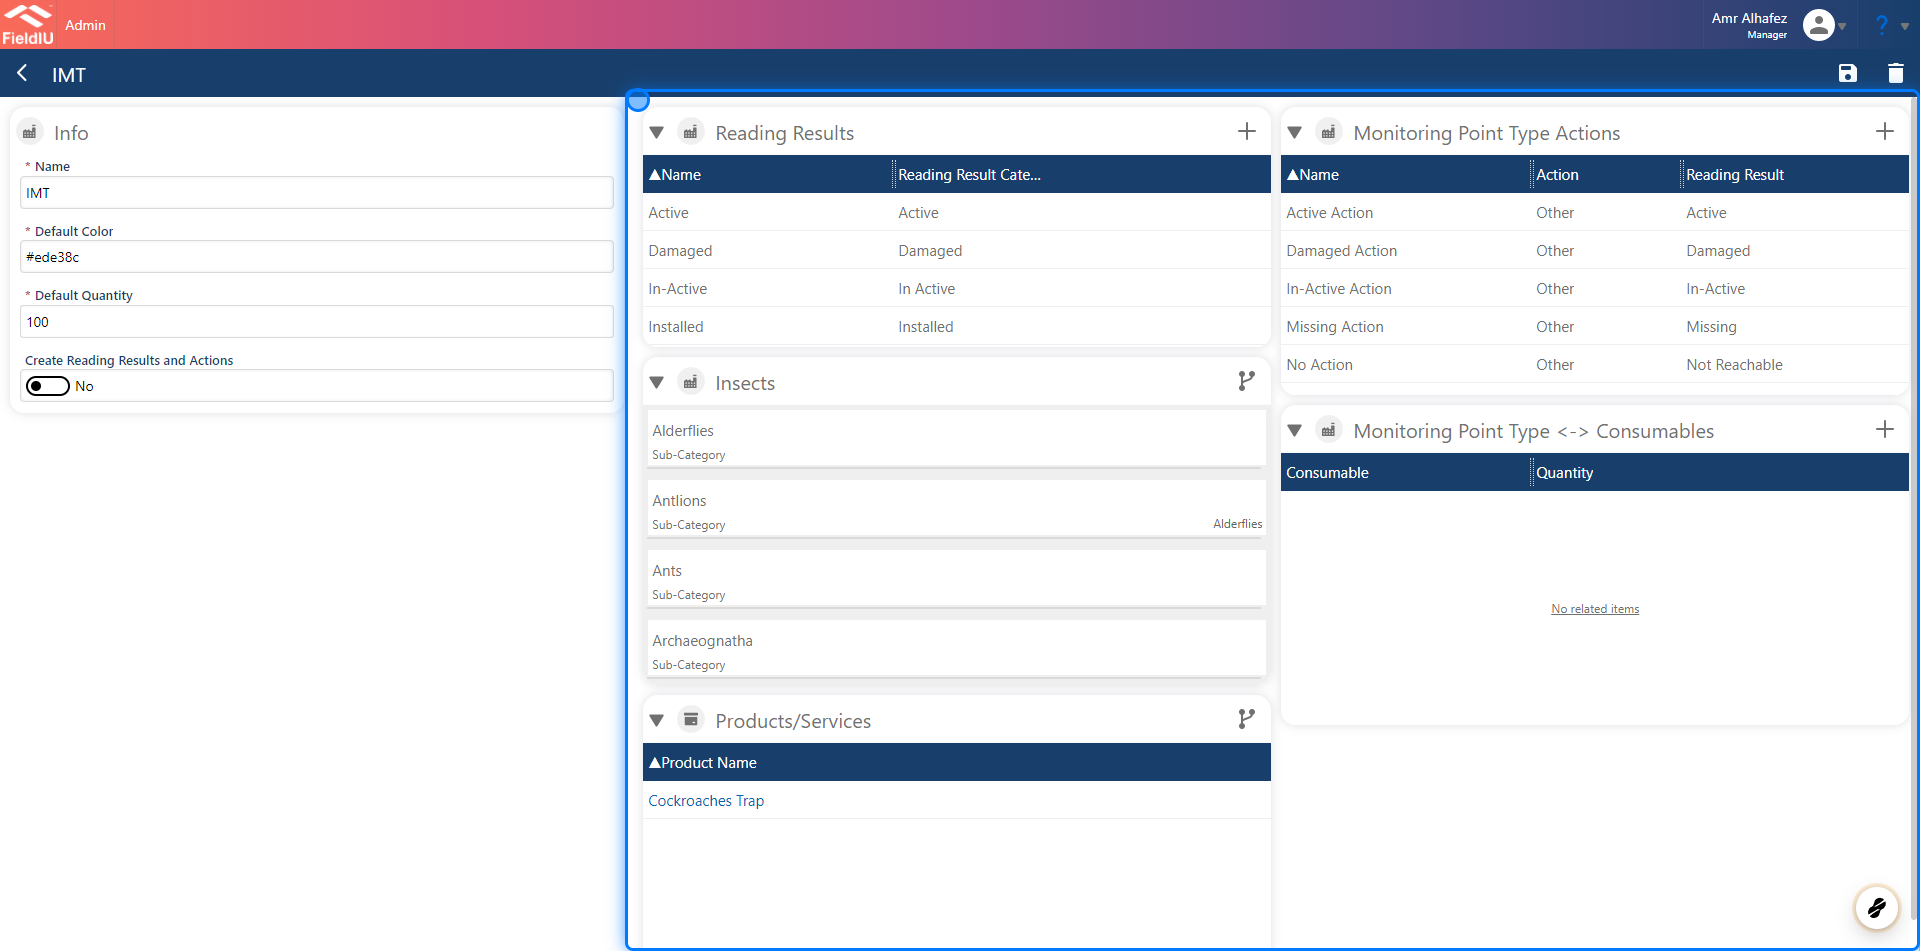
Once you save, new sections will appear:
* **Reading Results**
* **Monitoring Points Type Actions**
* **Insects**
* **Monitoring Points Type ↔ Consumable**
* **Product / Service**
### 3. Monitoring Points Details
Once you save, new sections will appear:
* **Reading Results**
* **Monitoring Points Type Actions**
* **Insects**
* **Monitoring Points Type ↔ Consumable**
* **Product / Service**
 ### 4. Reading Results
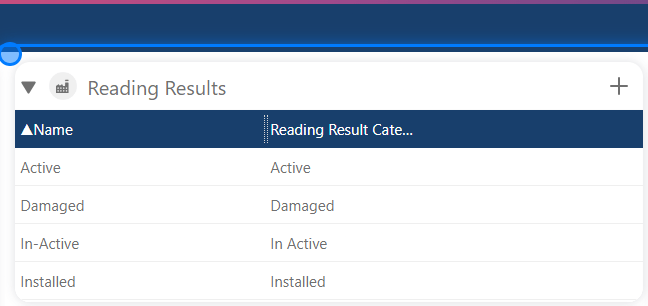
**Reading Results** will help you assign a reading status to the monitoring point when you check it at the location.
By default, we use the following statuses:
* **Active** : There is something in the trap.
* **Damaged** : The monitoring point is broken or malfunctioning.
* **Inactive** : The monitoring point is empty or normal.
* **Installed** : The monitoring point is newly installed."
### 4. Reading Results
**Reading Results** will help you assign a reading status to the monitoring point when you check it at the location.
By default, we use the following statuses:
* **Active** : There is something in the trap.
* **Damaged** : The monitoring point is broken or malfunctioning.
* **Inactive** : The monitoring point is empty or normal.
* **Installed** : The monitoring point is newly installed."
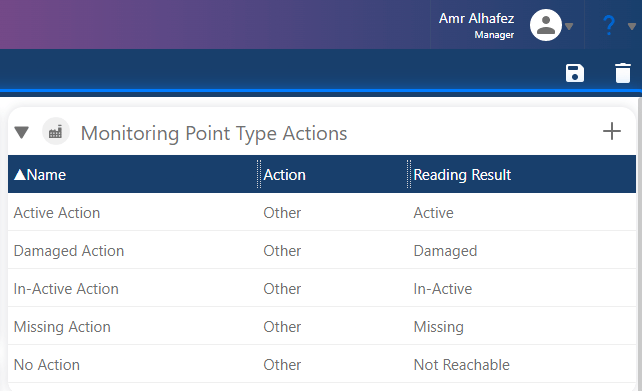
 ### 5. Monitoring Point Type Action
In the **Monitoring Point Type Action** , you need to specify the action that should be taken based on the reading result.
For example, if the status is **Damaged** , the action might be to replace the monitoring point.
In this section, you define the actions that will be triggered for each reading result.
### 5. Monitoring Point Type Action
In the **Monitoring Point Type Action** , you need to specify the action that should be taken based on the reading result.
For example, if the status is **Damaged** , the action might be to replace the monitoring point.
In this section, you define the actions that will be triggered for each reading result.
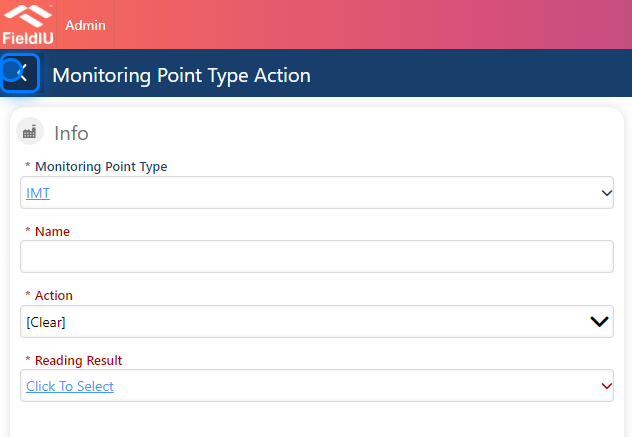
 ### 6. New Monitoring Point Type Action
To create a new **Monitoring Point Type Action** , you need to enter certain details, such as:
* **Name** : The name of the action.
* **Action** : A description of the action to be taken.
* **Selecting Reading Result** : Choose the corresponding reading result for which the action will be triggered.
### 6. New Monitoring Point Type Action
To create a new **Monitoring Point Type Action** , you need to enter certain details, such as:
* **Name** : The name of the action.
* **Action** : A description of the action to be taken.
* **Selecting Reading Result** : Choose the corresponding reading result for which the action will be triggered.
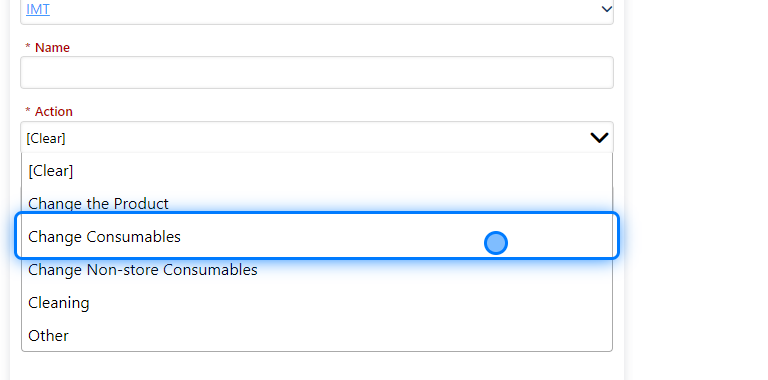
 ### 7. Actions
Here, you need to select the action that the staff will take.
For example, if the action is **Change Consumable** , it will be linked to the inventory, which will decrease the item quantity from the inventory.
### 7. Actions
Here, you need to select the action that the staff will take.
For example, if the action is **Change Consumable** , it will be linked to the inventory, which will decrease the item quantity from the inventory.
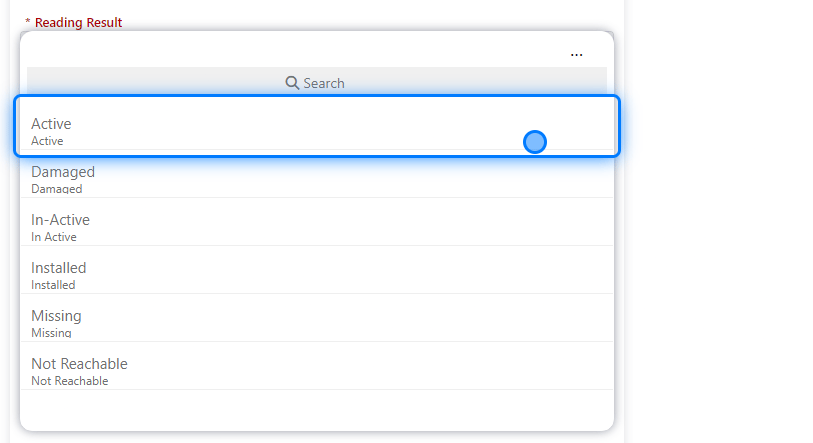
 ### 8. Reading Result
Here, you choose the reading result to which you want to apply this action.
### 8. Reading Result
Here, you choose the reading result to which you want to apply this action.
 > ### ⚠️ Save & Back
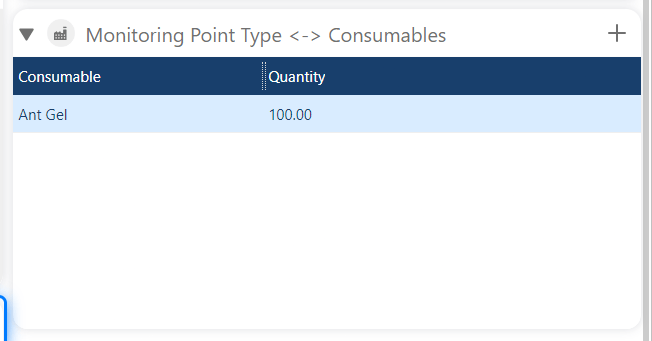
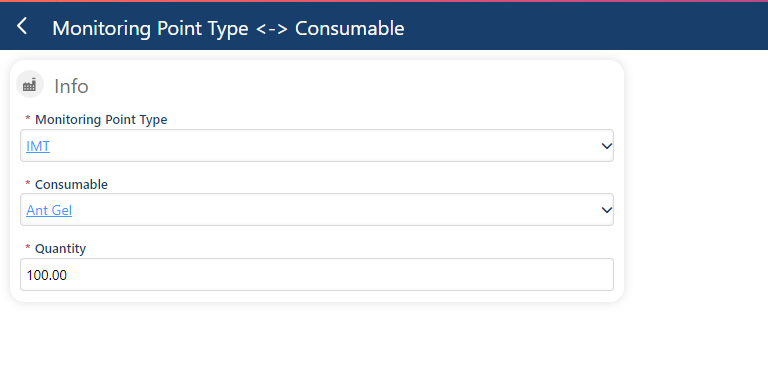
### 9. Monitoring Point Type ↔ Consumables
If you want to add a related consumable to the monitoring point, you can do so in this section. This will help reduce the quantity from the inventory when the monitoring point is used in a work order.
> ### ⚠️ Save & Back
### 9. Monitoring Point Type ↔ Consumables
If you want to add a related consumable to the monitoring point, you can do so in this section. This will help reduce the quantity from the inventory when the monitoring point is used in a work order.
 ### 10.
 ### 11. Product / Services
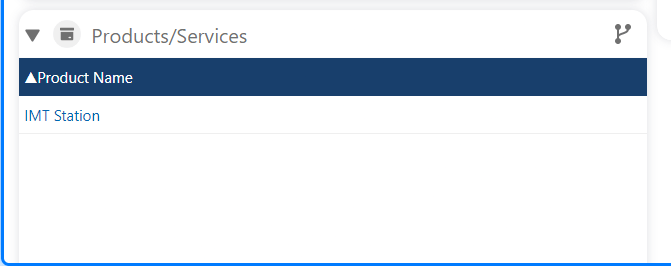
In this section, you need to select the point as a **Product** from the product list.
To do this, simply click on the link icon in the top-right corner and select the product.
### 11. Product / Services
In this section, you need to select the point as a **Product** from the product list.
To do this, simply click on the link icon in the top-right corner and select the product.
 > ### ⚠️ Save !!
>
> Please remember to save your changes.
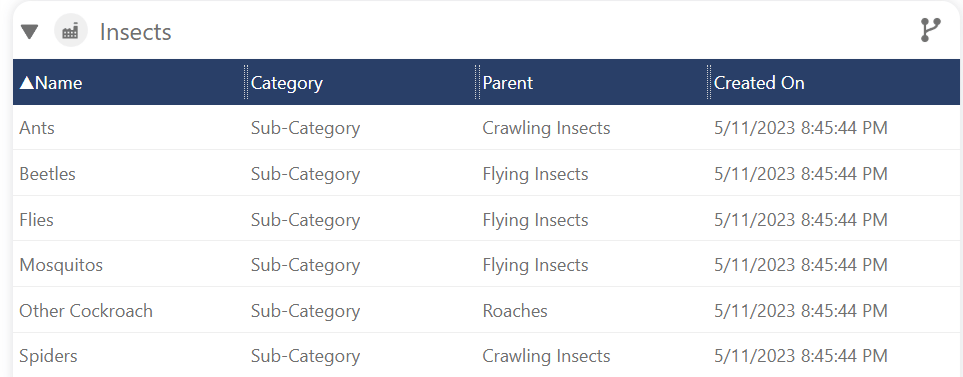
### 12. Insects
You can associate with type of Insects you want the field staff to count in case an active reading was recorded
> ### ⚠️ Save !!
>
> Please remember to save your changes.
### 12. Insects
You can associate with type of Insects you want the field staff to count in case an active reading was recorded
 > ### 💡 You can link an Insect Group, or Insect�����������������������